Simulation
Finally the fun can begin. There are a housekeeping measures to go through before we can start. We need to reference the rig into the scene and position it. You’ll something happen to some of the geometry, I’ll show you how to combat that.
When starting to assemble the scene, the sim rig should be referenced, similar to an animation rig. I often find that when doing the simulation work, better settings reveal themselves I put the new values back into the rig and refresh the reference. The nCloth presets are great for this.
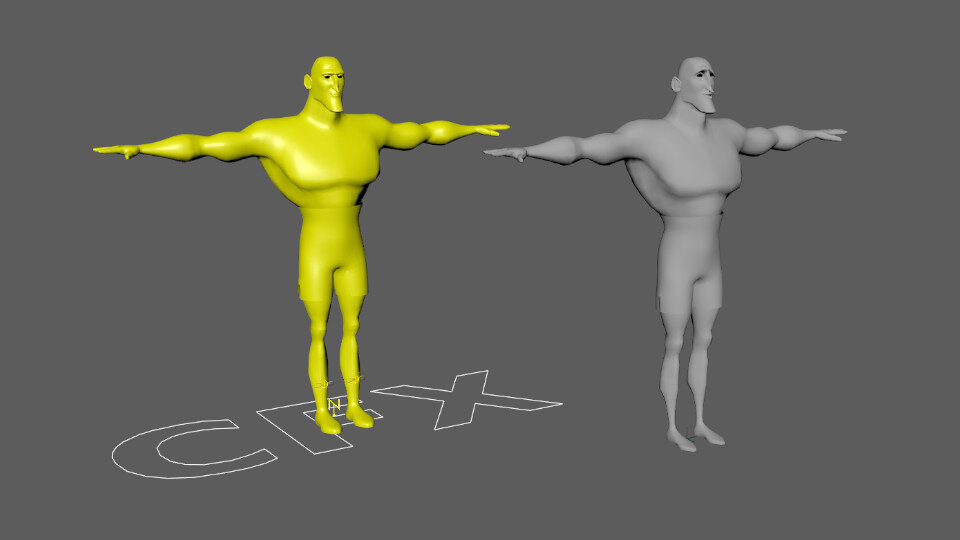

To position the rig, we select cfx_CTL then the cfx_cntRoot_LOC and use Maya’s new Match Transformations tool. This can be done with a Parent Constraint but I prefer a non live connection to the rig.


I mentioned this issue during the finalising the rig, the blendshapes and the cfx control transforms stack up and cause a double transform. The way to stop this happening is to uncheck Inherits Tranform on the transform of the geometry node on the _FnL gemetry. I would make this change during the rig build and is part of my cfx tools.
Now the rig is positioned we need to perform the connection. We simply create a blendshape from the animation cache to the geometry in the connectToAnim_GRP. This can be done on the individual geometry, the body and the shorts but I often use the group. The group we created in the animation rig should be the same as the contents in the connectToAnim_GRP and the blendshape will work. Be on the watch because if the order changes and the rig reference is refreshed the blendshape connection will break.

Start with simple values and tune from there. There is a lot of attributes and understanding how the affect the simulation is key to creating good looking cloth. Here are a few thoughts on what to attack first.
Turn off Self Collide, unneeded at the the beginning of a simulation and causes slow down.
Turn Collide Strength to something that is less than 1, I always round down and opt for 0.9. A small tweak is also fine such as 0.98.
Thickness is generated automatically, if you want a better result use the solver display and tweak from there.
Stretch and Compression are set low, very rarely do I exceed 100 for either.
Bend Angle is high, I want to try and get fine, sharp wrinkles.
Relatively low Mass, I wanted a floaty material to match his floaty boxing style.
Damp is under 1, this helped stop the shorts becoming too lively but allow for some nice secondary motion.
Scaling Relation is set to Object Space, I wasn’t sure when I first built the rig if the vertices were dense enough for the simulation.
The simulation wants to deliver a little interest to the shorts, some wrinkles, crinkles, folds and secondary movement. I used a couple of stills from Rocky 4 and tried to match the fabric.

Running the simulation can be done in several ways, my preferred method is to use Maya’s nCache. My aim with the sim rigs is that no matter the shot, the rig itself will complete without any major malfunctions. My process is to cache the simulation to disk using the nCache, once finished do a HD playblast and study the result. Having the cache in the scene means I can scrub the simulation in the viewport and inspect the cloth.

This is one of the many uses for adding sets to the rig, you can use Select Set Members to grab the ncloth object and then activate a nCache. You could also use a wildcard to select the _CLTH geometry.