Finalling
Once you have a simulation that is delivering the look you are after the last stage is to prepare the cloth for final export. I’m a big advocate for creating finalling that is built into the rig. You could export the sim geo in it’s current state and final it in another scene but I like to centralise all my simulation work into one scene and one rig.


I’ve picked two frames where the simulation looks particularly gnarly. This could be fixed by turning on Self Collisions and tweaking the Thickness. However blending back to animation will fix these problematic areas. It’s a good practice to pursue all avenues before as you can eliminate the need for high level finalling.
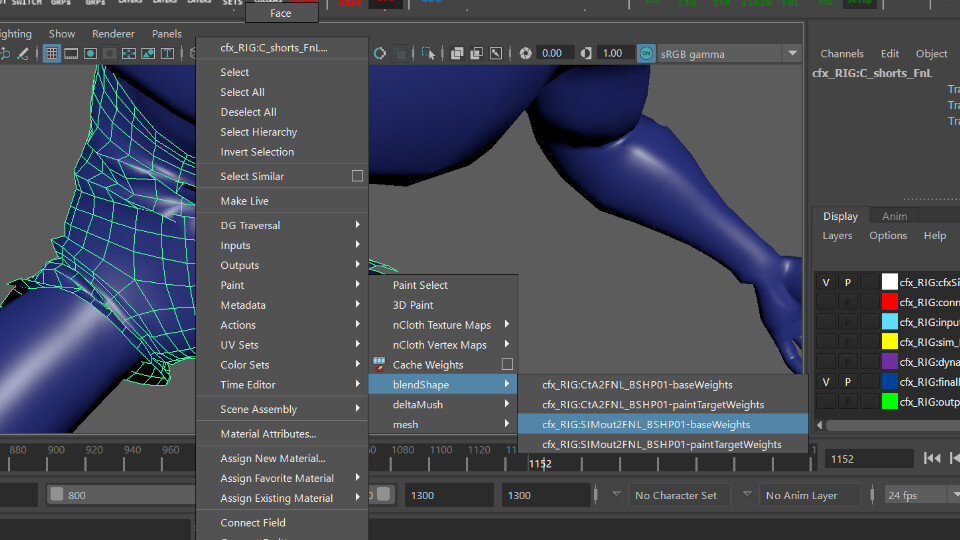

When painting the blendshape you’ll see that there are 2 listed, 1 is the animation and the other is our new simulation. Select the sim blendshape, set the value on the paint to 0 and start painting, you’ll notice that the geometry starts to morph back to the animation. This is a really quick and effective way of removing penetrations, jaggies and all manner or glitches in the simulation.

Maya’s DeltaMush is relatively new but can be very useful for layering in additional finalling, here I use it to act as a surface smooth to help soften the wrinkles further. The Smoothing Iterations can wreak havoc on your system if you go to high to quickly, 25 is usually where I stop. Stacking the deformer can help alleviate the pressure on the system.
You can see the result here Boxer
I hope these tips, tricks and seeing my workflow in a conversational style will help you to create wonderful simulations. If you have any questions feel free to send me an email.