Simple HDA Creation
It’s always good to speed up your workflow and sometimes a little tweak can go a long way. I scripted up almost all of my maya cfx rig building but felt that doing that here in Houdini was a bridge too far. My main aim when doing any cloth work is to automate as much as possible and Houdini’s native HDA or Houdini Digital Asset was perfect for this little task.

This setup is covered in an earlier part of this workflow guide but essentially we are bringing geometry that is originates as alembic. So it needs to be Unpacked and Converted before use in the simulation.
The principal was to make a HDA, see the process behind it and just shave sometime from constantly dropping down Unpack and Convert nodes on each piece of geometry. The creation is very simple.

You want to make sure that in the Operator Type Properties you have ONE input and ONE output, output is set to ONE by default.
If for any reason you need to modify the HDA, right click and select Allow Editing of Contents. Once you are happy with the changes you can right click again and Save Node Type and Match Current Definition, this saves the node and locks it.
Once you’ve named your HDA you can bring it into any scene and immediately reduced the number of times you have to hit Tab and bring in the same nodes. When the HDA is added to your scene you can simple copy and paste it, almost completely ignoring the node menu.
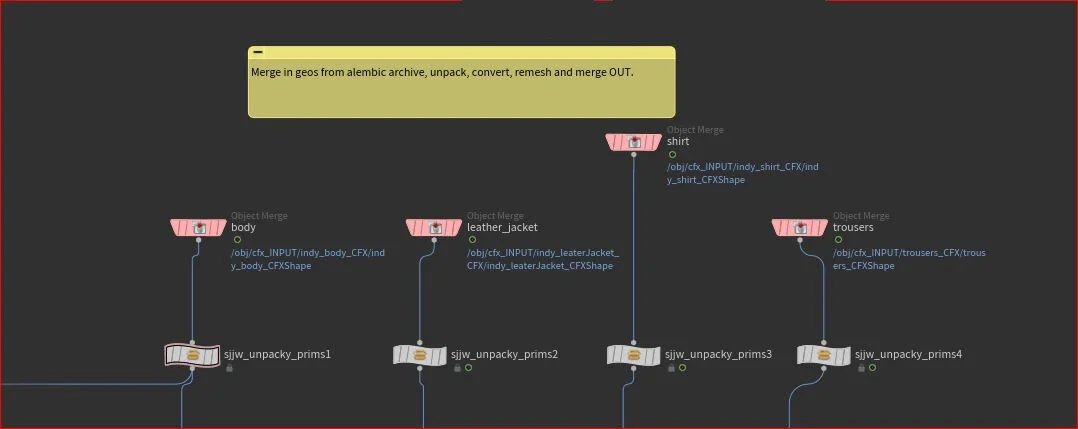
The result of that HDA, you can very quickly get the geometry render for remeshing or grouping. HDAs are super powerful, I ended up making several more, all trying to automate simple but repetitive tasks.