Houdini Import and Setup
Houdini’s node style is not only easy to work with but also easy to read and customised. We’ve all been there in Maya, spacing out the nodes only to close the window and everything get garbled. Houdini’s nodes stay put once they’re placed which means you can really design the look.

The concept here was to create a scene ‘Splash’ screen and use it as a template to build the other shots in the sequence. I wanted to keep each shot exactly the same and in order for the shots to run, all I had to do was update the file paths.
IMAGE, referred to a thumbnail from the shot in question.
RED referred to anything geometry I exported from Maya, the animation, the cfx and the set.
YELLOW, referred to the camera from Maya.
GREEN, referred to the geometry setup and preparation area for Vellum.
PALE BLUE, referred to the area where the Vellum simulation would take place.
WHITE/GREY, referred to an area where I could sanity check the simulation result.
ORANGE, referred to an area to investigate the FEM cloth workflow, more of a dev area.
GREEN & GREEN BOX, referred to where I exported the cloth to send back over to Maya.
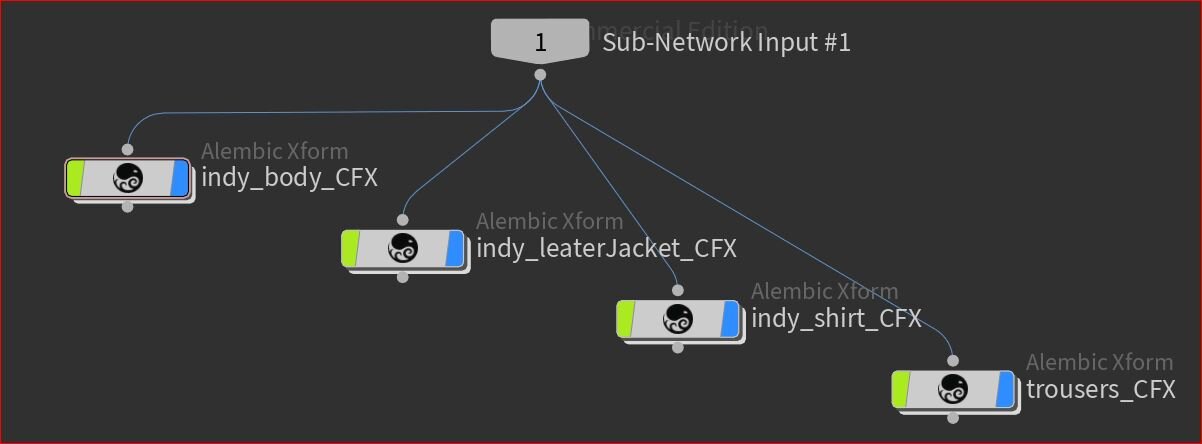
The cache sets setup in Maya were used to designate what parts of the character would stay as Animation and what parts would be handled using Vellum. The caches were all Alembic archives, imported through the Alembic Archive node. Remember to click the button on the node, Build or Update Hierarchy. You can also refresh the cache using that button but I prefer to cache a new version and update the path.

Another new concept when using Houdini is that you very rarely interact with the geometry you import directly. Houdini wants you to reference all the objects, merge them into a stream and manipulate from there. I was particularity impressed with this workflow as I could build my import and setup area, prepare all my geometry from Vellum and if something was incorrect with the initial cache it could simply be updated and all that information would trickle through.
You want to place an empty Geo Node, jump inside and use the Object Merge node to bring in the original imported Alembic. When prompted in the Choose Operator window, find the geometry in question and click on the path with the Geometry Icon, you want to avoid using the Alembic Icon path.
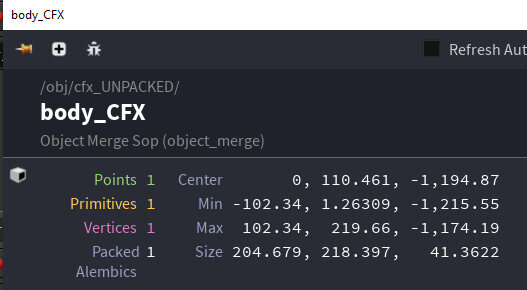

You’ll notice that once you have Merged in the geometry, the process is still not completely ready for simulation prep. Houdini handles alembics as packed primitives, basically every Alembic is pack to just a single point and we need to unpack it - easy peasy! Through down a Unpack and Convert node followed by a null, name that null OUT and the name of the object, here it’s OUT_body_CFX. There is a more about this process in the next chapter.