
I knew from the outstart that I would be using Maya to do my character rigging but given Unreal’s emergence and push into animation, I felt that some very simple props could be a nice way into their new toolset.


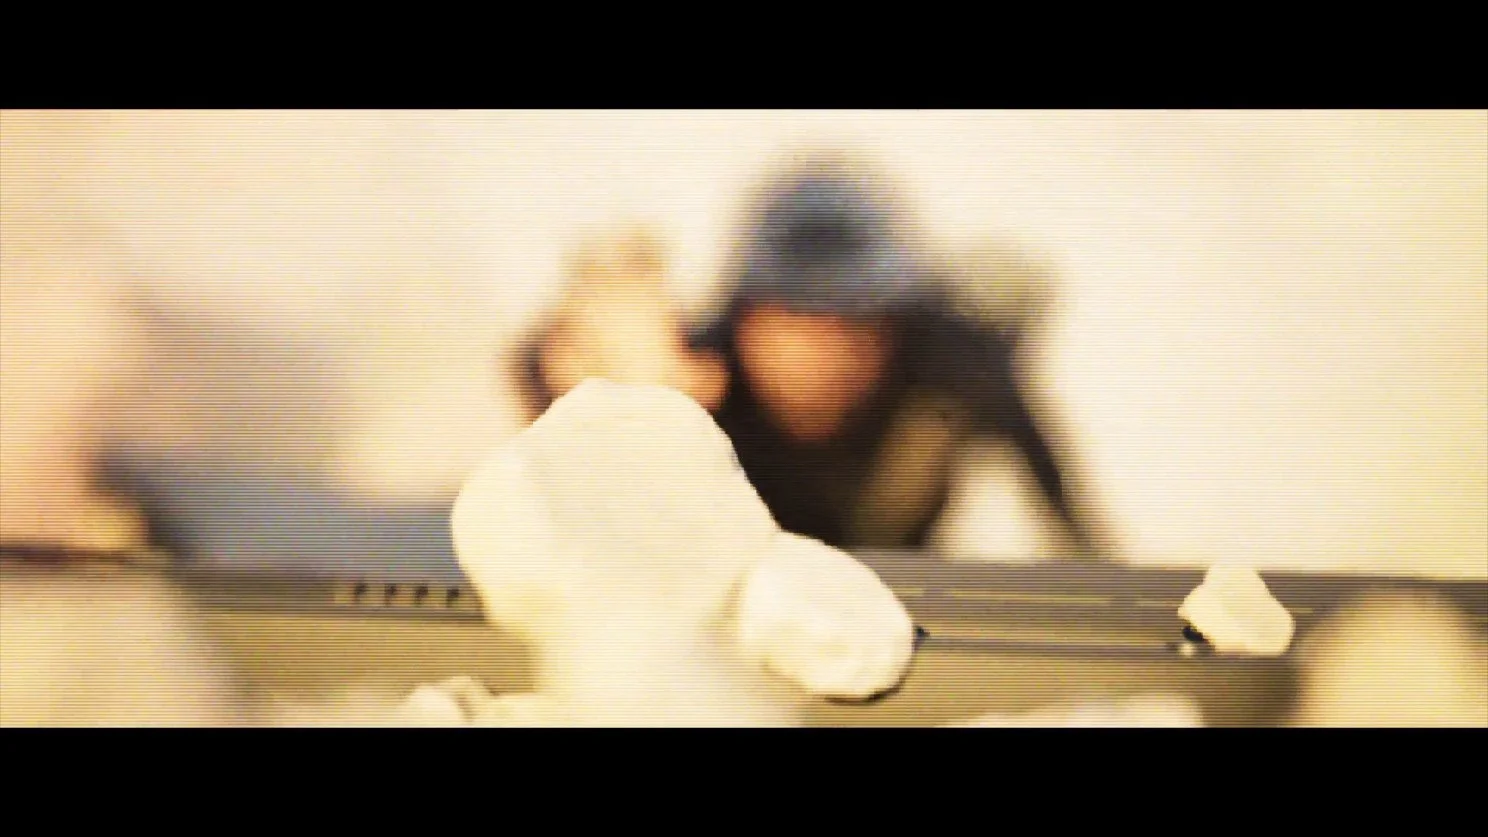
I thought shot sh010_0180 would be an ideal candidate for some prop rigging fun. Here, Nico has been knocked down by the Bug, and she tries to grab her rifle. I thought about the idea of scattering a few rocks on top of the rifle and when the Bug stabs down onto the rifle, making the rocks bounce and fall away. It would add some interesting secondary motion to the shot and is probably the most simple prop to test out Unreal’s new rigging tools.

After watching several tutorials and reading through the documentation, I first needed to enable a plugin to allow me to turn static mesh objects to skeletal meshes, to start the rigging process. It’s an experimental feature so an engine restart will be needed.


I selected one of the many megascan rocks that I had in my project as the asset to convert, just right-click and select, convert to skeletal mesh from the menu. You won’t see that unless the plugin has been enabled. I’m using 5.2 so in later versions this may be on as default.


The good thing about this rig was that it was as simple as you can get, it’s just one object and one bone, driven by two controls, a global and a standard control. The concept of the forwards and backward solve comes from Unreal and how it has animation clips. The forward solve allows you to move the asset using the rig and bake animation to a clip and the backward solve allows you to bring that baked animation back into the sequencer and then bake to the control rig.
Essentially what is happening here, is that on the forward solve we get the transform of the control and then set the bone transform, the backward solve we get the transform of the bone and use that to set the transform on the control.
You can get these nodes by dragging your control from rig heiracrchy into the node window, and choosing either set or get. Took me a while to completely get which one to use, again it was a good simple rig to build to obtain a foundational knowledge of this very deep rigging toolset.

Behold, the rock rig… Well, it’s the first asset I’ve rigged and it worked. An early foray into the rigging tools. The process had lots of crossovers with Houdini. I especially liked the library of shapes on offer. It’s standard to make your global control or master control, yellow, blue for the left, and red for the right-hand side. These however can all be personal preferences. I had to look through Epic’s documentation to make sure I had the forward and backward solve setup correctly.
The reason to look at rigging something so simple was twofold, one to begin learning the tools, and two, to work cleaner, rather than just adding a static mesh to the sequencer and animating blindly, I thought about my Maya workflow and wanted to work logically. I did find that baking to animation clips, had a slight effect on the speed of the scene, marginal here as they were just rocks but with characters, it is a good idea to bake to a clip. Baking to an animation clip is also a great way to save your animation for another shot.

To add a control rig to your sequencer, simply drag you control rig into the sequencer and start animating.

To bake an animation clip. right click on your asset, and select, bake animation sequence. A good workflow here is to name it after your shot, it’ll be easier to find and you’ll have an idea of the animation you did.