
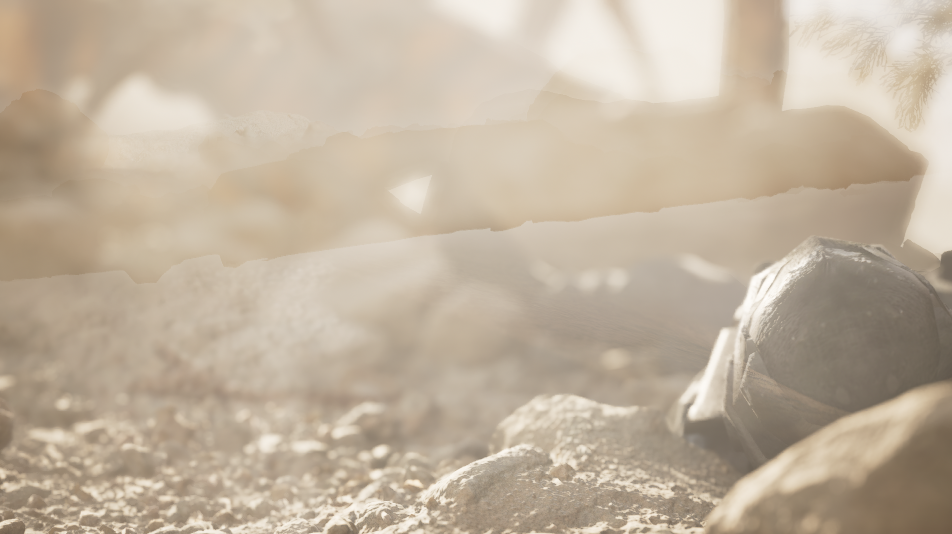
Once you start playing with settings and pushing Unreal further for your shots, you’ll probably notice that your first frame often breaks, a few options you can follow to fix the issues.
Default Settings
Temporal Settings 2
Render/Engine Warm Up Count 32 (frames)
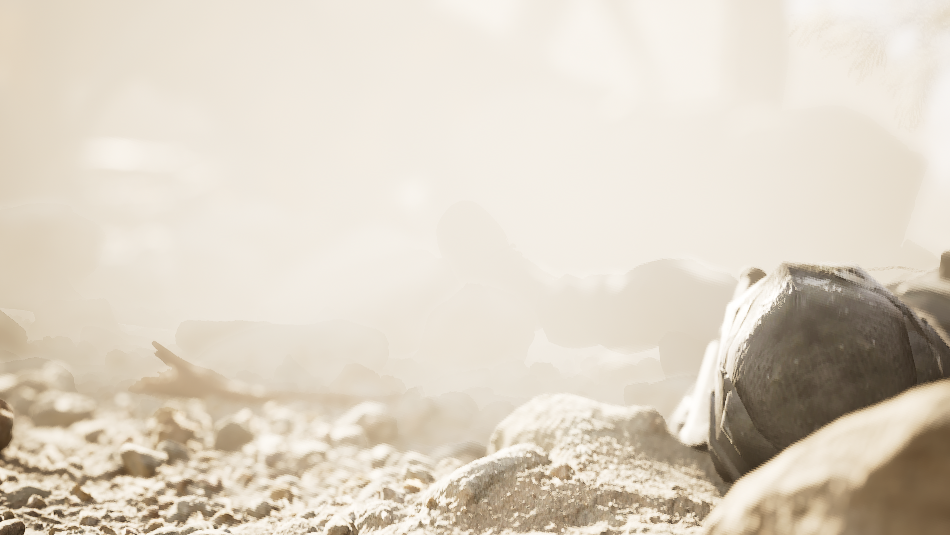
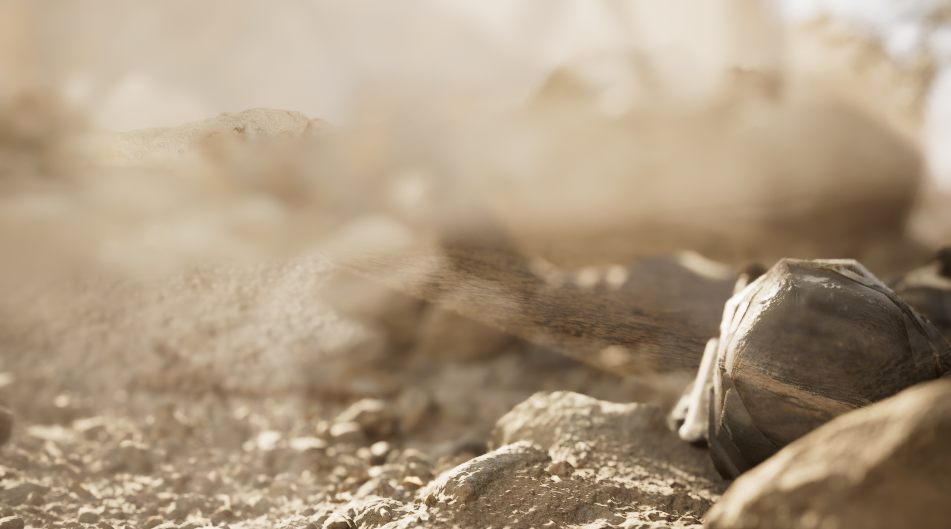
The default render here has no issues on the first frame which can be great if you don’t want to increase the fidelity of the render. In previs, this might be enough but if you want smooth motion blur you’ll need to up the samples, usually in the temporal samples as that deals with objects moving quickly over frames and blurs it accordingly.
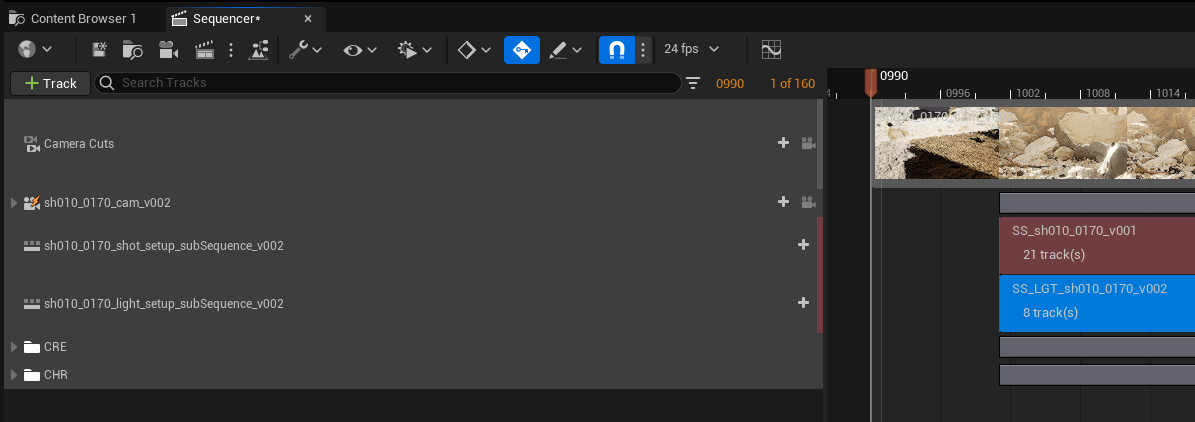
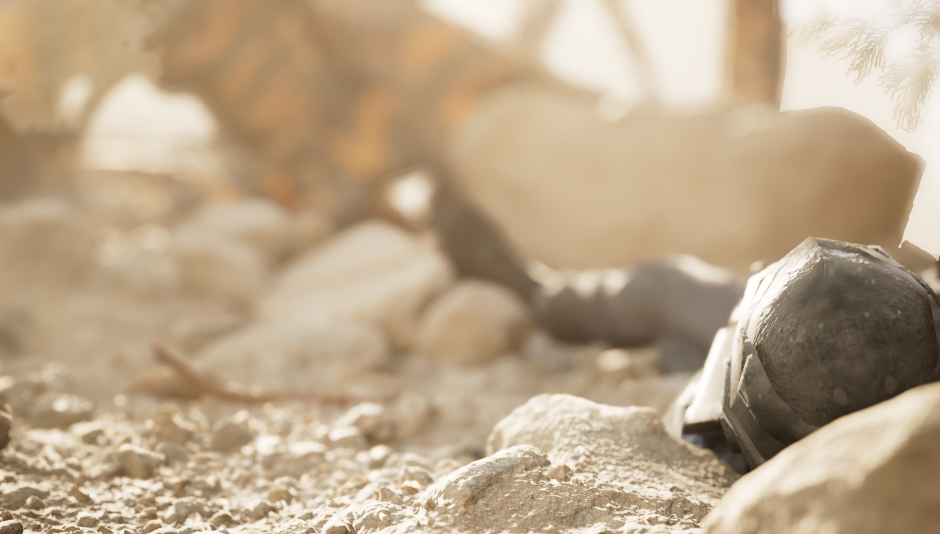
Altering the camera cuts track length inside Unreal is perhaps the easiest way to get the first frame to render without issues. Just like my days in finals, all my shots start at 1001, so increasing the shot length to 990/991 and then refreshing your render, you should be greeted with an image similar to the default render.
Camera Cuts Track to 990
Camera and Actors Tracks to 990
Sub Sequences to 990
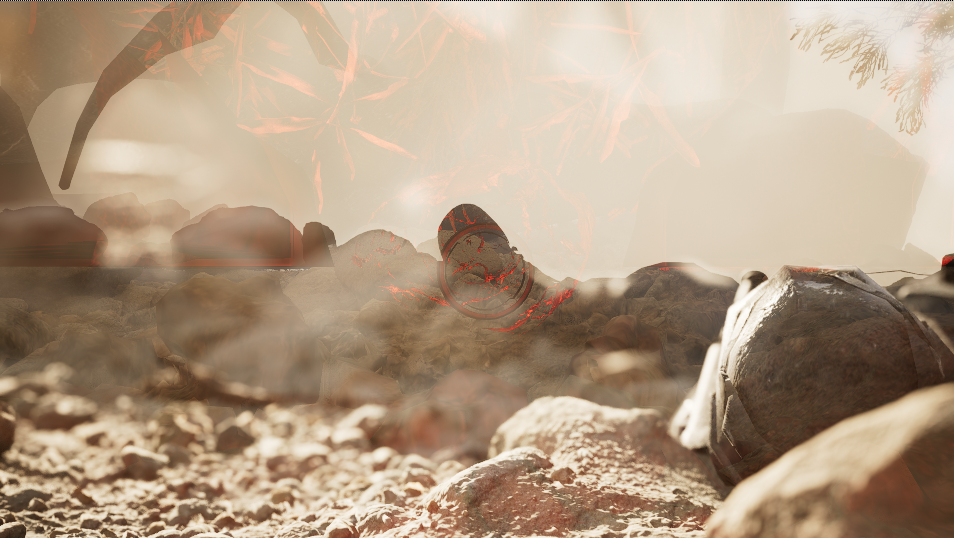
However, I find that even with an extended camera cuts track it doesn’t fix the temporal sample issue if you wanted to further increase the settings, 2 to 4 samples. The next port of call is to extend the camera and actor tracks and there may still be an issue. Depending on how you setup your sequencer you may not have sub sequences, if you do, extend those tracks to 990.
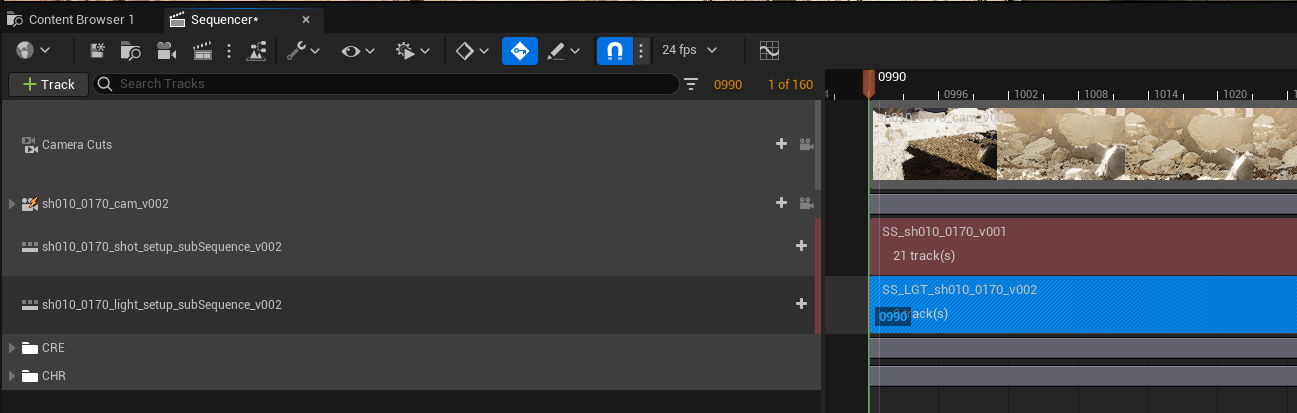
The final sequencer with all tracks extended, 10/11 frames is more than enough for Unreal to warm up and render the frames correctly. The issue comes up on every shot, so now I do this while setting up so no matter what settings I use, the frames will render correctly.
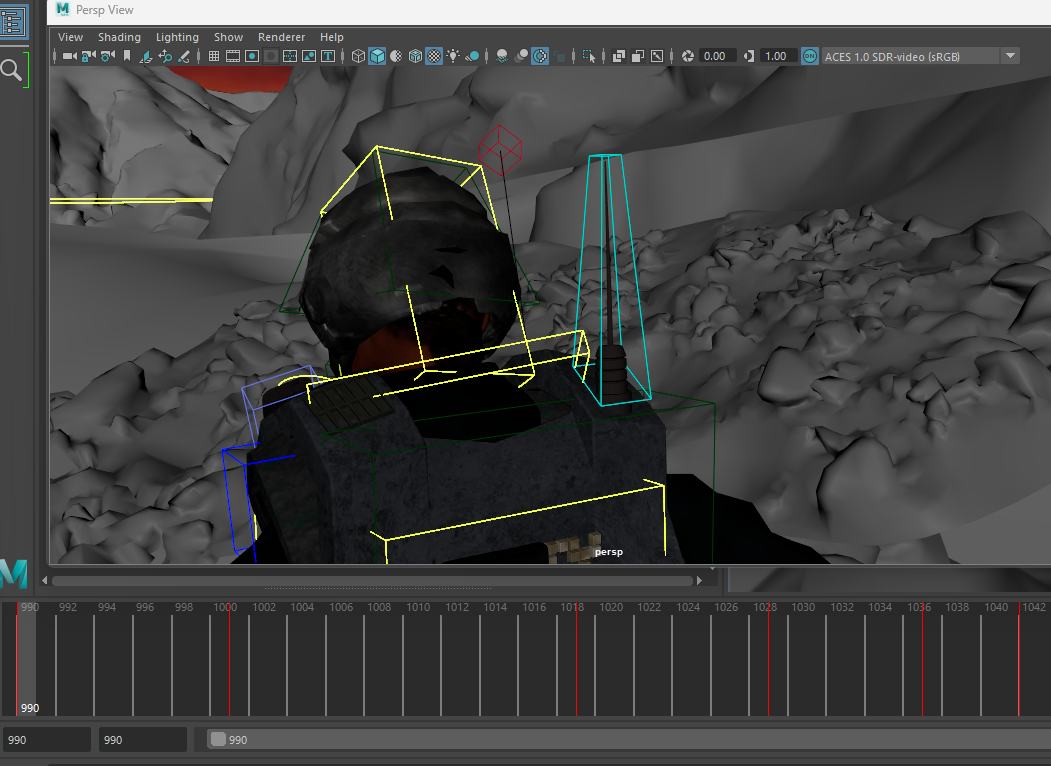
The way I setup Nico, she has a dynamic radio aerial on her backpack that wobbles as she moves, for it to simulate correctly and move the joints, the shot needs preroll. Shots with Nico in I always kicked out from Maya at 990 and then in Unreal, the actor tracks would automatically be set to 990 which further solved the render issues. The preroll proved so effective that I kicked out every shot from Maya at 990.
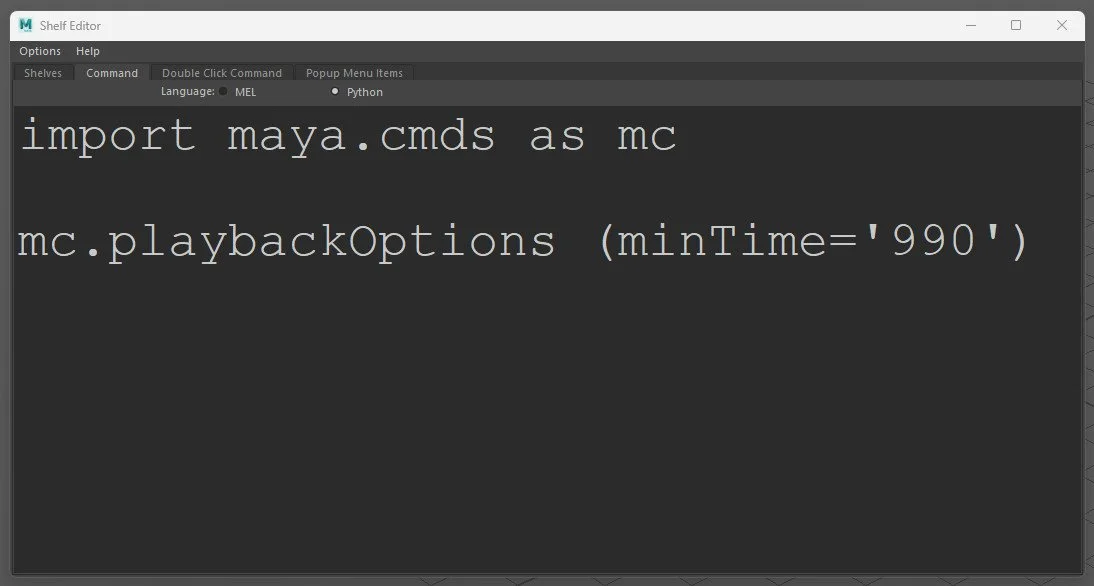
I wrote this tiny piece of code and popped it onto my Red Smoke shelf and kinda forgot about it but I found just clicking this when I was making a shot or whenever I noticed that my timeline was still set to 1001. Again, simple piece of code that reduces a handful of clicks to one and you know it will also set it to 990. This was written so quickly that the code itself was never saved, just dragged and dropped on the shelf.