
Unreal ships with several useful premade textures, materials and best of all FX. I knew I was going to need some smoke/dust for my environment and elements that existed in 3D rather than a 2D solve with a card element comped in Nuke. The Particles in the starter content are legacy but they are still very useful, especially as this is previs and I’ll work with what I can find.
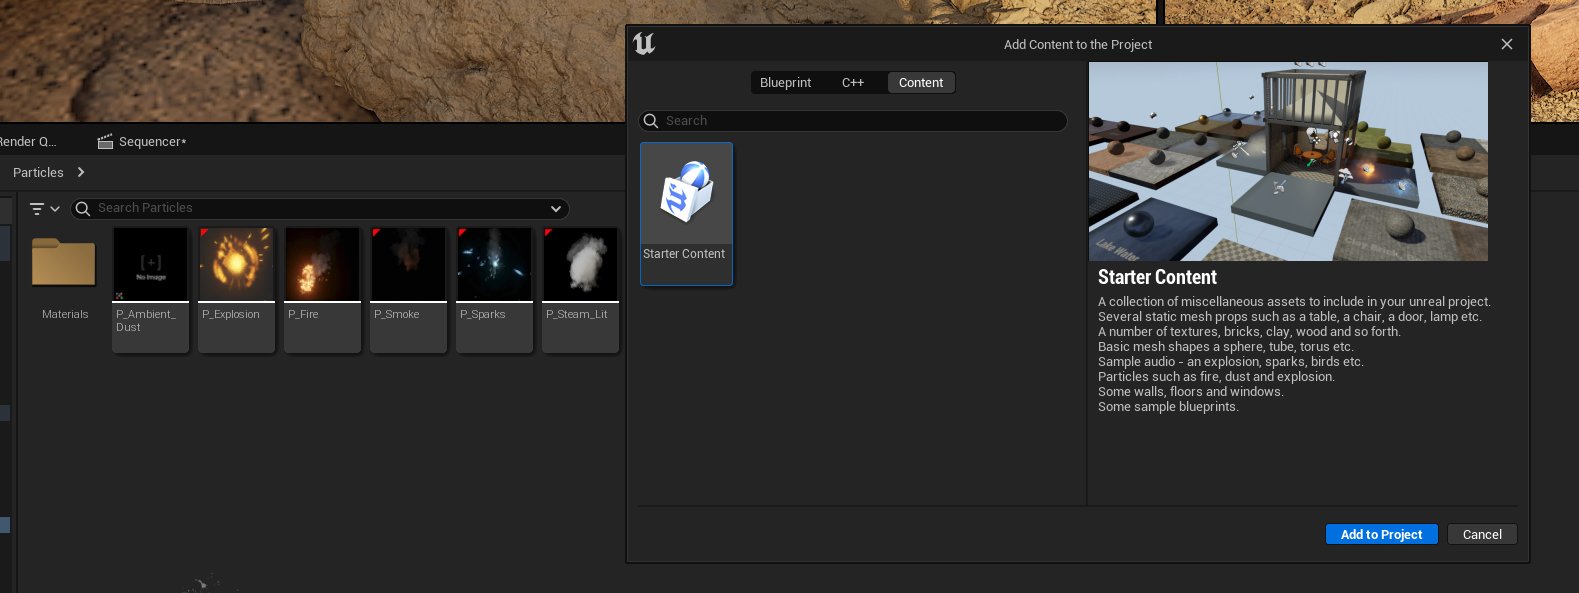
You can start your project with starter content enabled or add it later. Just right click in the content browser and select Add Feature or Content Pack and select starter content, you can then drop the particle examples into your map.

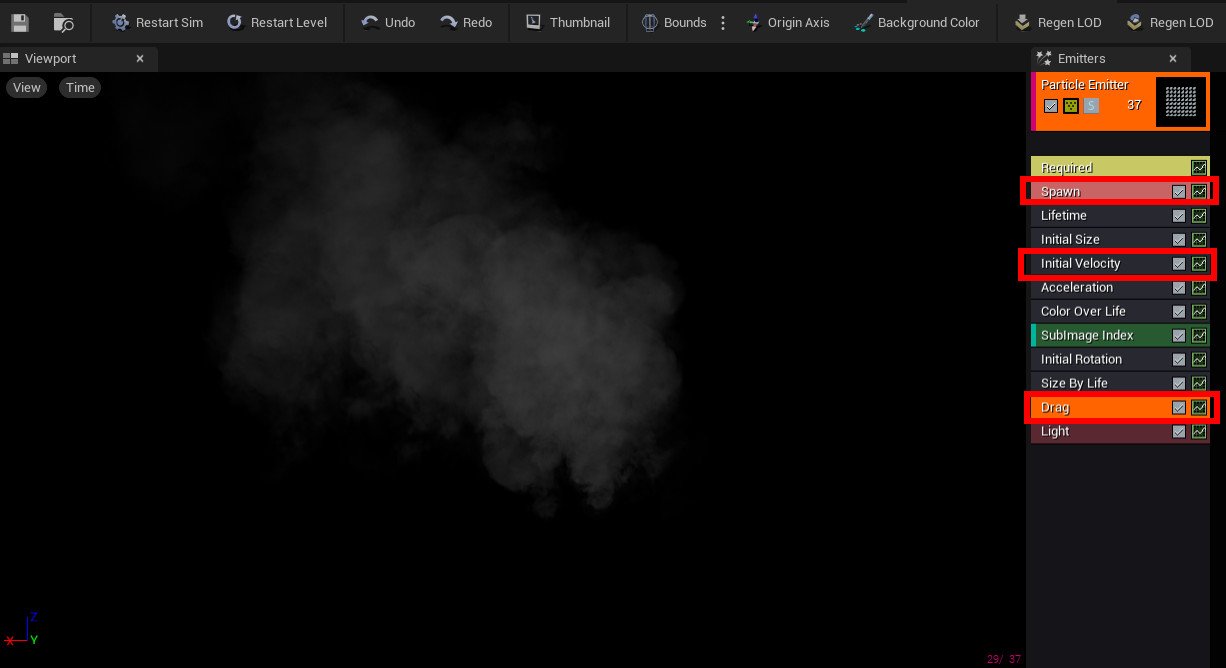
The P_Smoke asset is my go to when wanting quick smoke in my shots, I normally create a folder called Modifications and put the duplicates in there, keep things tidy and the tweaks separated from the original starter content versions. The particle setup is great but I need the smoke to feel a little different, my landscape is wind-blown so the smoke needs to move a closer to the ground, essentially more horizontal and less verticle. This can be achieved by tweaking the Spawn, Initial Velocity and Drag values on the emitter node.
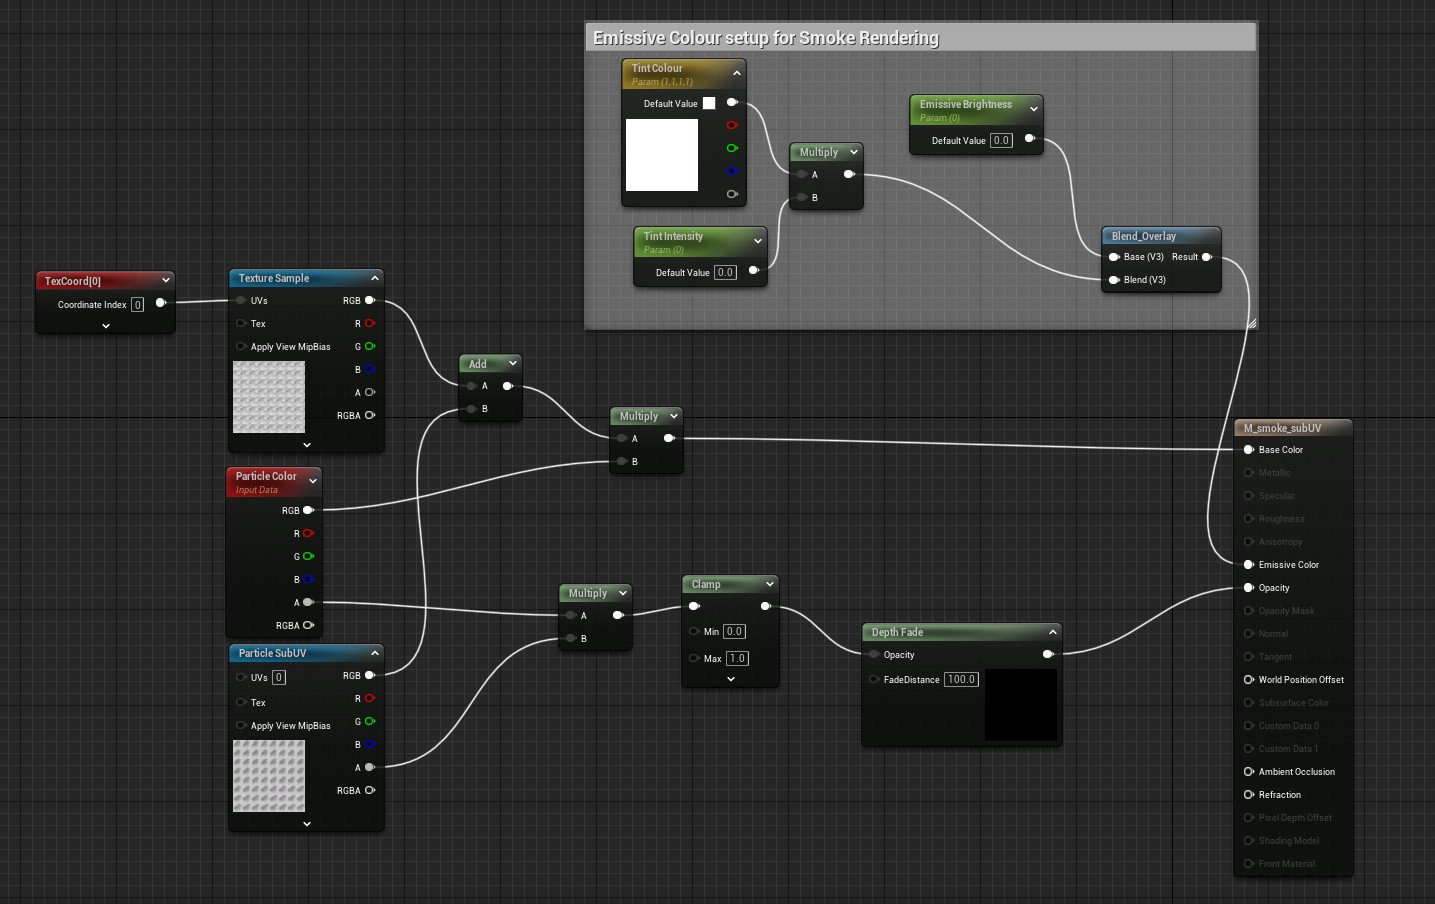

I like to modify the material that comes with the smoke asset, I add a couple of parameters for Tint Colour, Tint Intensity and also the emissive power. Having access to these helps me to better sit the smoke into the shots, it’s previs so I want to be able to tweak the elements on the fly. The smoke assets sometimes look fine in the viewport but when rendered they appear black, changing the light mode settings on the main material can help.
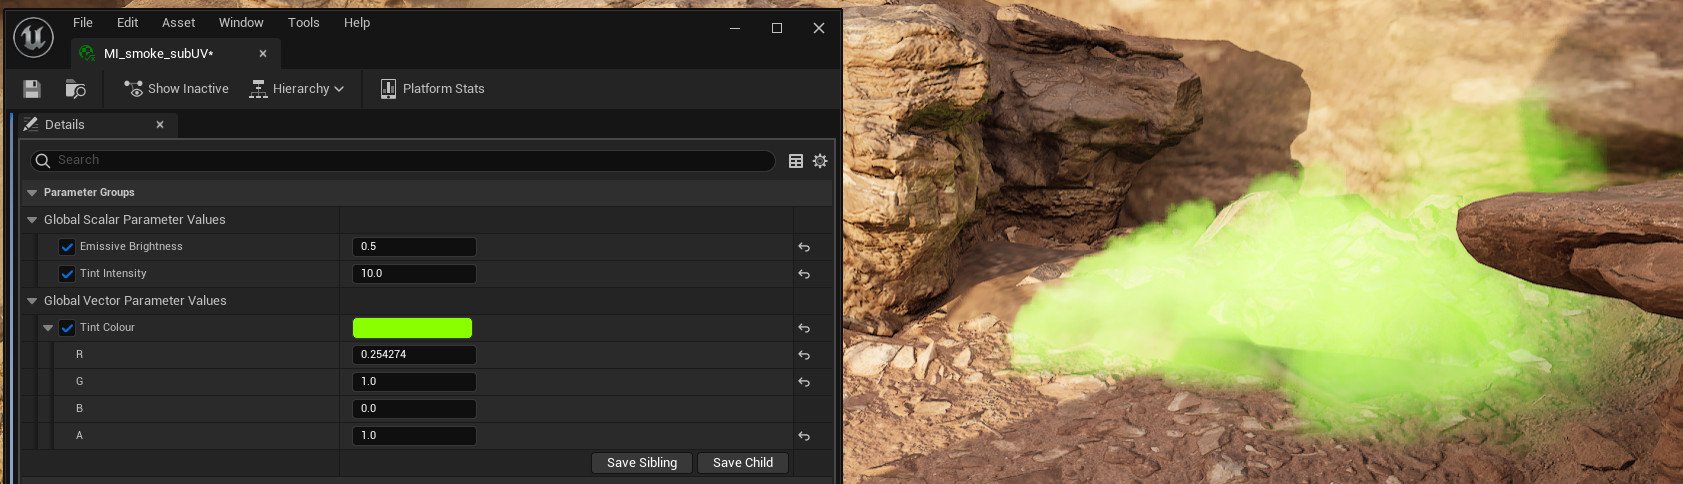
Just an example of the control you get with a simple modification to the original material, I often create multiple material instances so I can have versions for smoke in the bright sunlight and also the smoke that appears in the shadowed areas of my shots.