
A great editor and free to use, it’s quickly become my editor of choice now and this is a little look into how I set up my Red Smoke film edit.
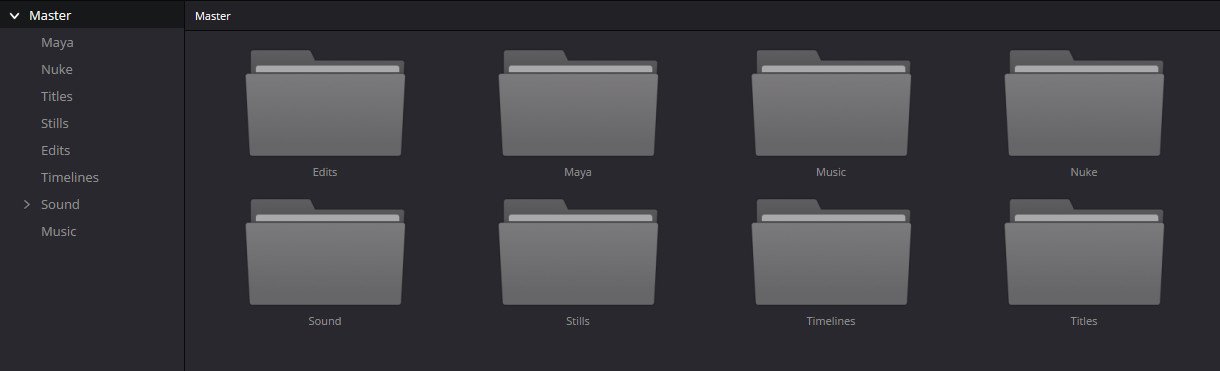
The first thing you want to do is be organised, I had shots coming from Maya and then Nuke once the HUD and Slate were designed. Having simple folders meant I knew where everything was and I could access everything I needed quickly.

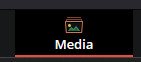
This took me a while to find, DaVinci isn’t set natively to import image sequences. You have to change how they are seen. Go to the Media tab, click the 3 dots and select Sequence. Now when you navigate to your desired folder, the renders will be displayed as individual frames, import the sequence by ctl + A to select All and import into the media pool.


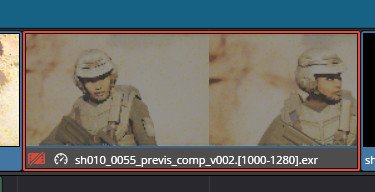
There is a way to control versions of clips in DaVinci but it requires you to work through the colour tab, which makes sense as DaVinci is a colour timing software. The way I have been updating shots is via a replace option, to get that you can Right-click and hit Replace Selected Clip. In order to make it easier to locate that clip, with the clip selected in the Timeline, you can use alt + F, which’ll take you to the clip in the media pool. The clip you want will have a red box around it.


A quick way to render out a section of your edit is to use in and out markers. You can add them with I for In and O for Out. You can remove them with alt + I and alt + O. Then select Render In Place.


Use the shortcut P to view your edit in full screen. Hitting P again or Escape returns you to the edit window. Very useful to know as the player window while editing is pretty small.

Retime a clip can be accessed by ctl + R and you’ll have all the normal retiming options.
Just like Nuke, you can disable a selected clip with D. Hitting D again will enable it.

Right-clicking is the way to find almost any feature, something I used occasionally was the clip colouring options.

The film had a resolution of 1920x1080, full HD. I also wanted a wider aspect ratio so I looked into ways to do this in DaVinci.
This version is the easiest but lacks control and the bars are either on or off which might be fine but I wanted more control.
To add bars, and in DaVinci, it’s referred to as Output Blanking. Go to the Timeline tab and at the bottom, you’ll find Output Blanking, in there you’ll have a selection of the most widely used ratios. Red Smoke is presented at 2.40 but a lot of shows I’ve worked on are a 2.35 aspect.
Click to add and if you want to remove the bars, repeat that process.
Here is a way to add bars in a more user friendly way, retain the look but also add the ability to change the opacity, the size and also whether it’s displayed, without having to constantly revist the Output Blanking menu.


Go to the Effects tab, and drag an Adjustment Clip to your Timeline. Pop it above your main edit track. You can name it and give it a colour which can be very helpful. Anything to improve the readability of my UI is worth it. Make sure the Adjustment Clip is the same length as your edit.
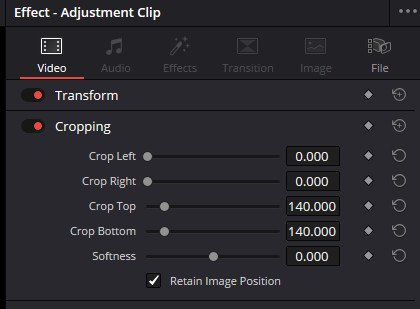

Click on your Adjustment Clip and head over to the Inspector window, it’ll probably be top right of your UI. In there navigate to Cropping and change the Crop Top and Crop Bottom. I did some research and found a handy little chart that tells you the size of the frame based on the ratio you want, essentially for 2.40 the pixels that you’ll see and render will be 1920x800. The maths is simple, take the height, 1080 - 800 = 280. Now divide 280 / 2 = 140. Now you can pop 140 in both crops and you’ll have the same Output Blanking as the other method but it’s a clip and exposes lots of settings such as opacity or disabling.

Davinci gives you a way to add useful burn-ins. Go to Workspace and click on Burn-Ins. There are a many options, these are the four I used, and a lot of those use metadata to work correctly. You can further manipulate the look of the burn-ins on the panel. Something to note here, the settings for size and colour will affect everything but you can place them individually.