Project Setup
After adhering to Unreal Engine’s requirements we can start to import our animations into the engine and start having some fun. Before we can we need to make sure our scene is ready for the new content. Before making this film I had not used Unreal so I separated everything, perhaps a little overkill so I defaulted to grouping everything.
When starting in new software the aspects you take for granted in your preferred DCC package are thrown out of the window, even saving work in Unreal during your first few hours can get tricky. The difference between a project and a level aren’t obvious at first and once you start seeing sub-levels you can become unstuck very quickly.
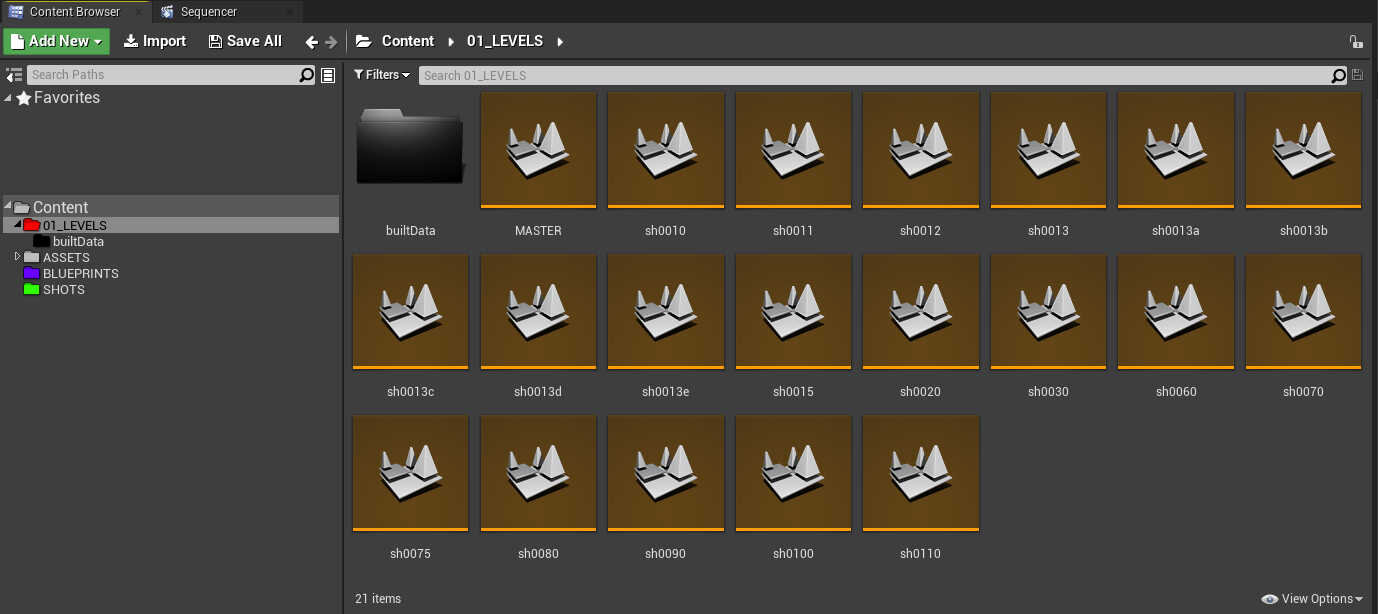
After a lot of experimentation I decided to keep every shot in it’s own level. I started with a MASTER level and this essentially became the level which I duplicated for each shot to start with. That way I had the same foundation to build each shot from. Also once I had generated a look, all shots that were similar where duplicated from that shot. All the cockpit interior shots were duplicated from the same shot as a starting point. This helped me to really get several shots up and running then I could go back and art direct.

The World Outliner contained the folders that existed in each shot, ACTORS, LIGHTS, POSTPROCESSVOLUME and SKY. I found this helped me to keep the workflow organised and if anything broke or I made a mistake I could simply delete the offending level, duplicate from one similar and go from there. It was refreshing to discover how Unreal worked, I liked the fact that you could plan your scene before even adding animation. The shots all had the same sky, sunlight setup as default and I would just add extra lights.

There are many standard conventions for Unreal, I opted to modify a little. I did find that adding colour to the folders was a big help, that can be found by right clicking on the desired folder and selecting Set Color. I try to create some kind of visual pattern to follow, similar to the cloth rig design.
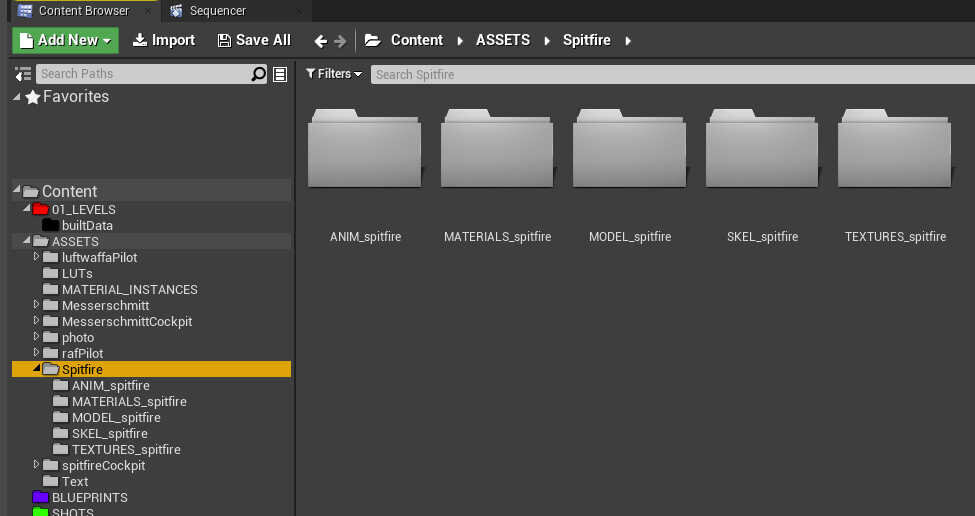
Each asset had a series of folders to contain all the associated files. The folder were ANIM, MATERIALS, MODEL, SKEL and TEXTURES. Each folder had a suffix which was changed to match the asset in question.