Lighting and Post Process
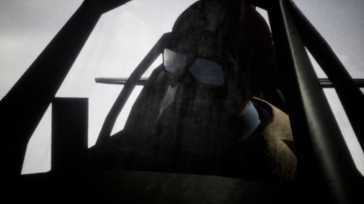
I kept the lighting simple for the film, nothing more than the traditional 3 point lighting setup. I did make use of Unreal’s awesome Post Process volume.


These books form part of my own personal library and I’m always rifling through their pages for inspiration and guidance. Dogfight was grounded in a visual reality but because I’m making a CG animated film I also wanted to explore the stylised aspect. The power of Unreal was that I could quickly go back into the animation scene, tweak, export and come straight back to the lighting phase. I could almost animate with final lighting, it was that fast.


Sky was an important character for this film and I was so impressed with Unreal’s Sky Sphere actor. This was the backbone of all of the shots, it was easy to use and came bundled with a whole array of settings to help me find the right balance between cloud density and speed. The main areas to remember when using this is that the Light Source is linked to the Sky Sphere and will need to be refreshed when the Light Source is moved.

You can refresh the material by clicking Refresh Material in the details panel. If you so choose you can also uncouple the Light Source here as well, simply clear the input source in the Directional Light Actor drop down menu box.
Using the 3 point lighting setup was helped to keep the scene logical and under control but also allow me to understand how Unreal wanted to work. I decided very early on that I was going to work in Real-time and not bake any lighting out so I switched every light to Movable, something you wouldn’t be so cavalier about if you were making a game but I wanted keep everything in the moment.


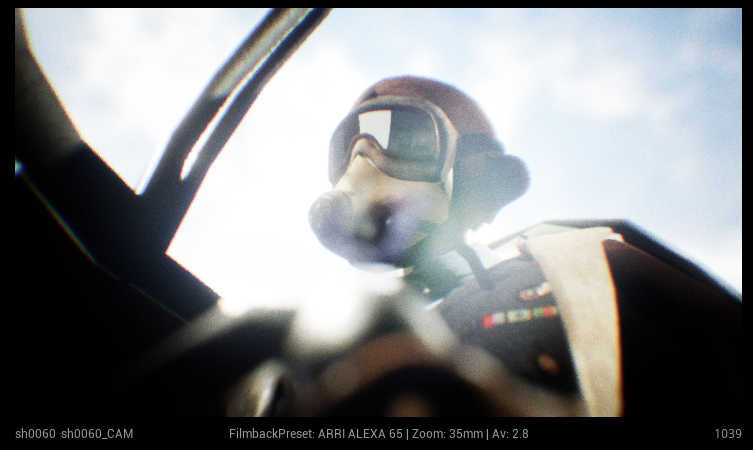
Using a combination of SpotLights and DirectionalLights I quickly created the lighting, I wanted to constantly over expose the image but also to pick out details in the frame.


Switching between Lit and Lighting Only is a great way of understanding what the setup is doing, especially helpful to see shadow fall. Hitting the G key hides all the icons that appear by default, however leaving them visible means you can quickly produce tech vis screen grabs to show lighting placements.


The Post Process Volume allowed me to enhance the lighting in such a way I could avoid the compositing step. I graded, added grain, dailed in a vignettes and colour graded all in the shot. Keeping track of the setting you have altered is very important so I tweaked all visual aspects of the image using the volume but left the lensing to the camera actor. You can alter the lens information through the volume but it was clearer to keep it with the camera settings.

The settings on the volume can be useful to utilise, I would often over crank the look from the volume and play with the value on the Blend Weight to slowly reduce the power of the volume and bring some of the pure lighting build back into play. Here you can also use the check box to set the volume to have an Infinite Extent.
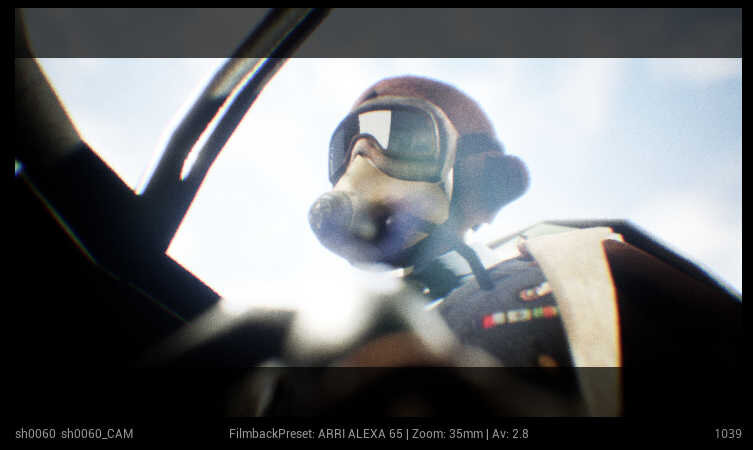
An excellent feature in Unreal is to be able to quickly add overlays to the images you are view in the sequencer. The grid 3x3 and the letterbox are both incredibly useful for framing and adding a touch of cinematic flare to the shots. These overlays can all be customised as well, I would often tint the 3x3 grid Red and play with the transparency of the letterbox mask.