Exporting Rigs to Unreal Engine
Getting the models and rigs into Unreal at first was challenging as I wasn’t at all familar with game engines and how they operate.
Very simply, the preset didn’t bake any animation on export. This was then saved out and versioned to match the Maya ASCII rig version. The workflow centered around importing each Asset as a Rigged Model and then each animation imported as Skeletal data. The preset was also named as UE_rig and the animation preset as UE_animation.


Unreal also wants to work with Triangulated meshes. I did a couple of tests and I found that that setting the FBX to triangulate on export to work fine. My assets were light so an automatic operation might prove disastrous on models that require detail in certain areas. For that I suggest using Houdini and it’s powerful ReMesh node.

Super simple, the Maya ASCII was referenced into the animation scenes and the FBX was imported into Unreal. Another requirement before exporting the FBX rig was to make sure that all the objects making up the model had basic shaders applied. I had added my textures to the rig for the animation scenes anyhow but once the FBX was inside Unreal the shader assignments are converted to elements which allows Unreal to assign shaders. Once you know, it’s a very nice workflow.
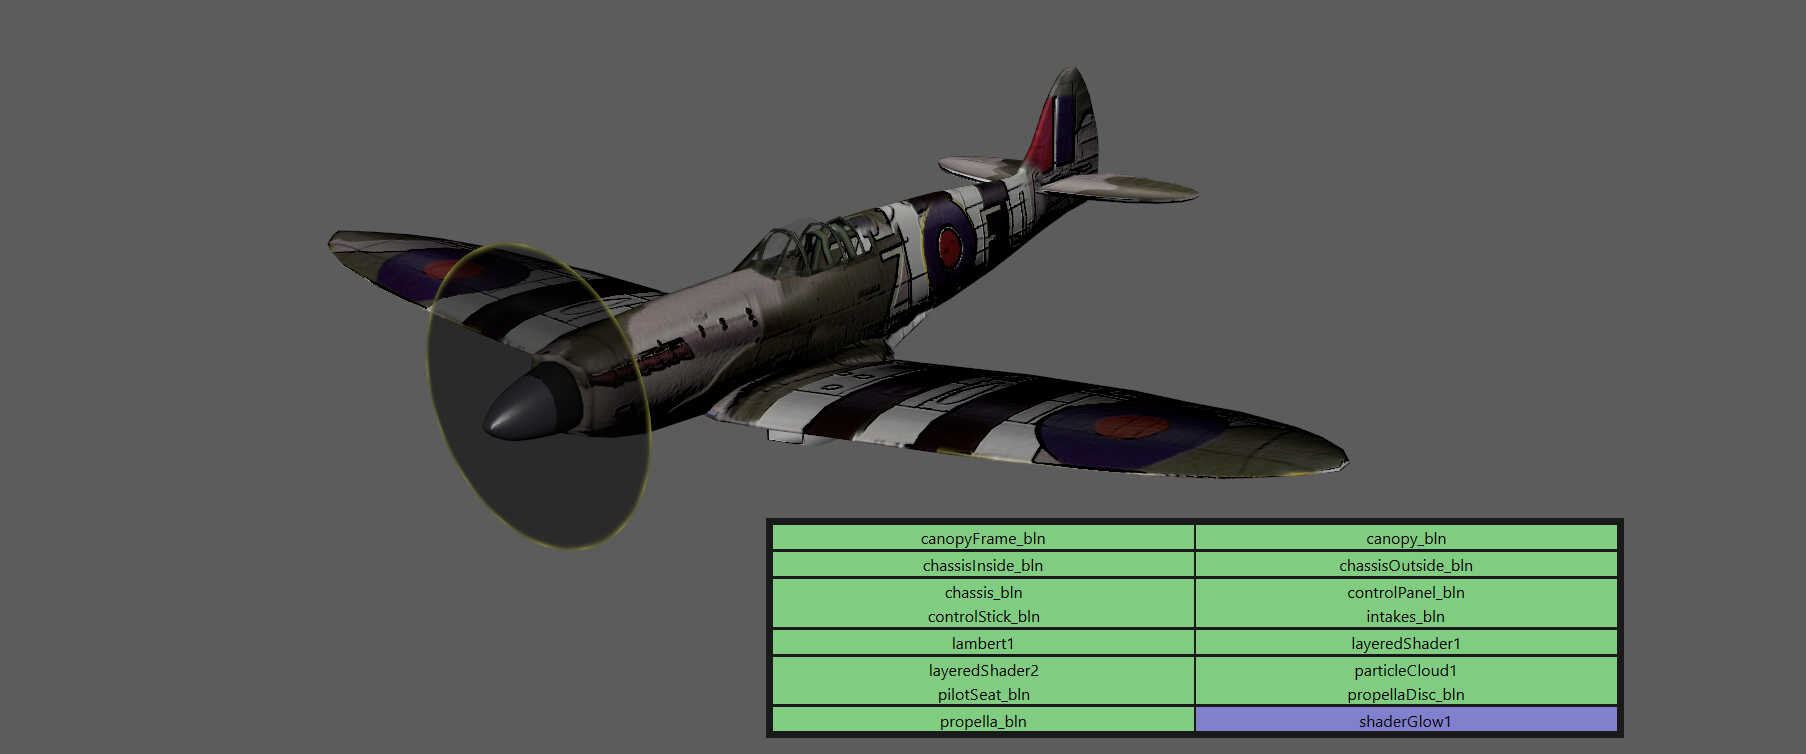
The shader names inherited the names from the geometry they were assigned to, this made it easy to see which part needed which texture applied in the Maya rig scene. The reason for using Blinns was because the creation of the materials came from a CFX script I had written and figured it wasn’t worth converting to a lambert.