DCC Asset Creation
The idea behind the film was to create visuals akin to visualisation with a filmic ping. The assets themselves were not particularly details in anyway and I deliberately kept them low poly. Once again, research and image collection is the first step to making a film.
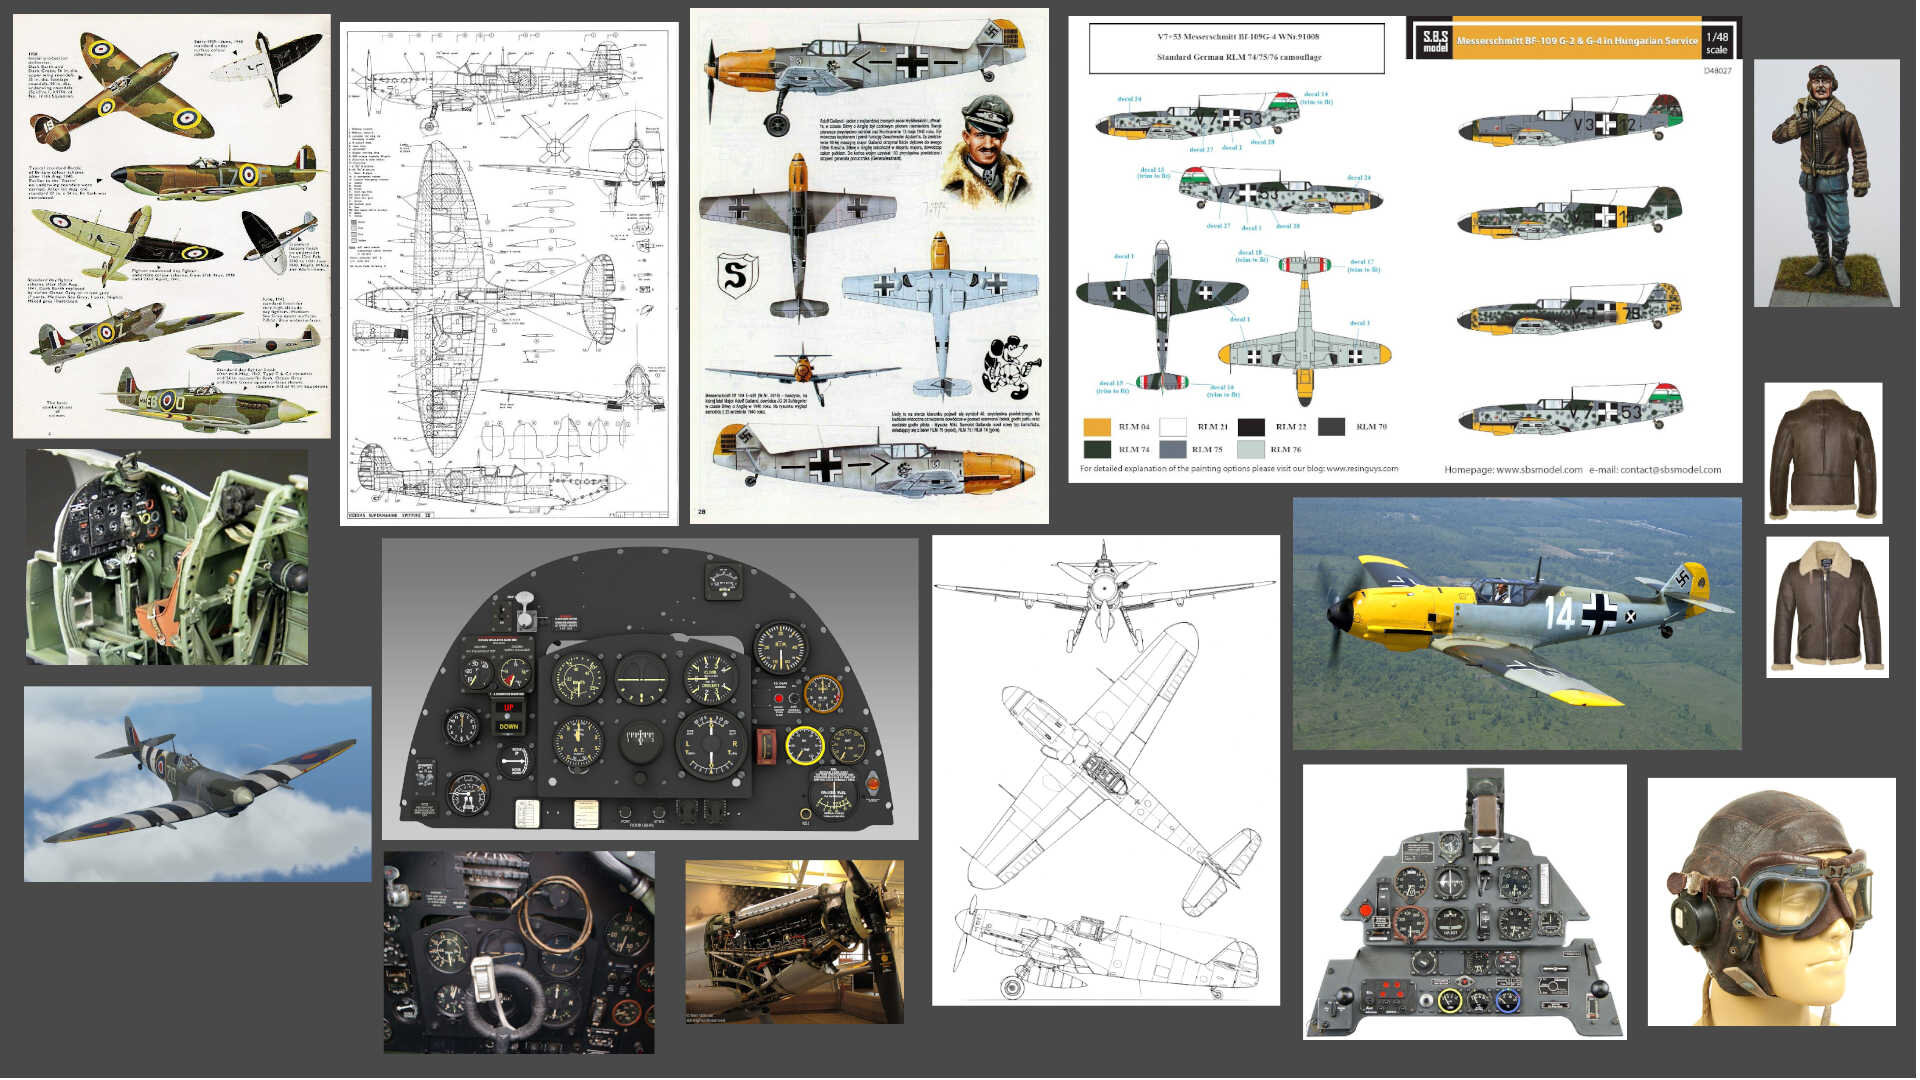
Above is a sample of the images I collected, I found YouTube had many uploads from airshows and there is nothing better than seeing the real planes in action, I’m amazed that there are so many left, a testament in the build quality.
Maya is my main DCC, so everything started there. The models were built using the many model sheets on the internet and I build it in the sections first then retopolgised the chassis shell over the core areas. Both the Spitfire and Messerschmitt have iconic silhouettes so this technique enabled me to work fast and retain the shapes.


All assets were made using this process, start as simply as possible and built up detail where necessary. Visualisation work is all geared around real time and is a fast paced workflow. Keeping the assets easy to handle was my number one goal here.
Rigging was relatively straight forward, the aircraft themselves didn’t require many controls so that enabled me to keep the joint count extremely low. I found that Unreal needed the joints had to be in one hierarchy and have a joint that was positioned at world zero. This Root joint effectively tells Unreal where the asset is at all times. It was initially a little odd but I soon got used to it.

Clean rig structure and a limited number of joints to manage. I did find that when building and testing that if your rig was saved and exported to Unreal with multiple Bind Poses this caused a few errors. To avoid this, make sure before you Bind Skin, check the joints for old Bind Poses and remove them. The Spitfire contained only 2 Bind Poses, the chassis components and the propeller disc.

Using sets really helped speed up the export process. I discovered early on that Unreal was very particular about how it receives assets such as rigs. Making this film was a first and so was using Unreal and the workflow was a learning process. The workflow I settled on was to create two versions of the rig, save one as Maya ASCII and the other as a FBX rig.