Making cool looking shots is aim in previs and giving the director what they want. Here are some ways I pushed shots with simple ideas and techniques.
Material Switching in Unreal
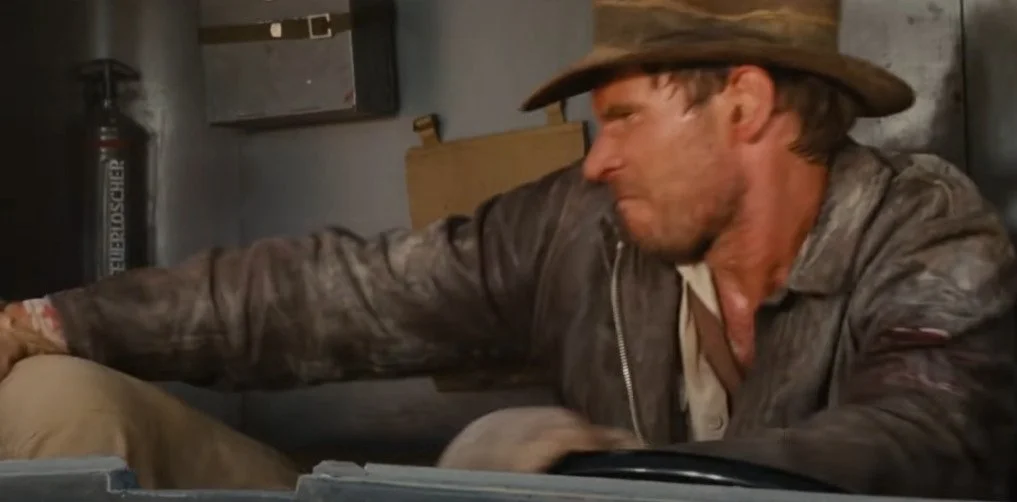
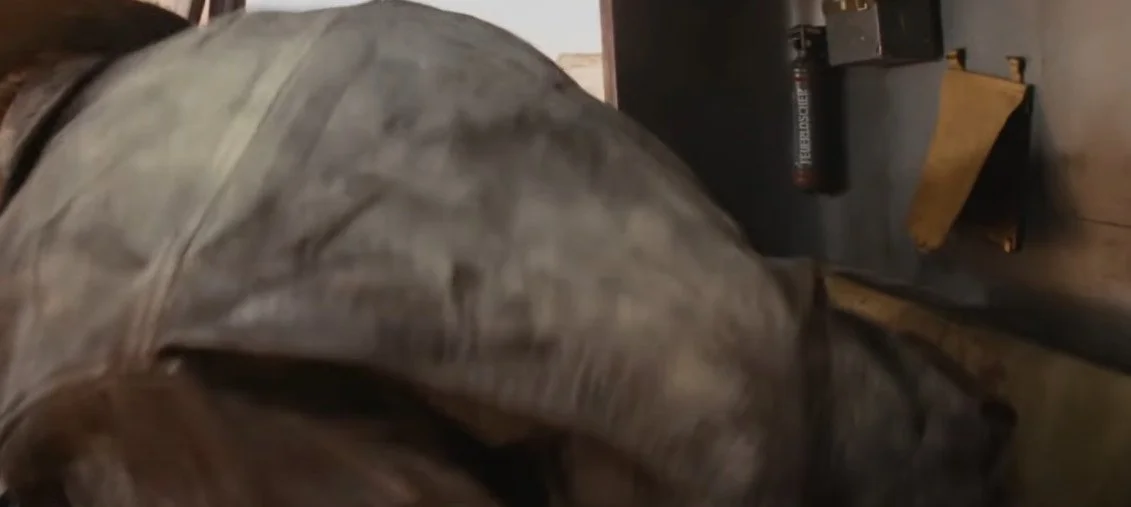

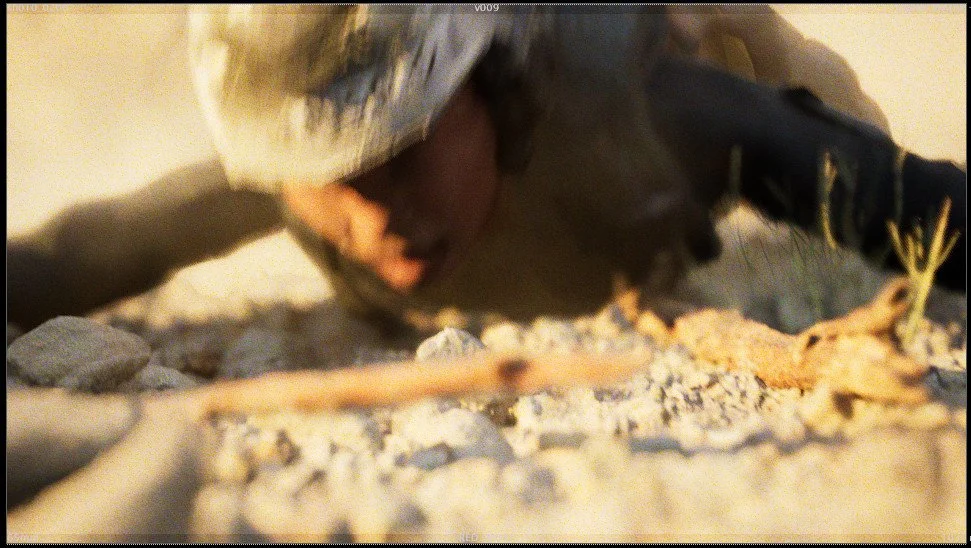
Previs is the frame work of a possible shot in both principal photography and final VFX. I wanted to add the idea here that Nico’s environment has a direct effect on her. After the blast, she’s partially covered with rocks and dust from the grenade blast. I instantly thought of two images, Ford’s dusty wounded hero from the Raiders truck sequence and Hideo Kojima’s Venom snake from MGSV. Both had the ideas that I wanted to replicate.

Default Material

Variation Material
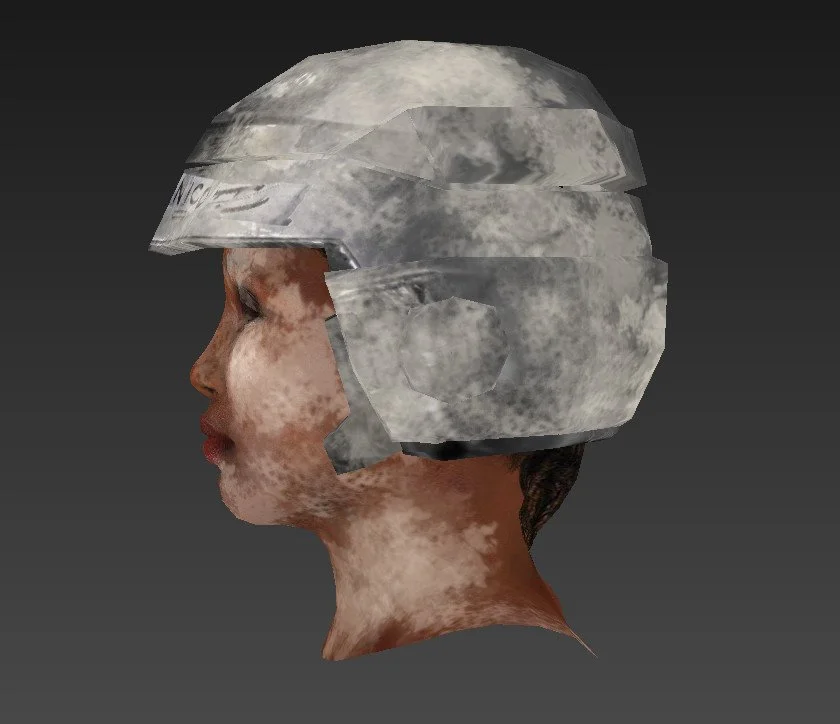
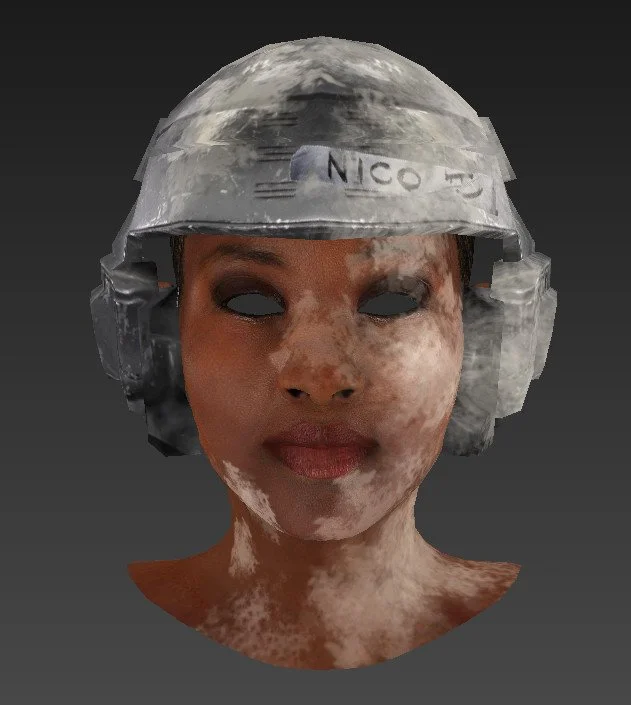

I hopped into Mudbox and painted some areas of dust and grit on her, paying attention to leaving one half of her face clean to match the angle and position she dives for cover. It’s very simple but creates some much needed complexity and elevates the very clean, clinical previs to something worn, damaged, and real. Again, it’s to convey the idea that her world is real, if only just for her.
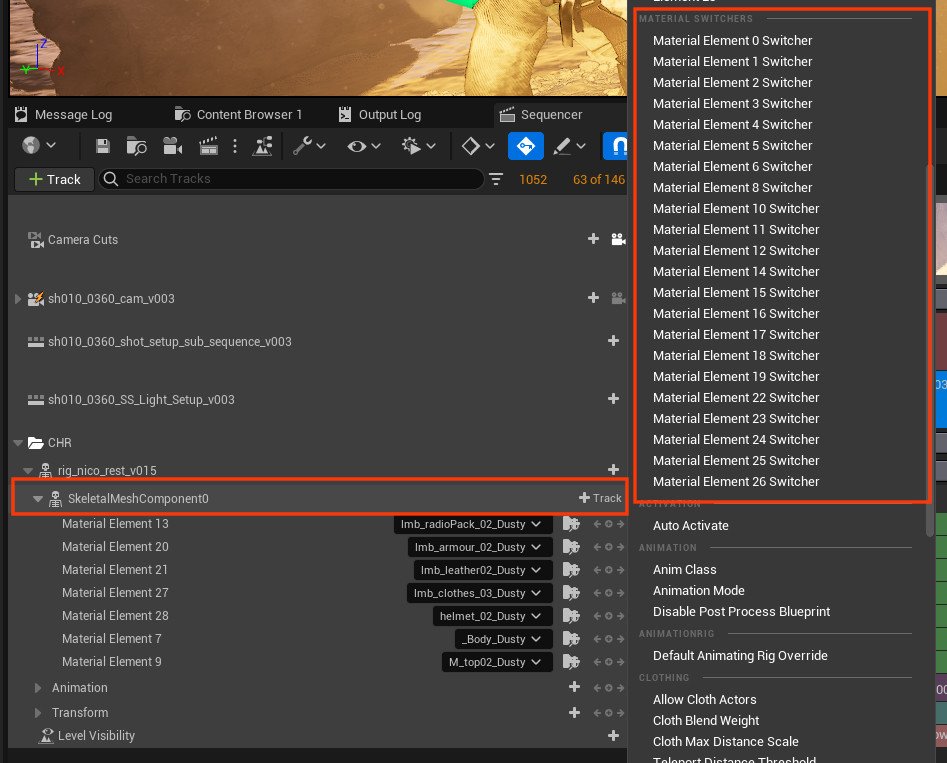
In Unreal, you can hot swap materials in the sequencer. Add a SkeletalMeshComponent track using +Track and use the Material Element Switcher to select the correct part of the mesh you want to change to the new variation texture. When I made the variations I used _Dusty as my suffix to make them easier to find.
FX Card Rig in Maya
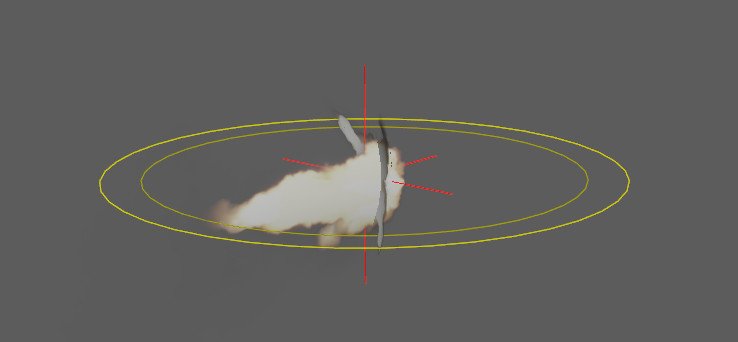
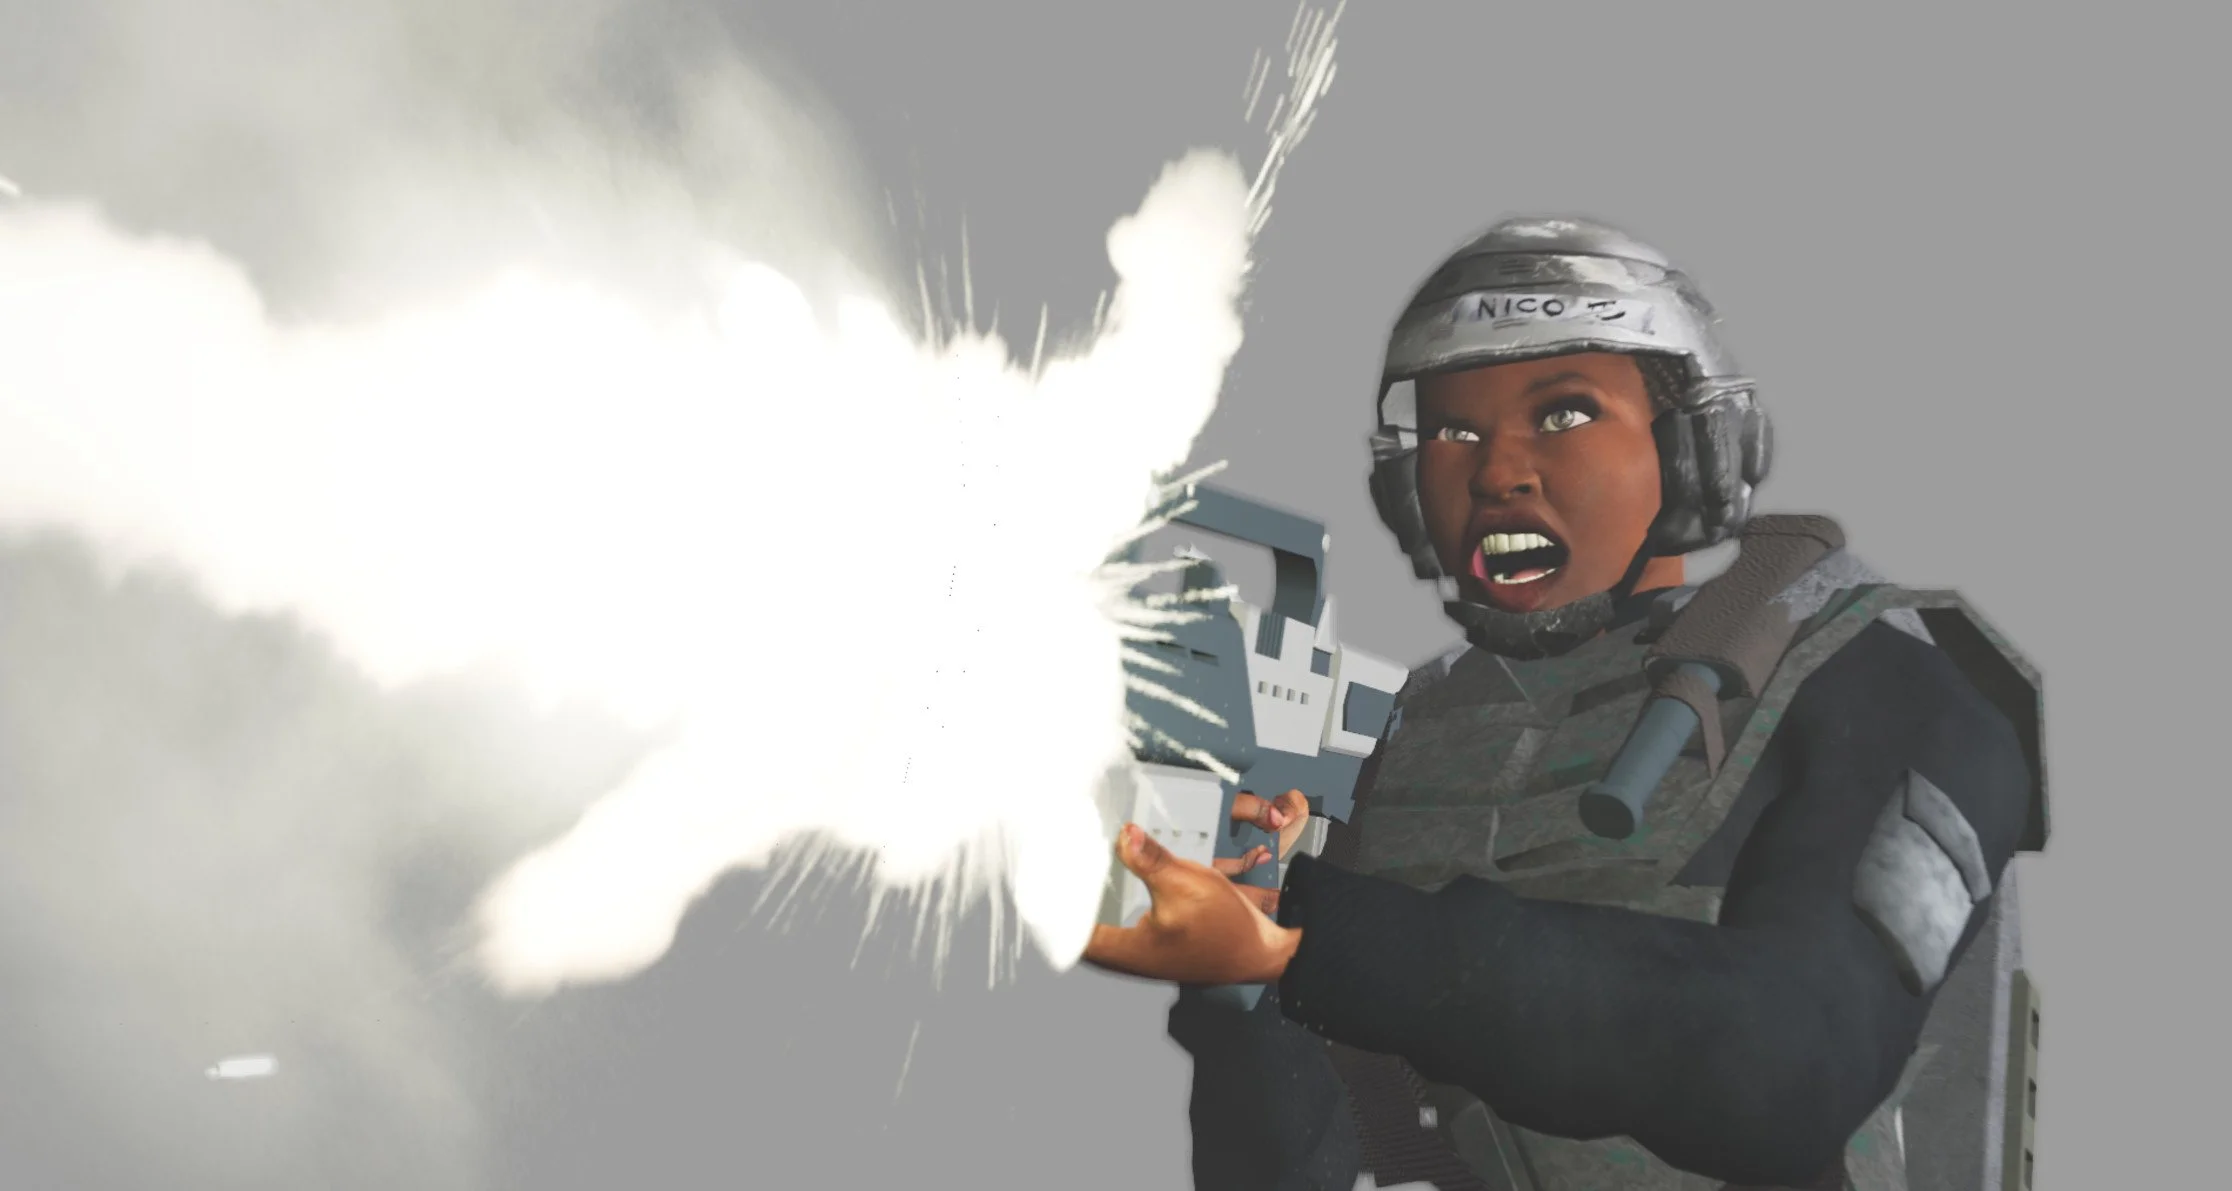
A way to add complex FX work is cards like I mentioned on the FX Card page. You can also use the same principle and turn the cards into a FX rig which can be referenced into your Maya scene the same way as a traditional rig workflow. Here I made a muzzle flash rig. The rationale here was that I wanted something more than just a single card and Nico would be firing in multiple shots and a rig meant I could easily propagate it across the shots.
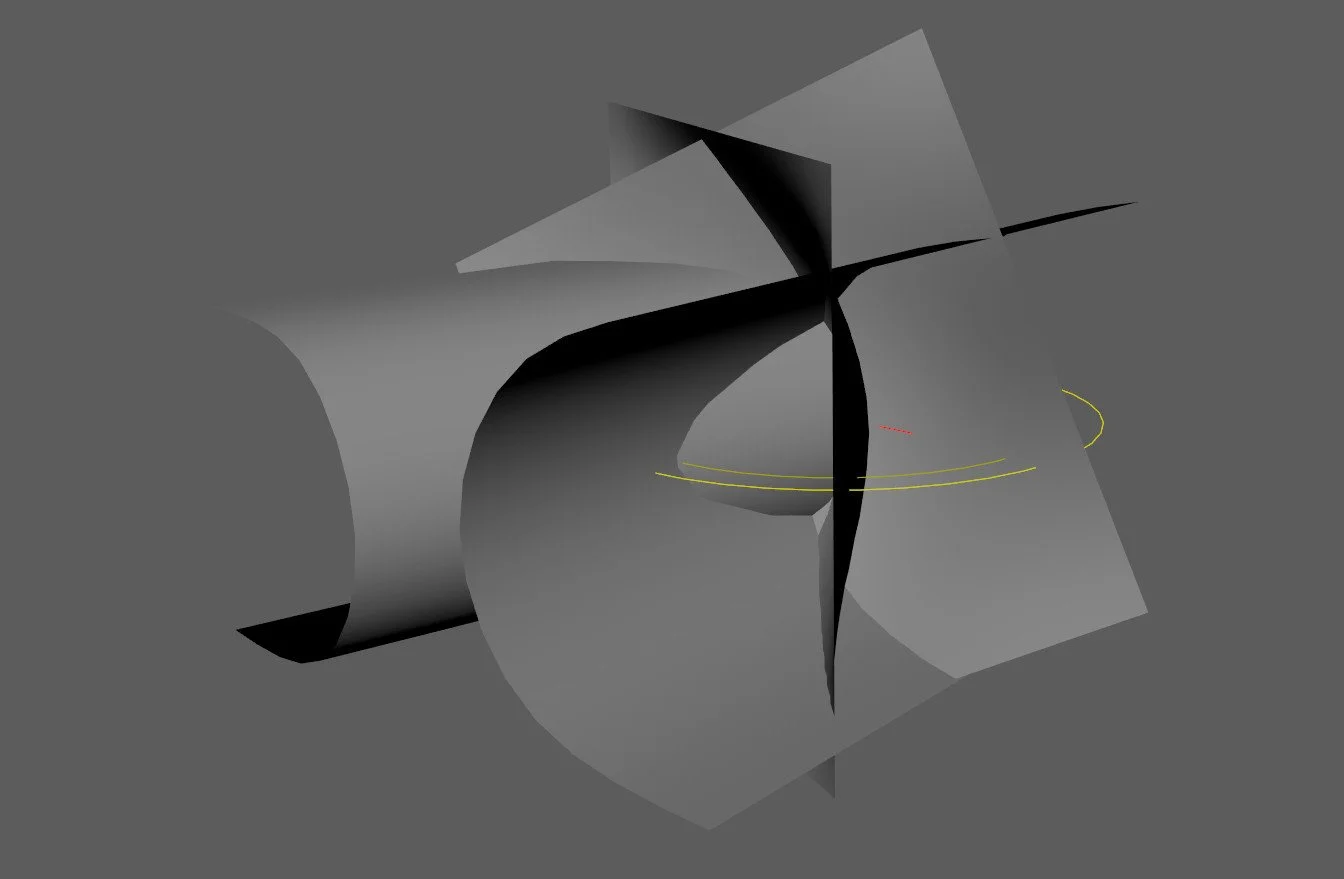
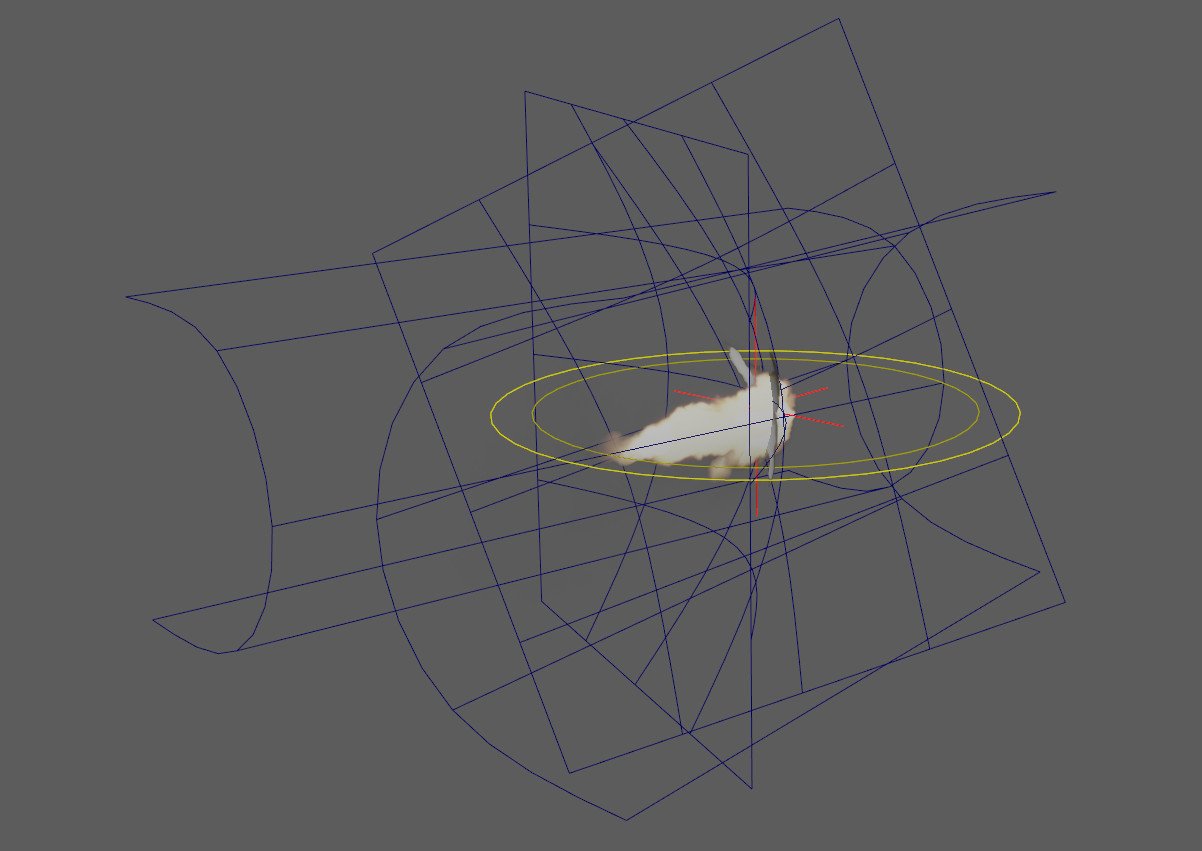
The rig is made up of four cards, each with a muzzle flash image sequence. I chose elements from the front and the side and positioned them to make something akin to a comic book flash. I placed a red locator to aid with placement. I used bend reformers to quickly shape the cards, they remained live so the curve could be tweaked further in the shot to tailor it to the camera angle.
The image sequence expressions on the materials were removed and replaced with linear key frames to enable me to loop the image sequences.
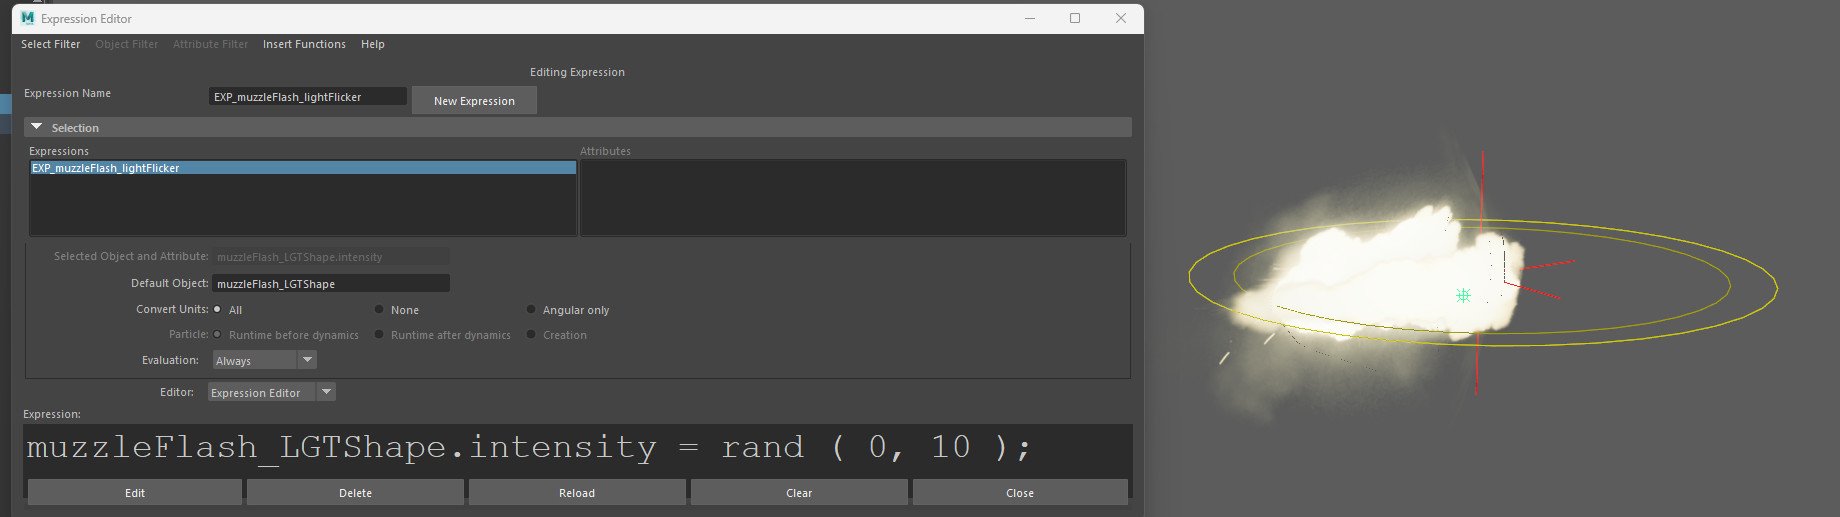
A final embellishment, I added some interactive light by using a point light and making use of Maya’s random expression. The expression drives the intensity of the light randomly between 0 and 10. If you need to manipulate this further, you can bake out the intensity and retime the keys in the graph editor.
Secondary Action via Maya Rigging
I made a rig to show the shells being expelled from the rifle, both to add visual interest and to create secondary motion to help the depth of the shots.


The consists of a shell shaped geometry which is rigged as normal. The motion paths are pre animated in the asset, looped and then published out ready to be used in the shots.
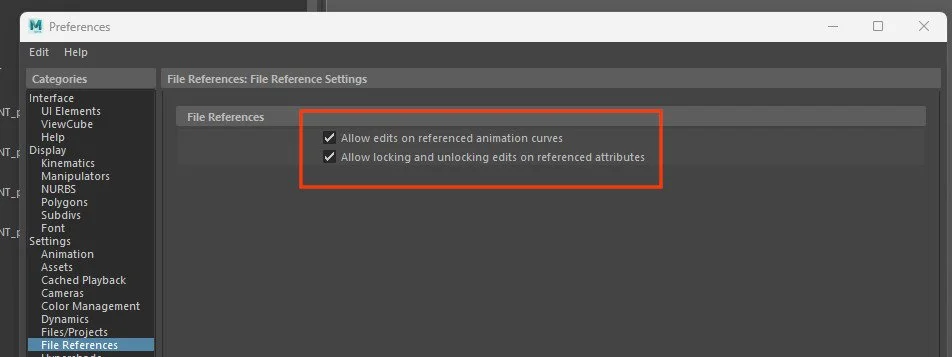
To be able to manipulate the animation curves on the controls in the rig when referenced in the shot, you need to make sure you allow edits, go to Preferences and Referecnes and check both.

Once unlocked you can tweak the curves in the shot, if needed. Retiming can also be done and will help fake the number of shells being kicked out as Nico fires on the Bug.
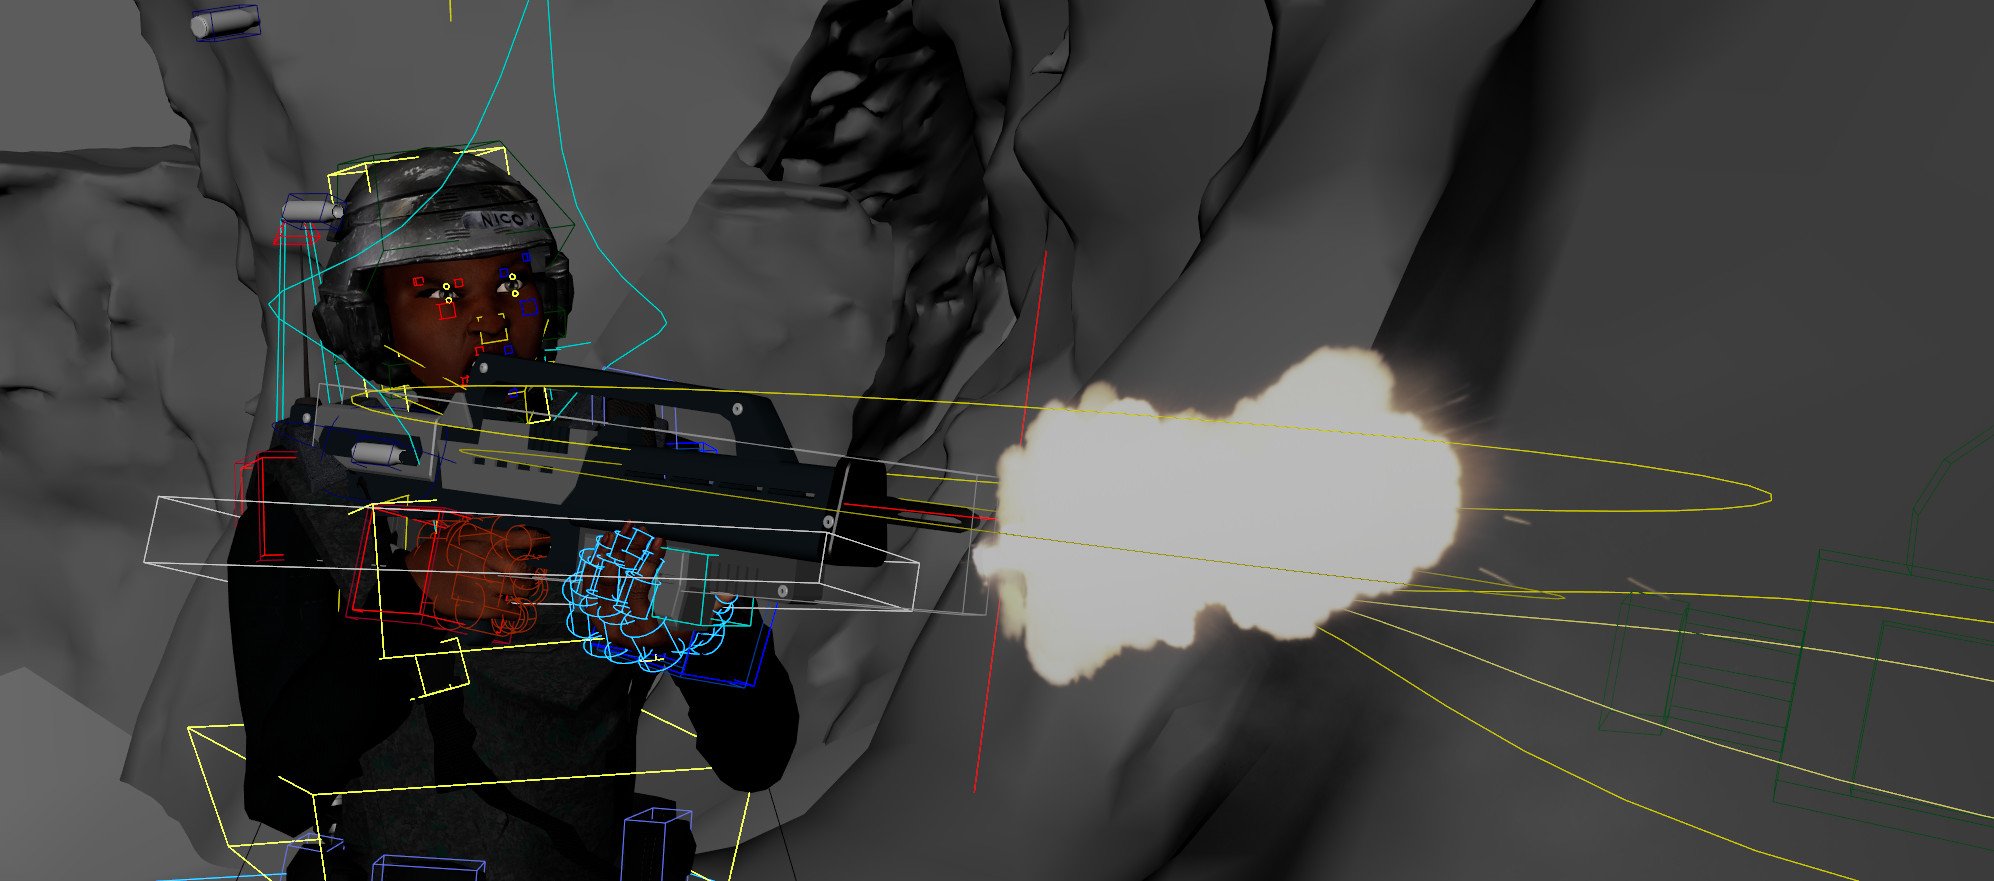
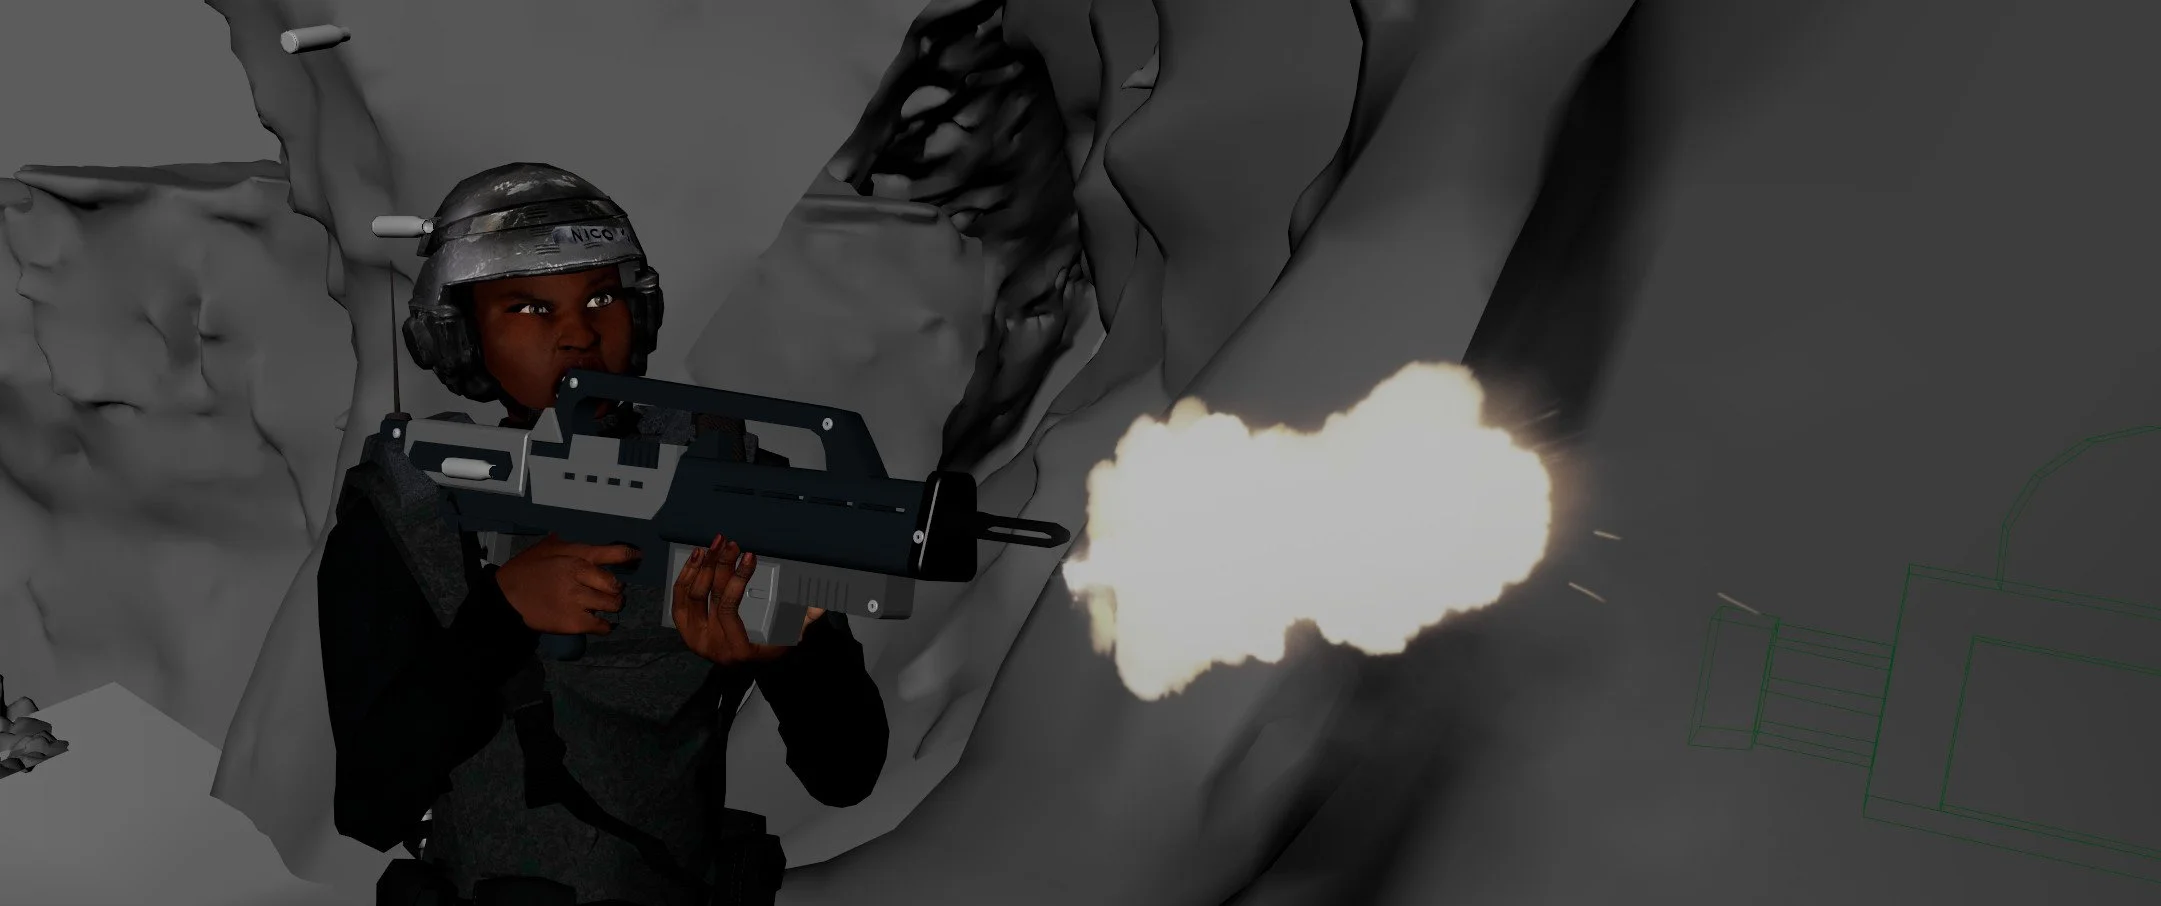
This is a playblast of the muzzle flash card rig and the shell casing rig working together. Very fast, very easy to set up and also easy to modify within the shot itself.
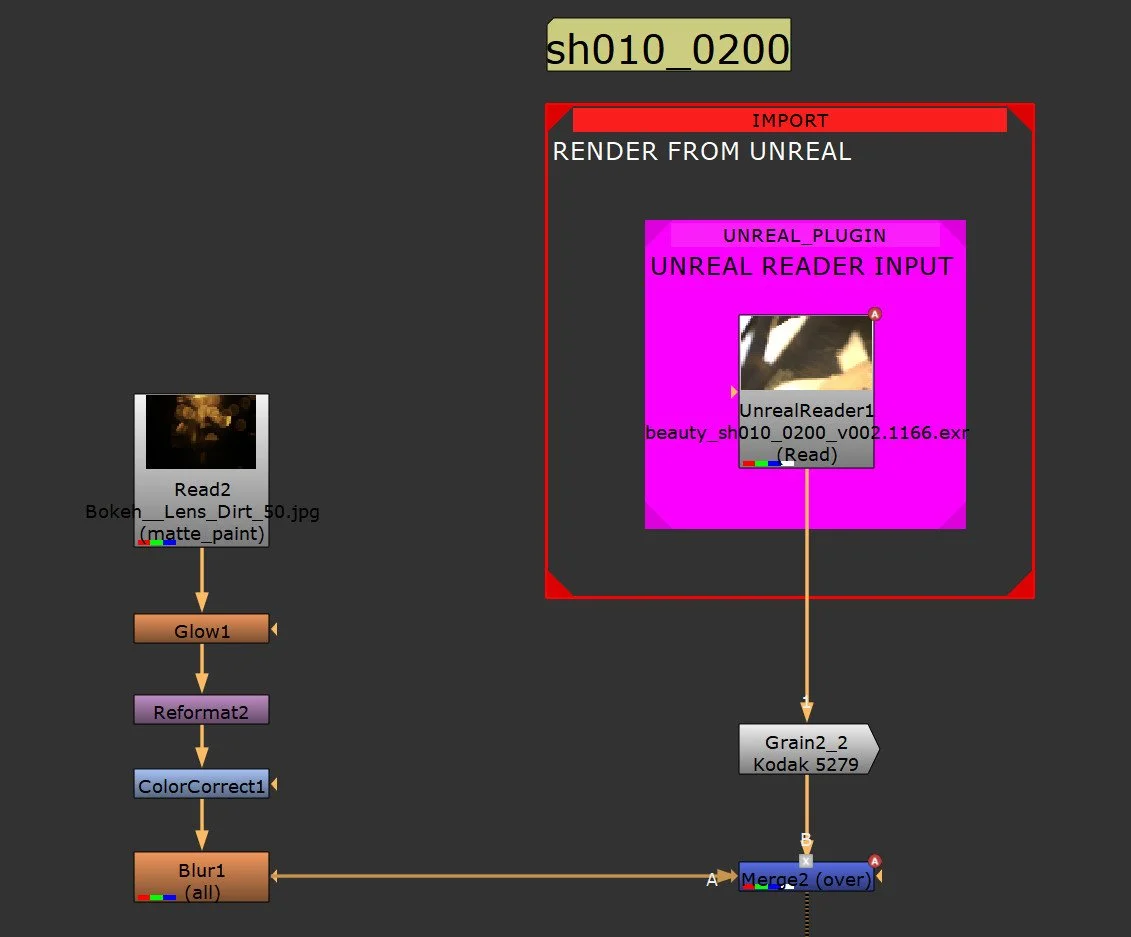
Lens Dirt
Dirty frames can be loose framing or it can be literally a dirty lens. Adding these can increase the feeling of the camera being right at the heart of the action and adds interactivity.
Lens Dirt Texture On

Lens Dirt Texture Off
It’s subtle, it’s there to help tie the action to the camera, in this moment Nico dives and during her landing she displaces a few rocks and it feels like some dust kicks up and muddies the lens.

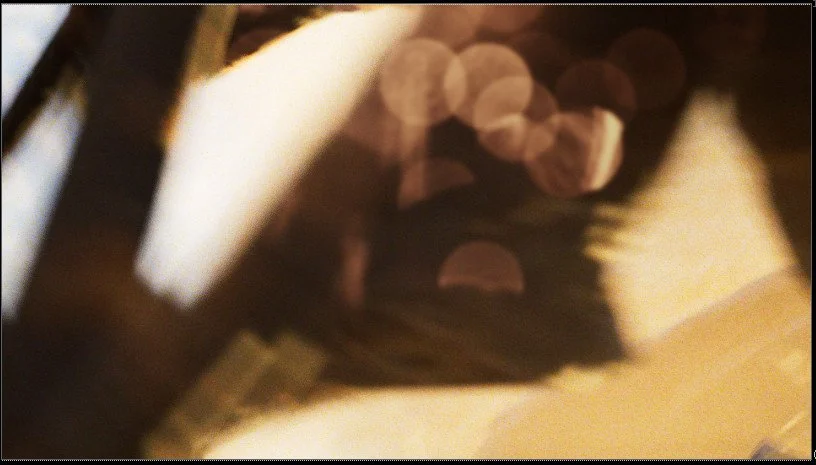
Bring in a texture you like, and check the colour space, here it needs to be Matte Paint. Grade and embellish if needed and then merge into the pipe. I animated the merge to fade the lens dirt in and out. Pushes the shot with very little additional work.