In visualisation you are almost perpetually working at a pace and have to be able to build complex fx work quickly, that’s where 2D elements come in. Having a solid library on hand will allow you to efficiently add natural phenomena to your shots, things as fire, explosions, and smoke.
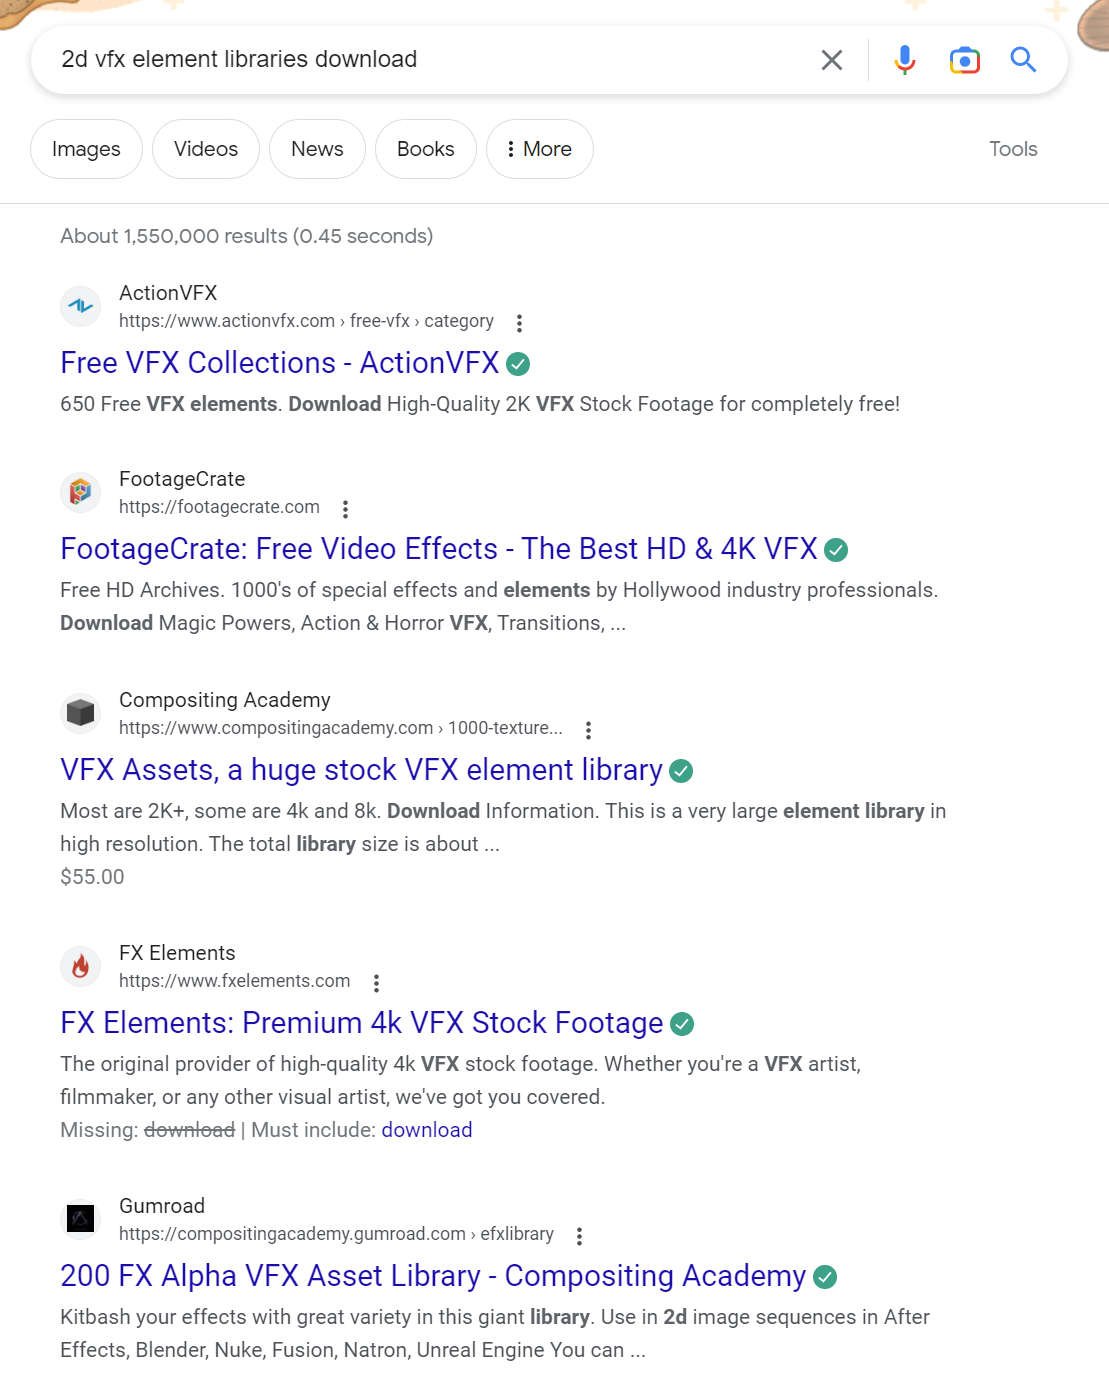
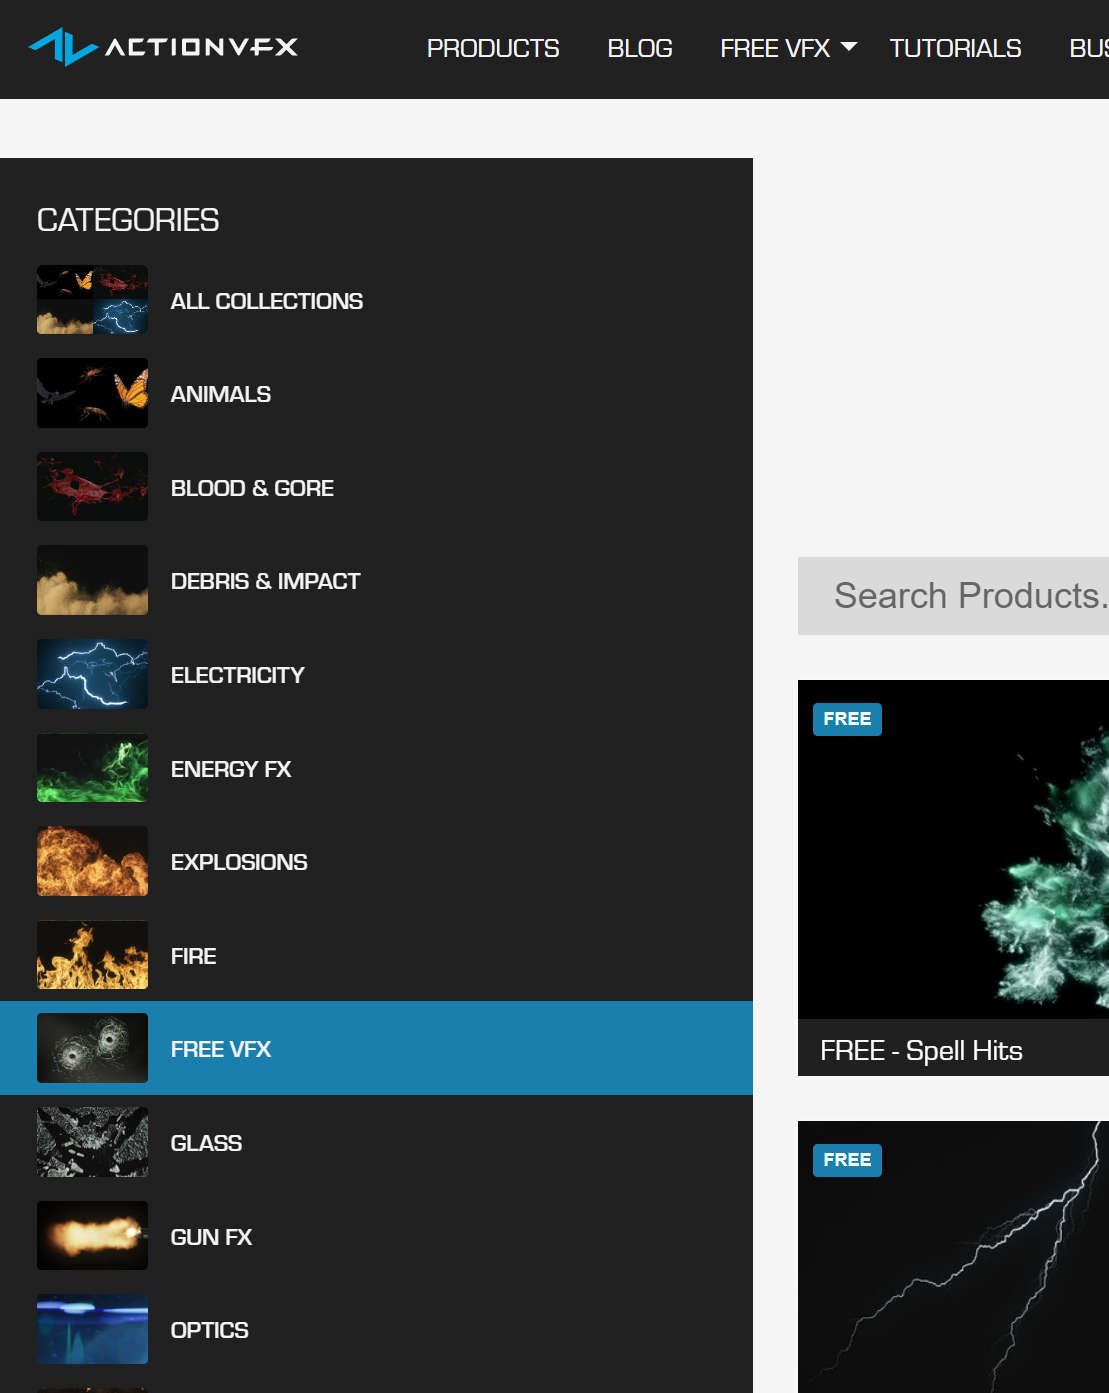
There are several sites dedicated to photographic elements and most offer a subscription module or you can buy just the elements you like the look of. In previs I try whatever I can to keep costs down as you are usually finding your film and what you need will change rapidly. There are a handful of elements that are set as free, not only is this great for the bank but you can get a feel for the quality and how they might look.

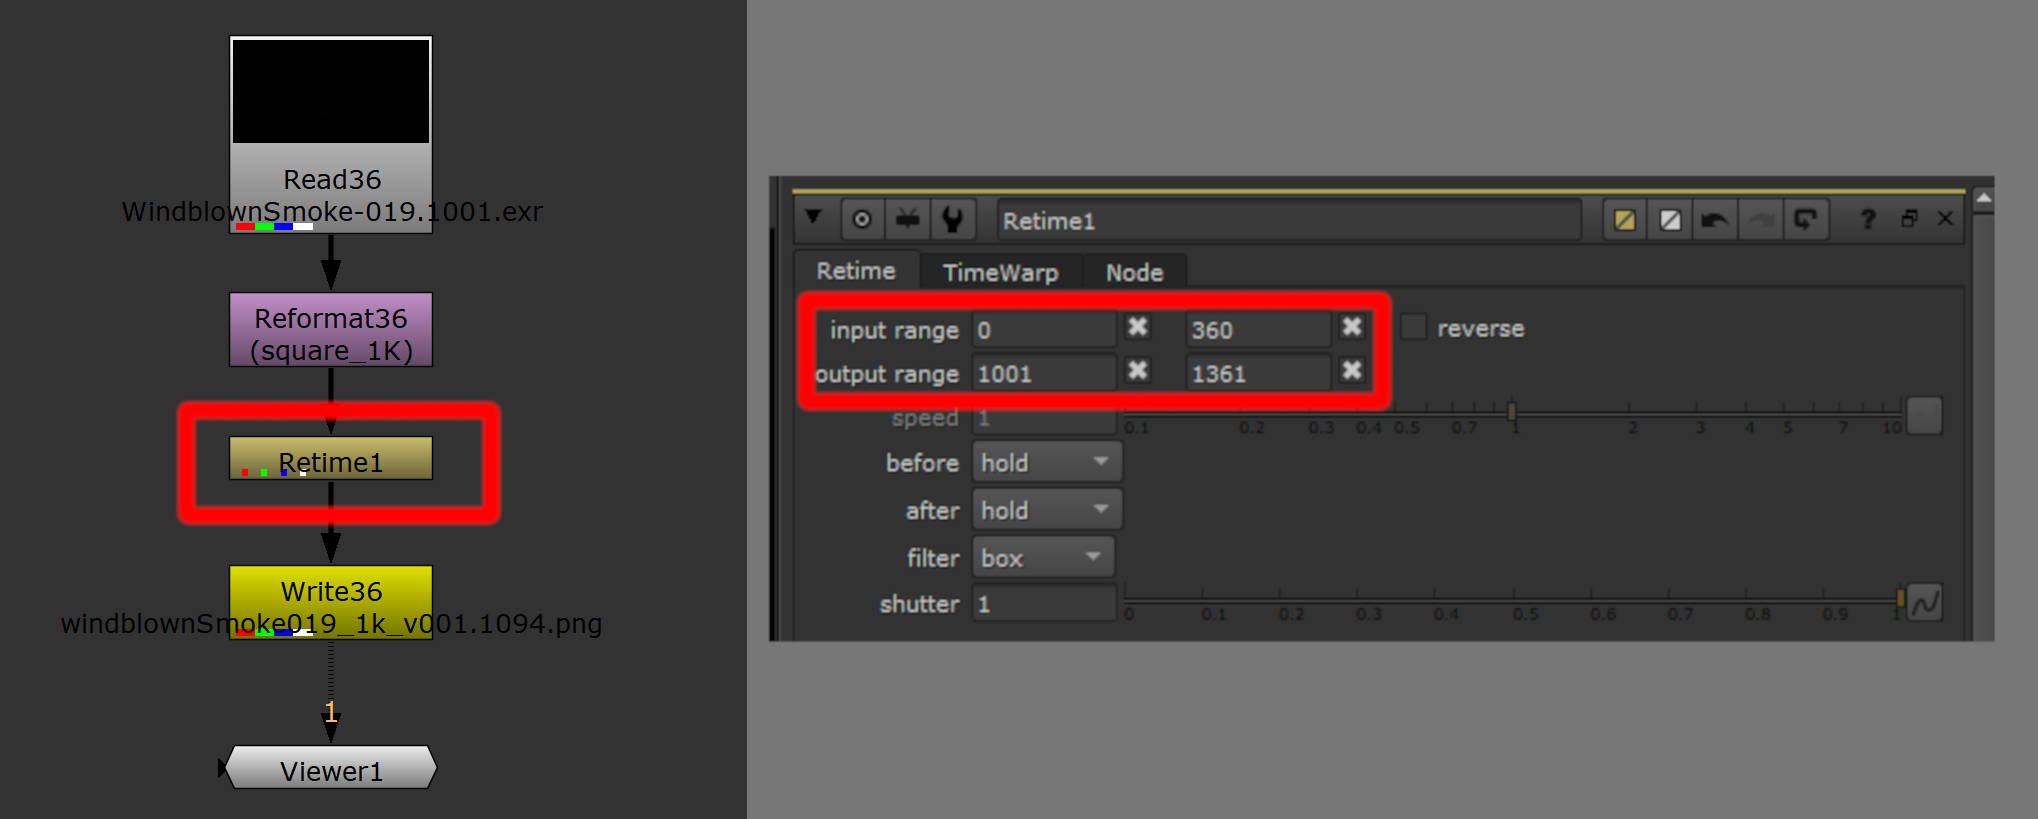
I found a small collection of free smoke elements and downloaded them. The files will often be pretty high resolution which is great for final comping but for previs, we want them to be nice and light. These were available at 4k, I like to keep my previs scenes in Maya light so we will reformat and create a 1k x 1k version of the element in Nuke.

Nuke is great for this simple setup, just read in your footage add a reformat and select Square 1k and export using a write node. Be careful to check the start frames of the footage or image sequences you are loading in. In VFX the standard workflow is to start at 1001, if you need to, add a retime, check the input range in and out values and check the output range to start at 1001. Nuke is calibrated to automatically work out the end frame.
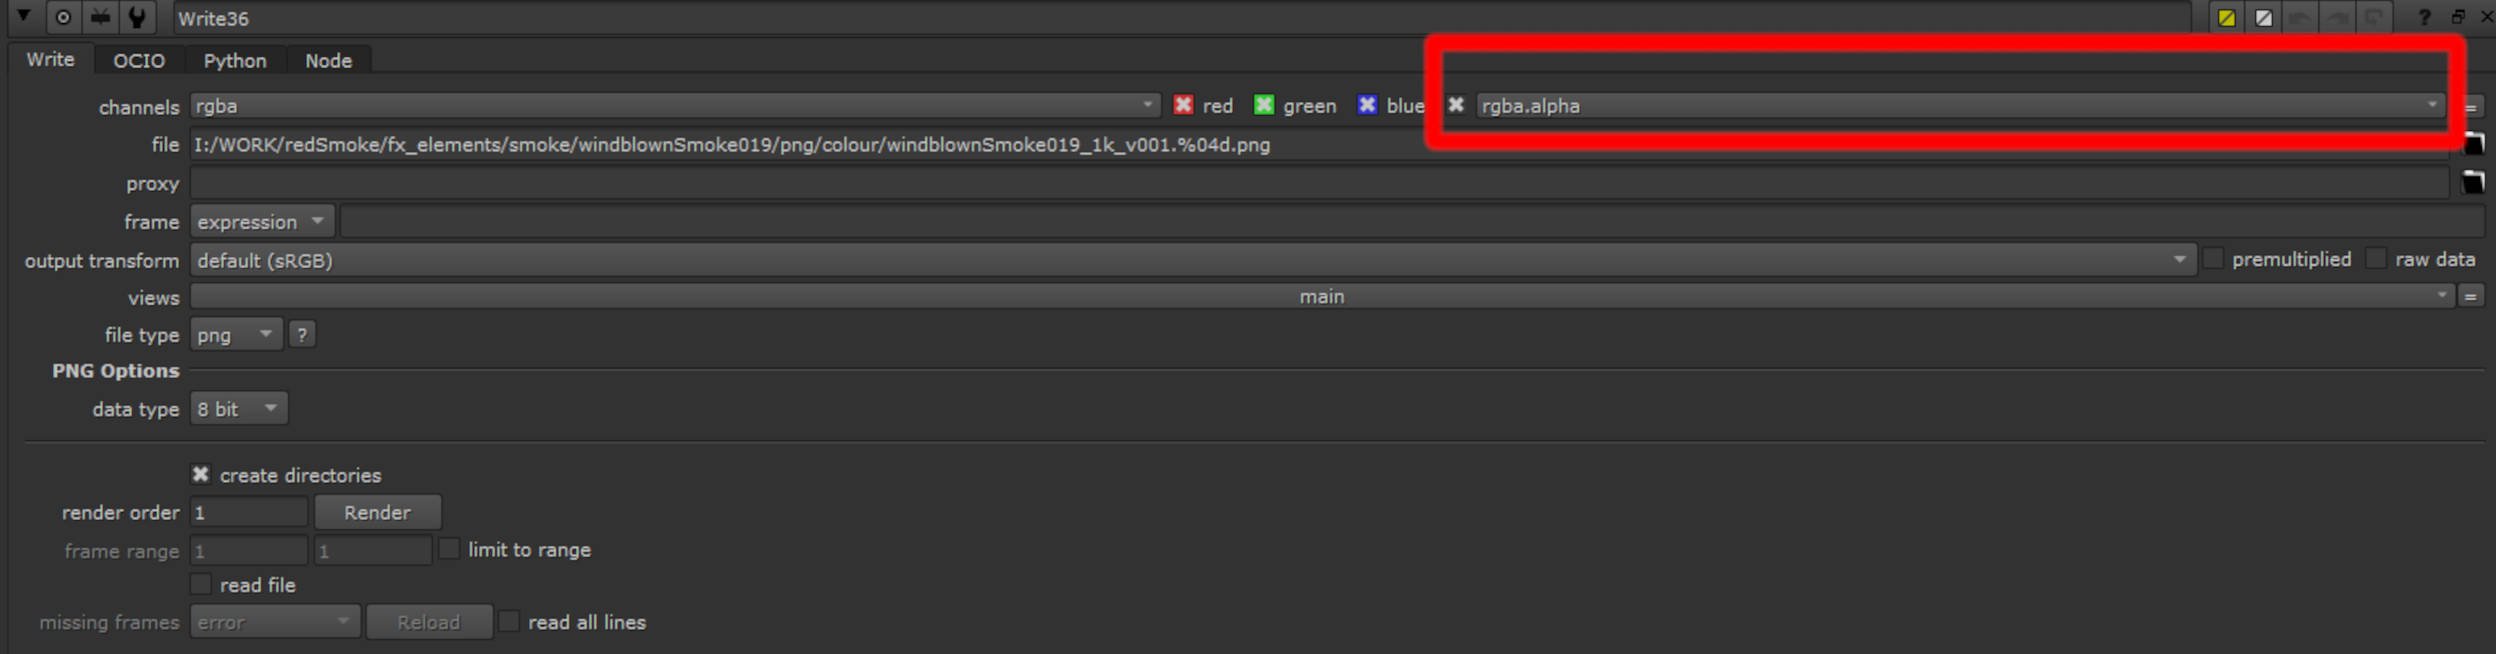
By default nuke will be set to out only the RGB channel from the image, we need to check the alpha channel, it’s an easy one to forget. I often name the export after the name of the element and add the version number, just to keep things organised. I like to use png as the file format, it’s lossless and relatively ‘small’. You can use other formats, tiff or tga as well. Using tiff will increase the file size though so be warned.
Now back into Maya, we can create a plane and the reason for exporting the element from Nuke in a square format means the image sequence will fit the plane perfectly. This is done for speed but you can export in the same dimensions as your element, normally 16:9 and resize both the plane and it’s UVs to match. I do this simply for speed. I use a Blinn material, better than a Lambert as you can encounter issues with transparency in the viewport with a Lambert material. This will also work with Arnold's standard surface, I opted to not go down that route as I intended to guide the shot in Maya before heading over to Unreal.


Once you have assigned the image sequence to your material and it’s assigned to your card. Next thing to do is to break the connection in the Image Number and replace it with linear keyframes, the start frame being your image sequence start and the end, well the end of the sequence. Set the curve to Linear in graph editor and set the curves to infinity. This will make the sequence loop and not cut out during your shot.

To make the FX card a little easier to work with for your shots, I added a few custom attributes on the card geometry which drives the settings I’m always wanting, the start frame, the exposure, and the alpha. Having access to these just frees up having to go digging for the settings.


I hardwired my script here, I would just copy this and replace the material name with whatever it needed to be. It really should be rewritten so I can run this on anything regardless but this was good enough for me and a starting point if any of you want to push this further.
You could add more settings here but these three were the ones I needed the most. Ambient Colour might be another useful addition to the card’s attributes. The file format is png to have an embedded alpha and you can see by the file size that Maya will have no issue playing it back.

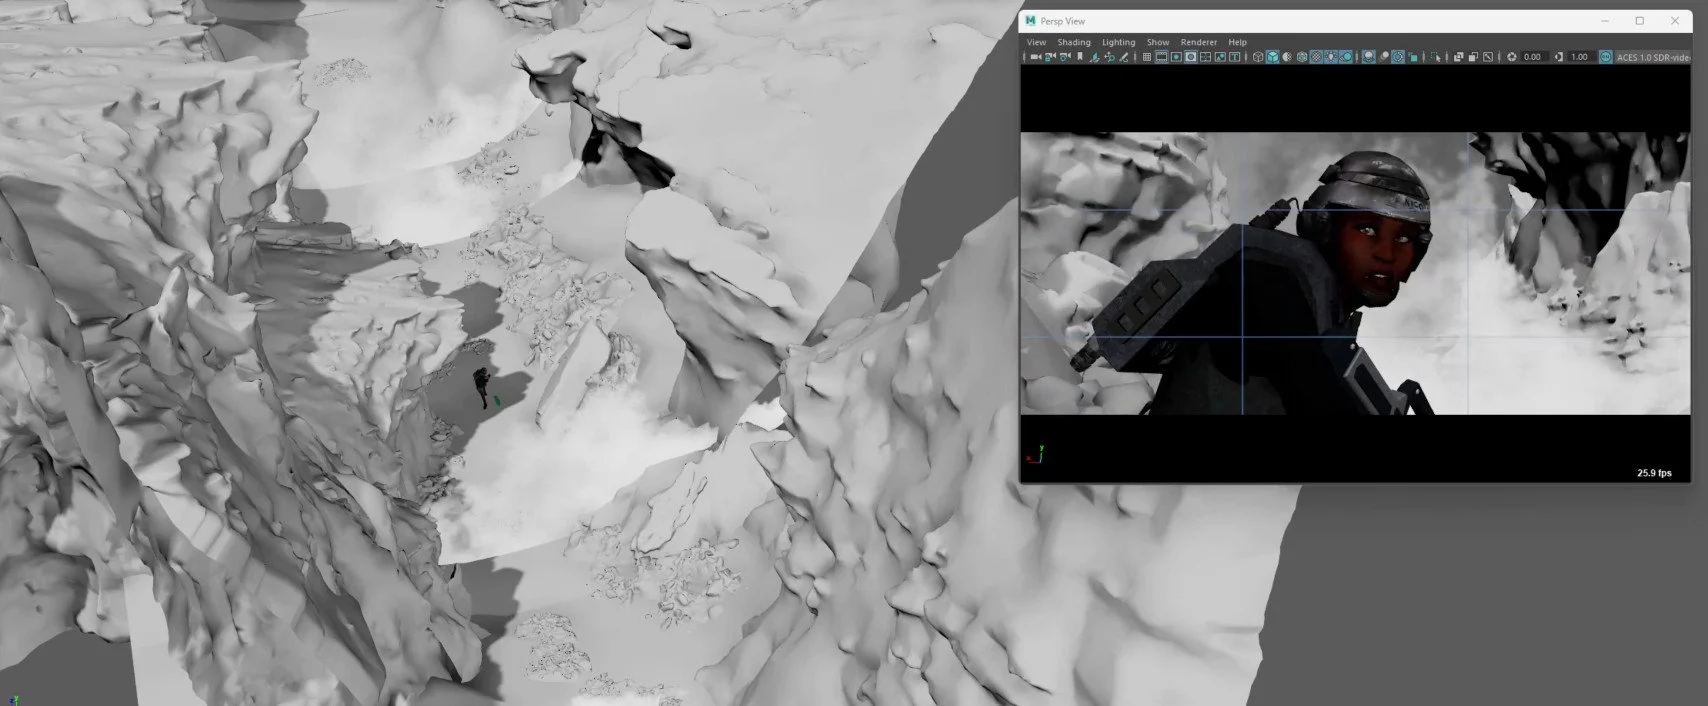
Here is an example of the card setup in sh010_0040, a couple of different elements, placed and with randomised start frames - you can quickly build up the look. We are only after a feeling here, nothing final pixel, just ideas and a sense of a dusty, hard to see and harsh landscape that Nico finds herself in.