
This project started out as I was looking at adding to my skill set and I always wanted to be more comfortable inside Houdini. I started to think of film shots that had crowds and the film that is top of my list was Starship Troopers and it now balled from there.
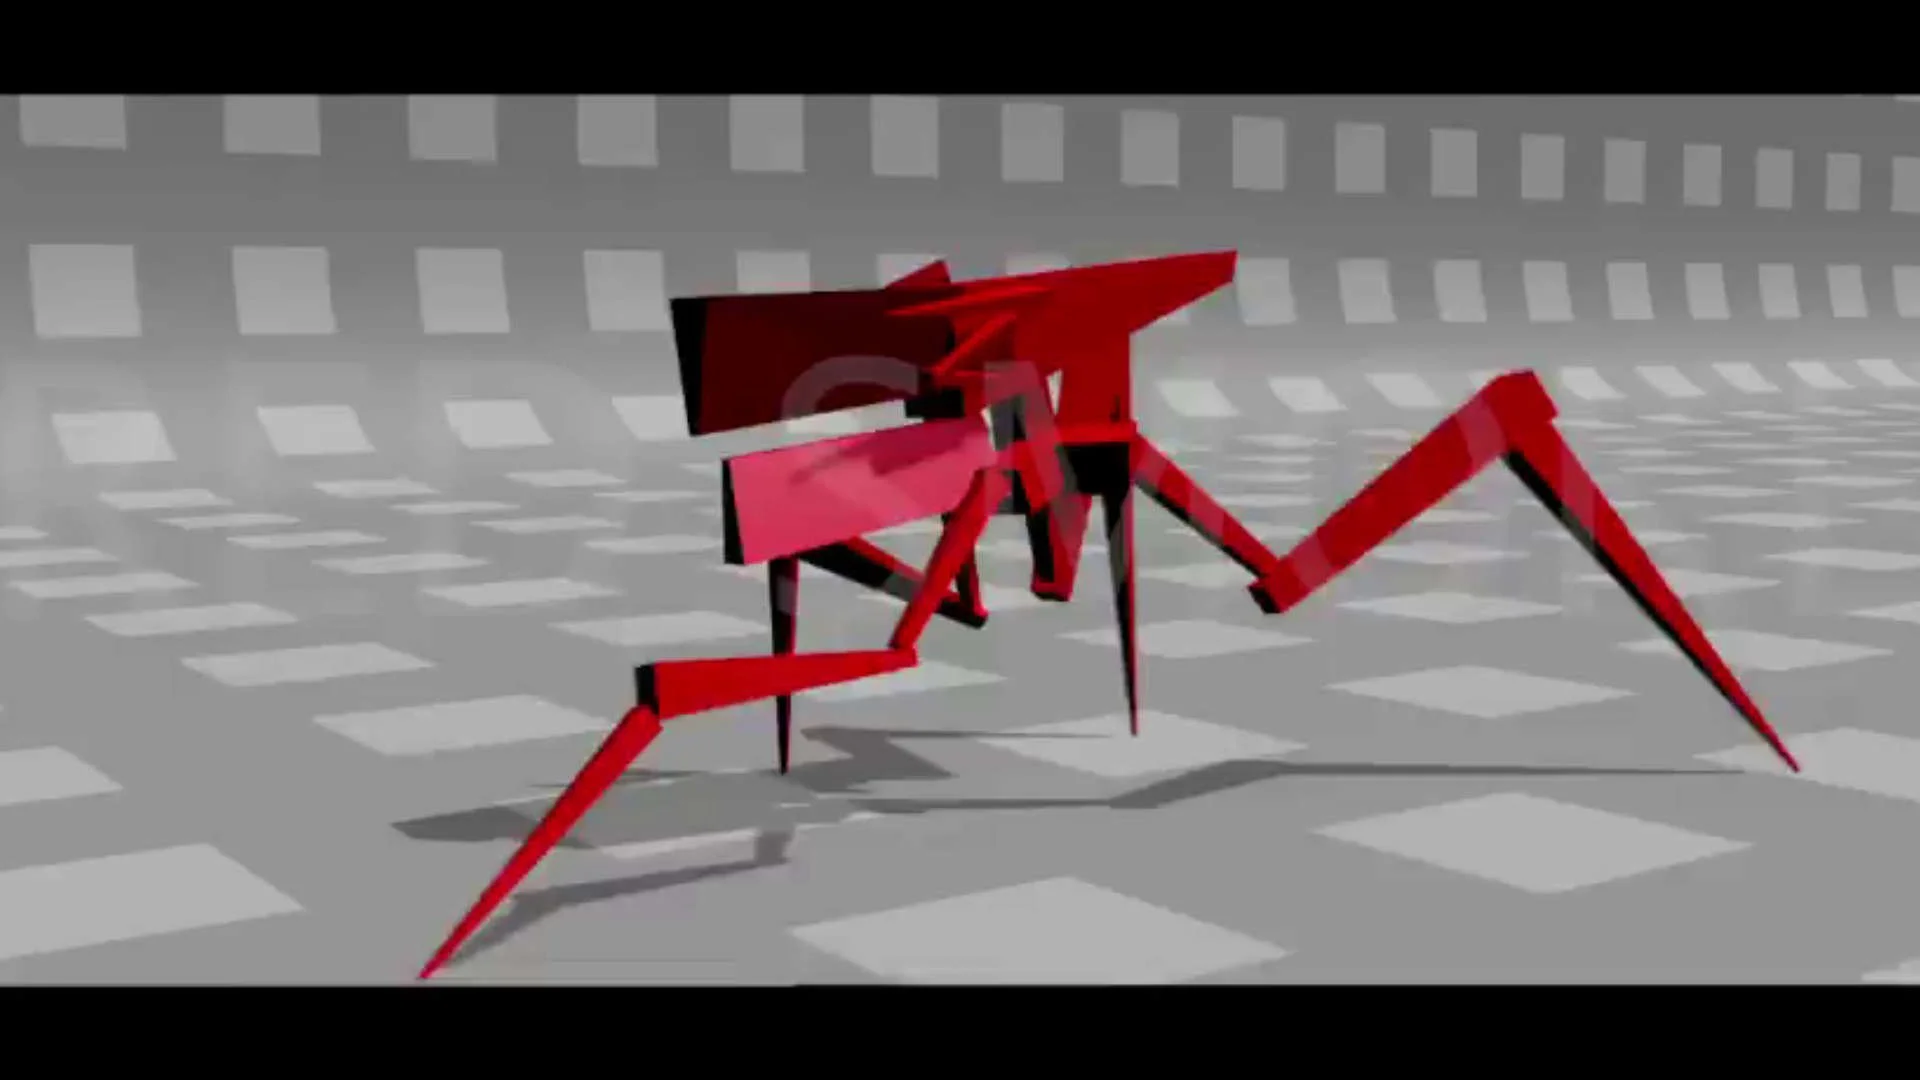
The first thing I needed to start dabbling with the crowd tools was an asset. I’d been watching anything I could find on Starship Troopers and found a series of Bug tests for the sequel that Phil Tippett had directed. I figured I would start there, I blocked out the bug, each limb was just a cube, at the time I was using an old laptop and wanted to give my system every chance to simulate these crowds in Houdini. The simplistic build was a very fun thing to do and helped speed up the rig build also.
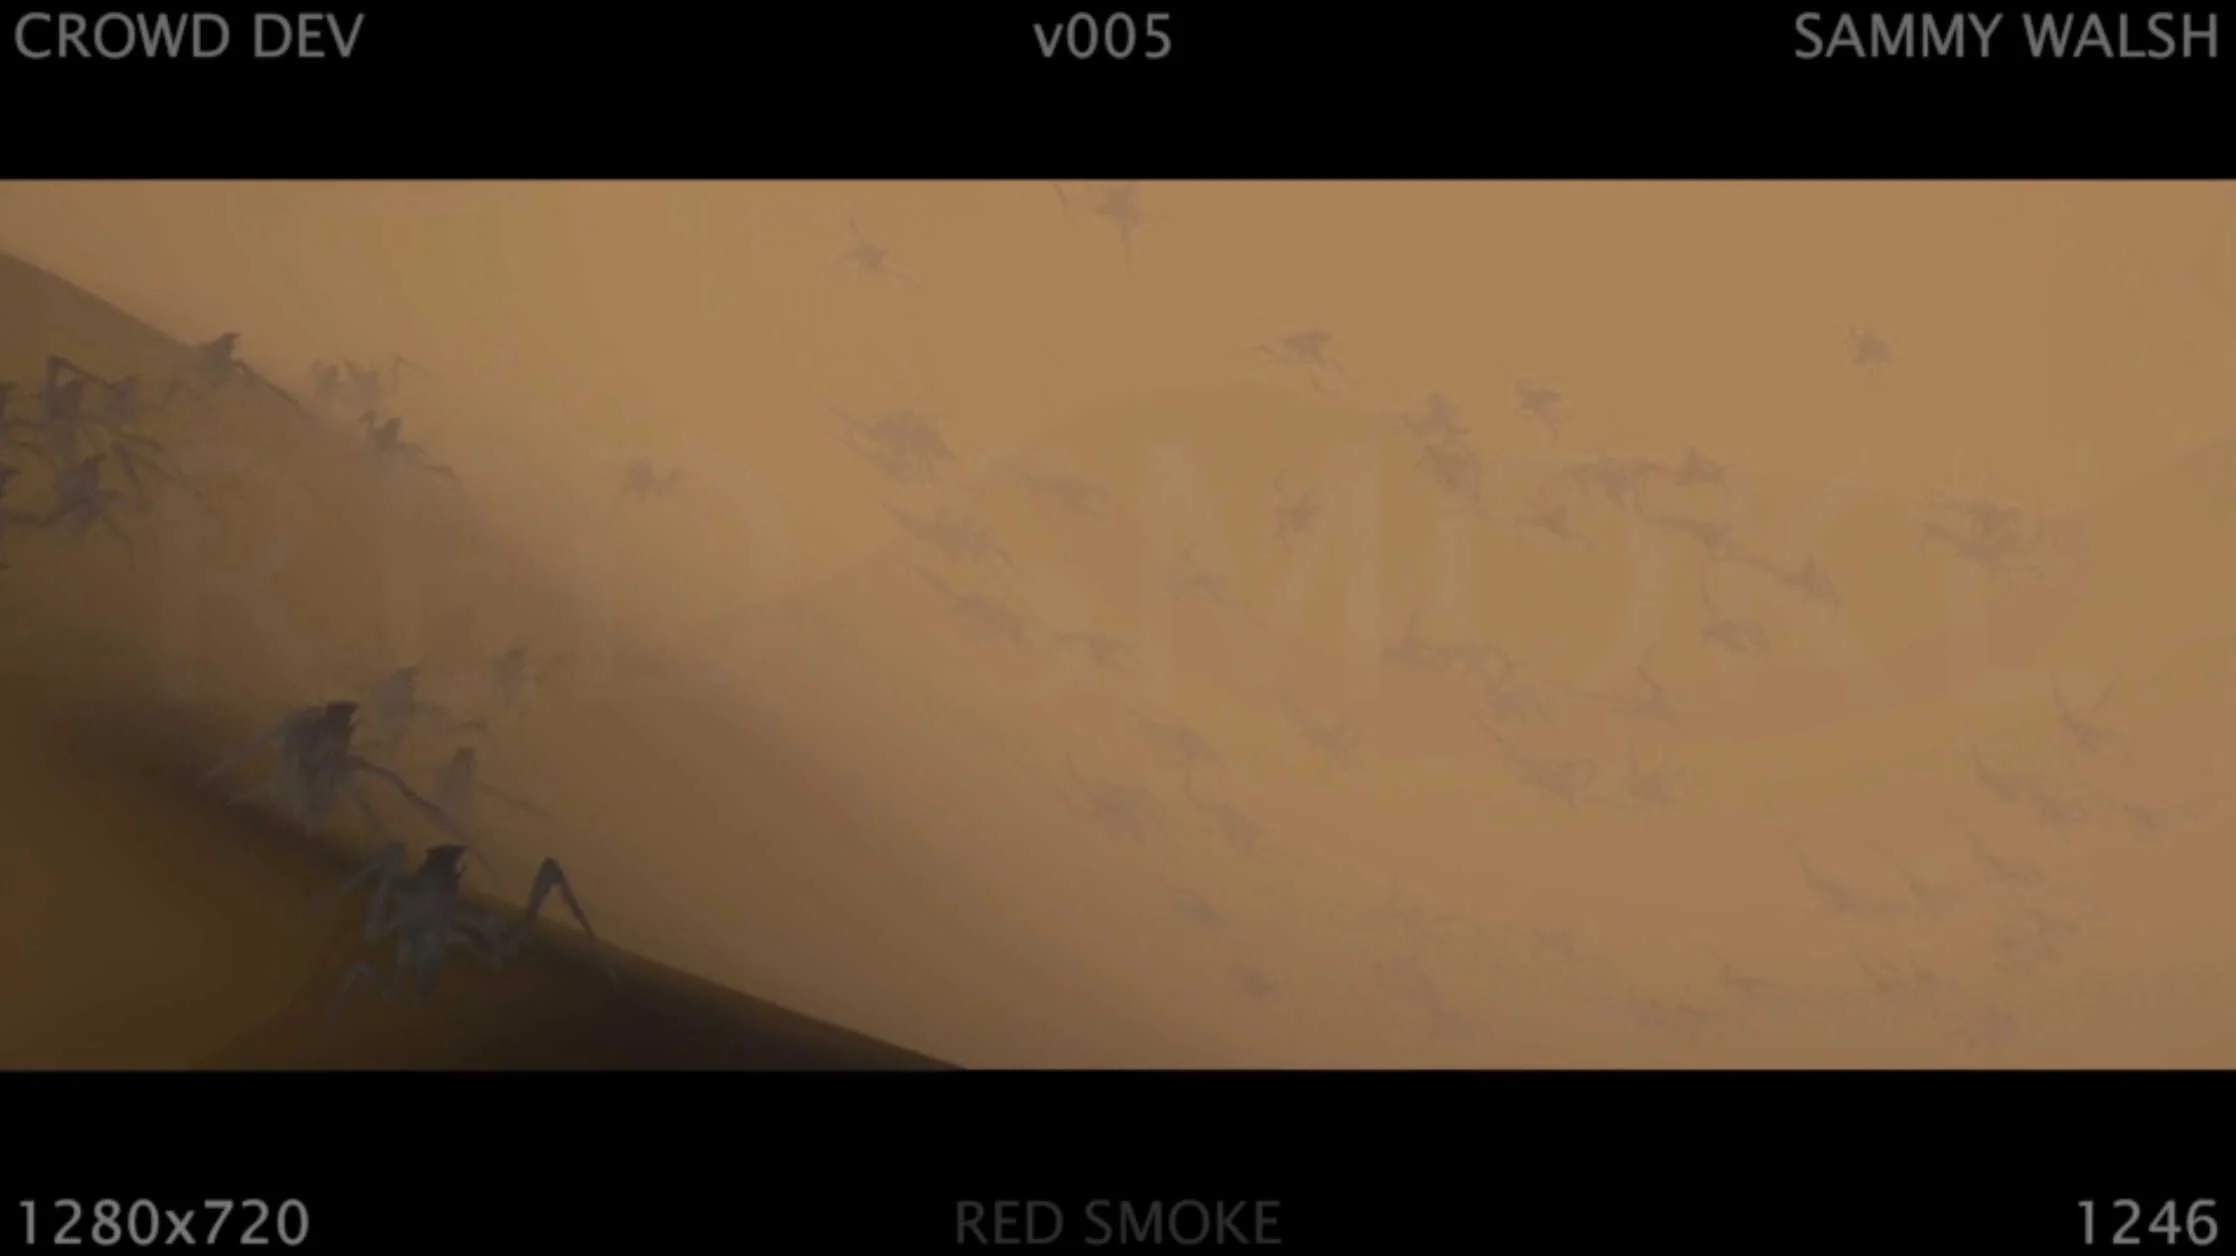
The initial test came out so much better than I had expected, I played around with the fog settings inside Houdini’s viewport which is. far superior to Maya’s setup. Because everything was inside Houdini, I animated the camera too. This test needed a story and so I wrote a little script and Red Smoke was the result. Ironically the crowd test was the last thing i would revisit as the film just kept on getting bigger.
These tests were derived from the first setup and I slowly played with the settings. I was especially keen on setting up the ragdoll states for the crowd agents as at one point in the script Nico was rescued by another unit and there were going to gun down the swarm but the idea was abandoned - had a blast setting it up. It proved to be a real head scratcher at times.
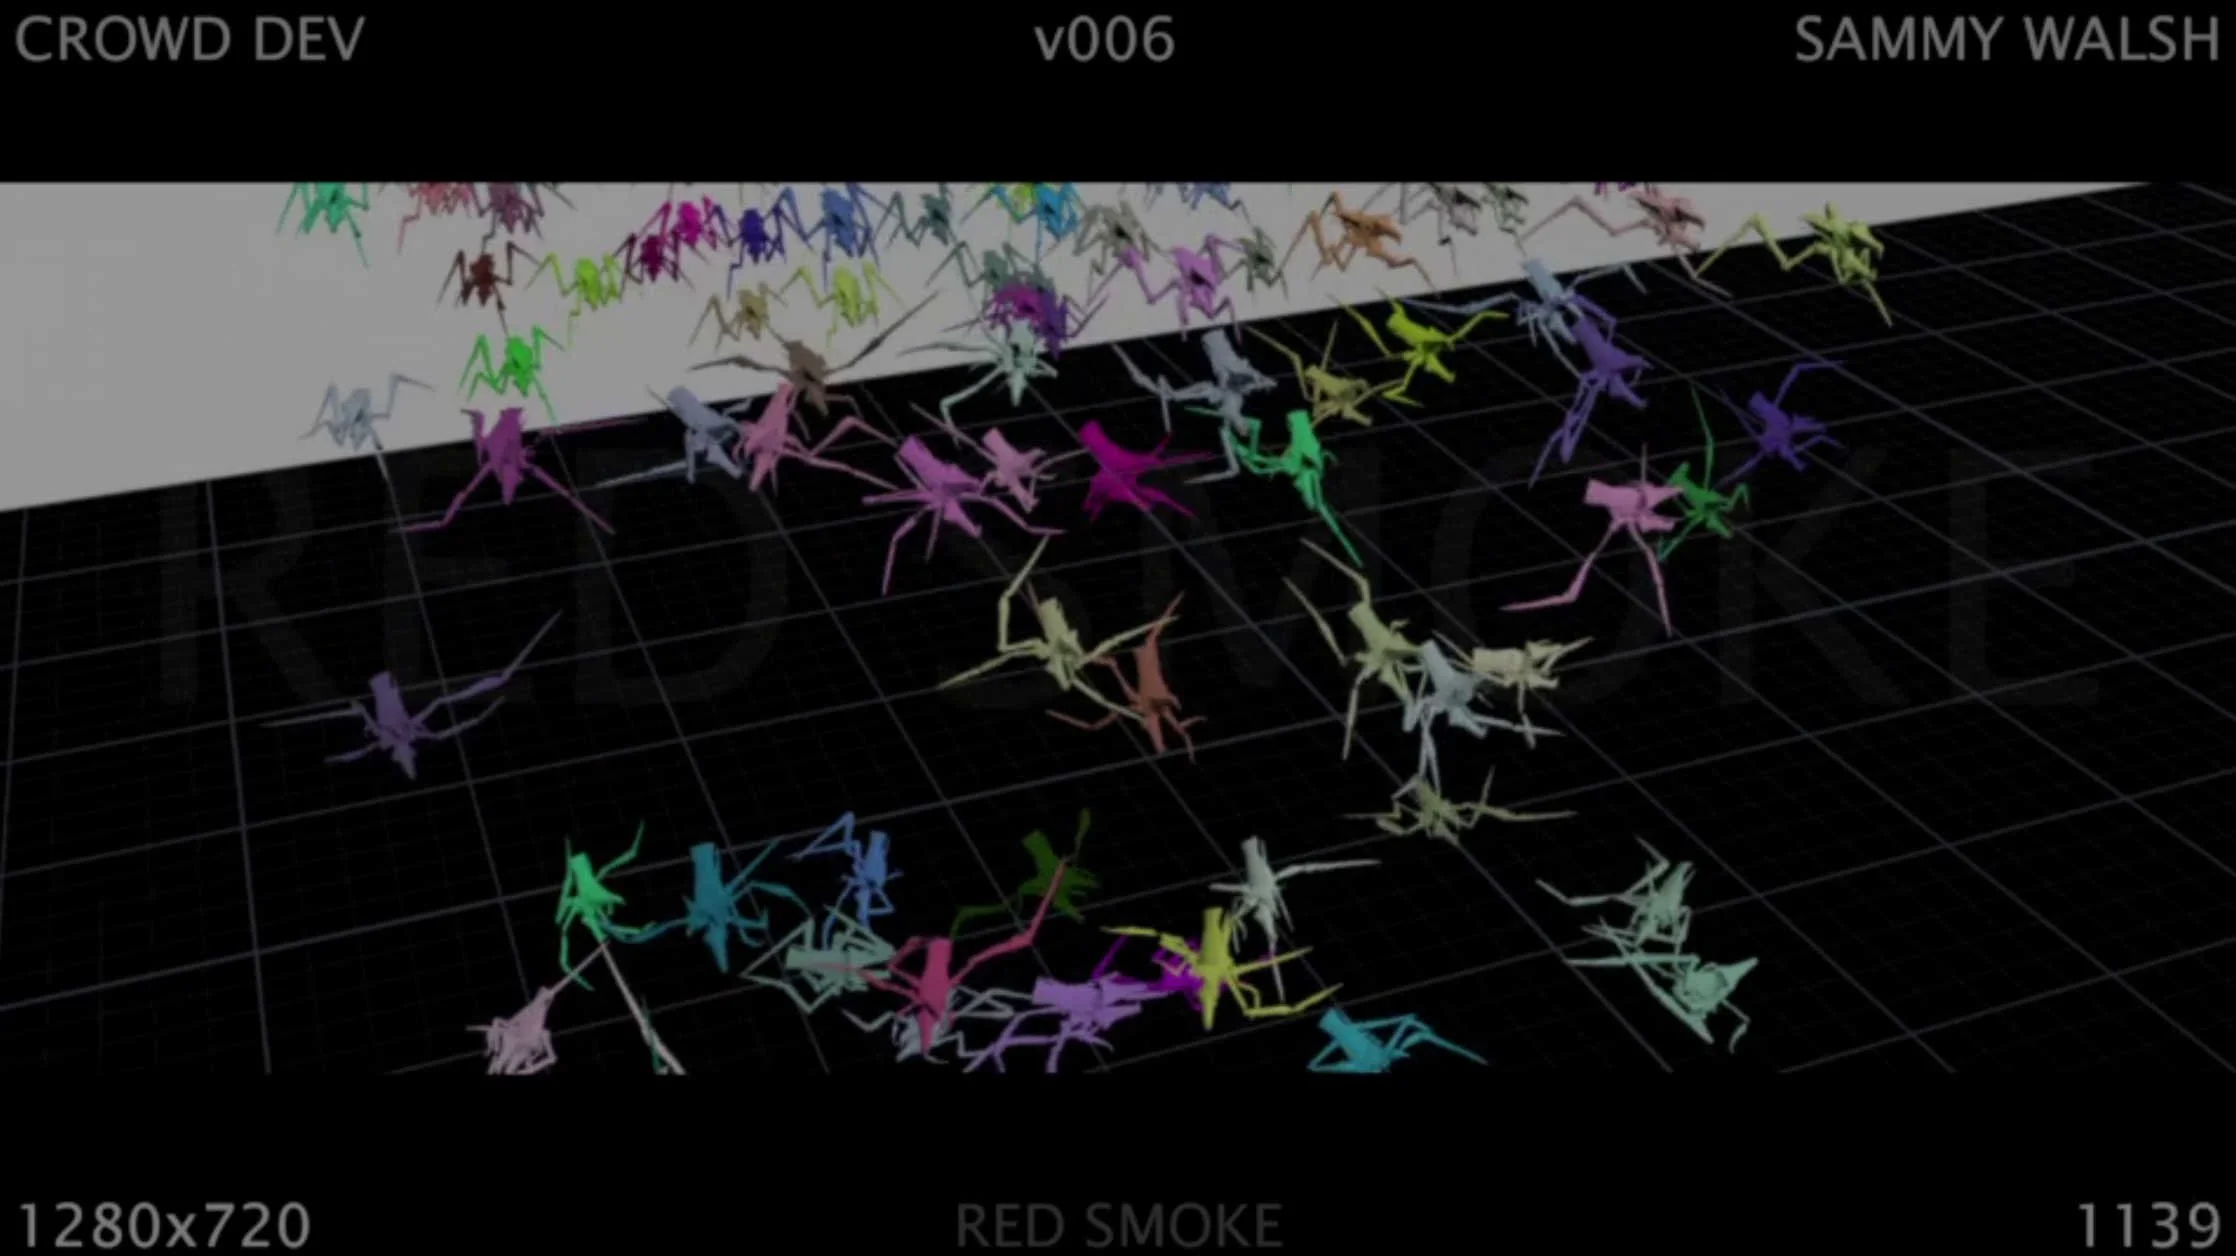
Seeing the ragdolls in the Houdini viewport is always fun, I used a colour node and set it to random, so each agent had a different colour, very good for viewing the bugs against my preferred dark viewport. The simulation was pretty swift too. However, I did run into a scale issue where the bugs refused to stop flipping out once they hit the floor collision.

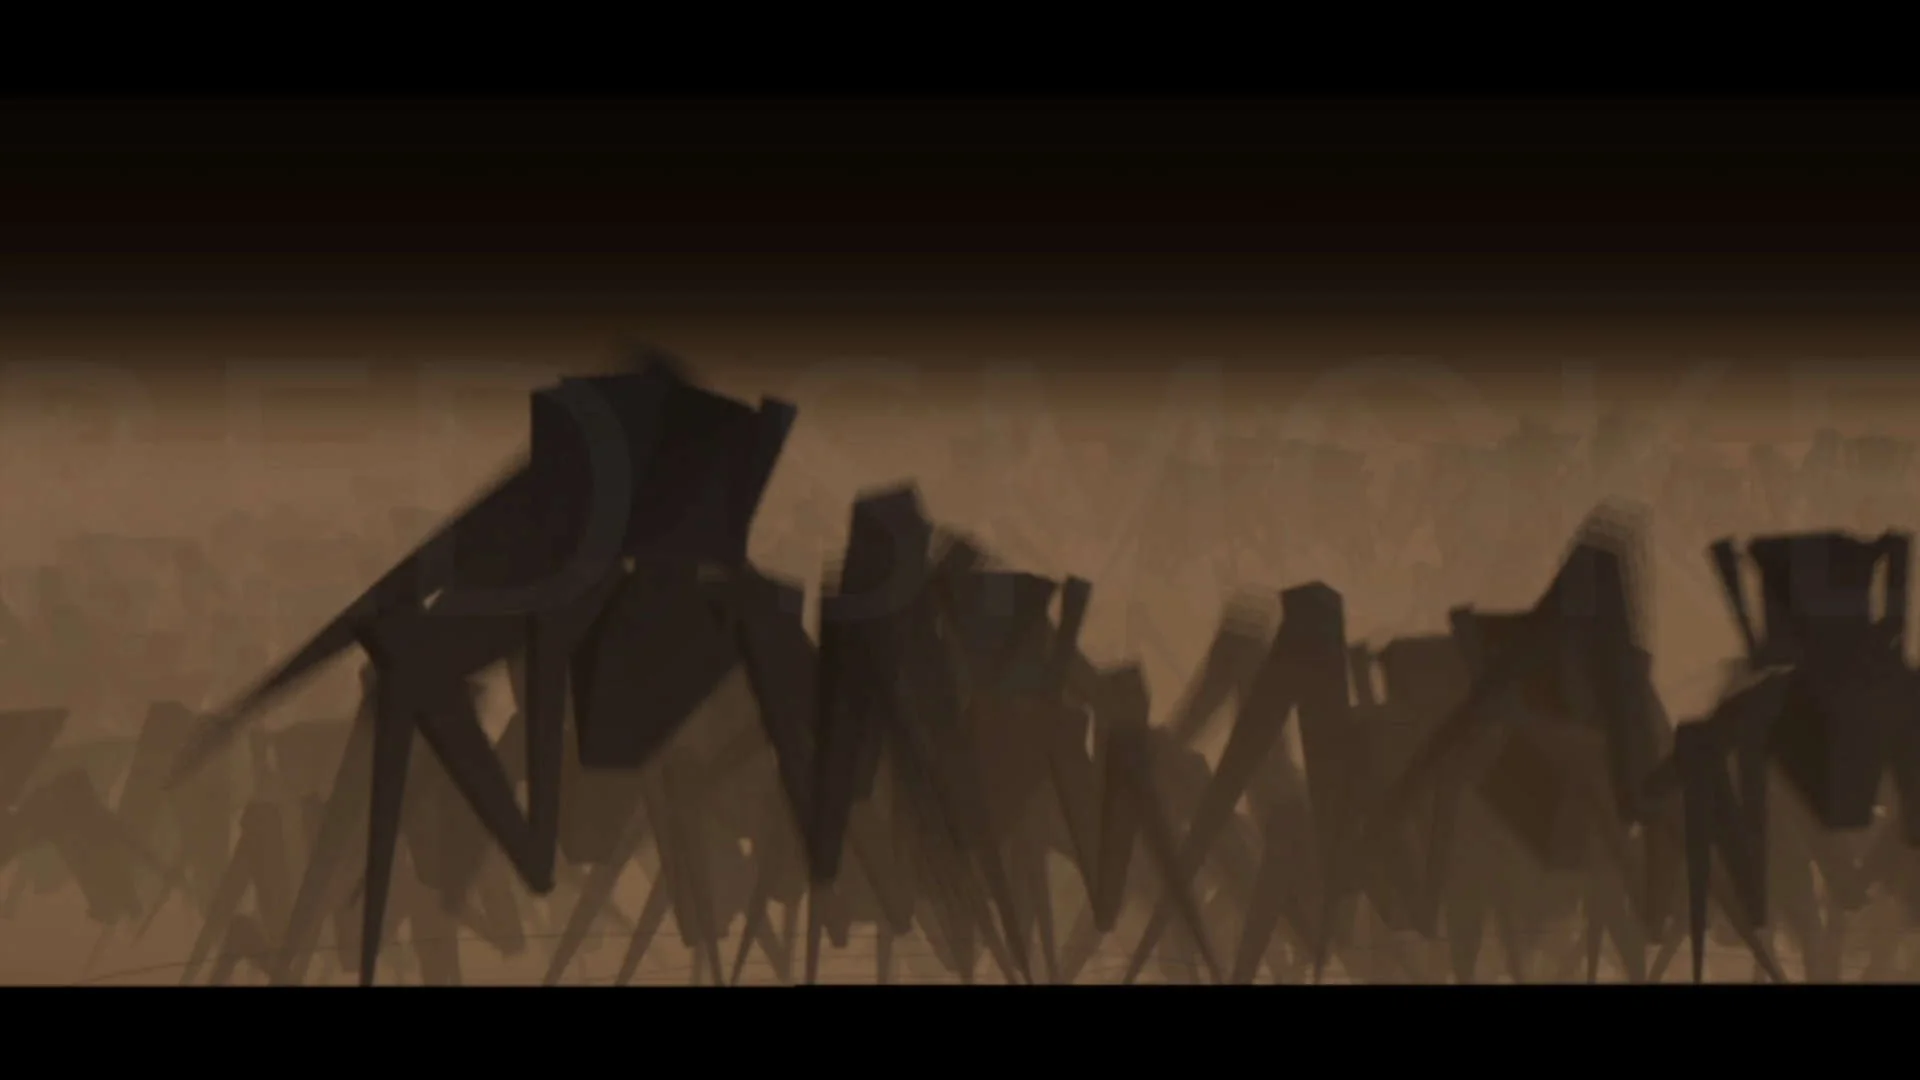
Designing shots once I had my crowd working was fun for sure, I would watch the simulation and start dropping down cameras in Houdini, the cameras work almost the same as Maya, so it was a pretty fluid transition to jump from Maya and Houdini. These are really my versions of the shots from the original film. I fed my crowd sim a heavily banked terrain to push a sense of depth and also to feel that these bugs were coming from everywhere.
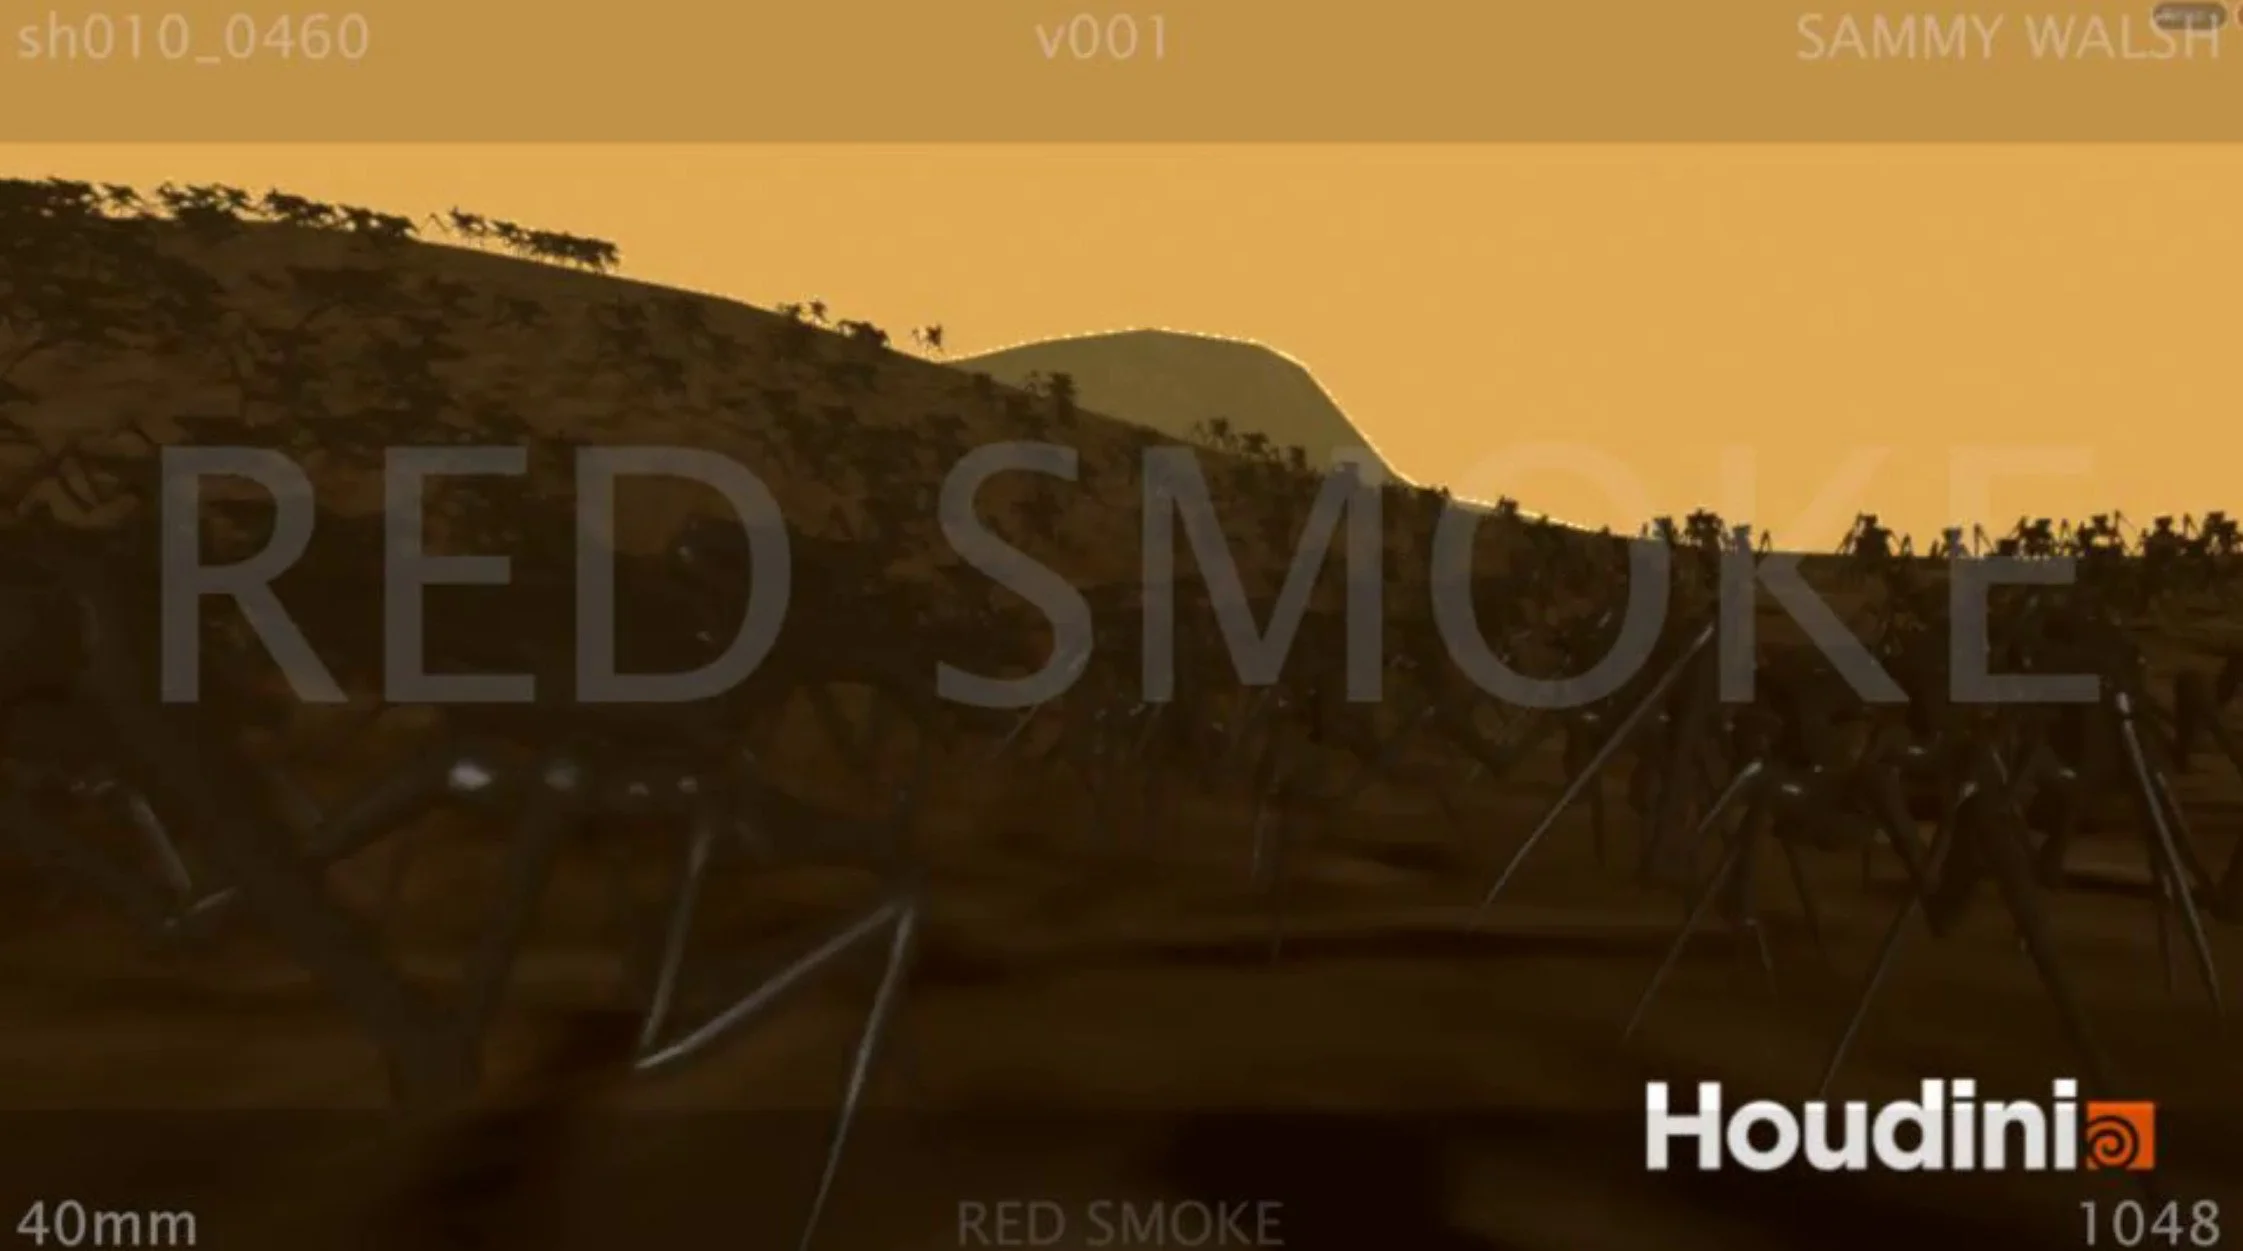
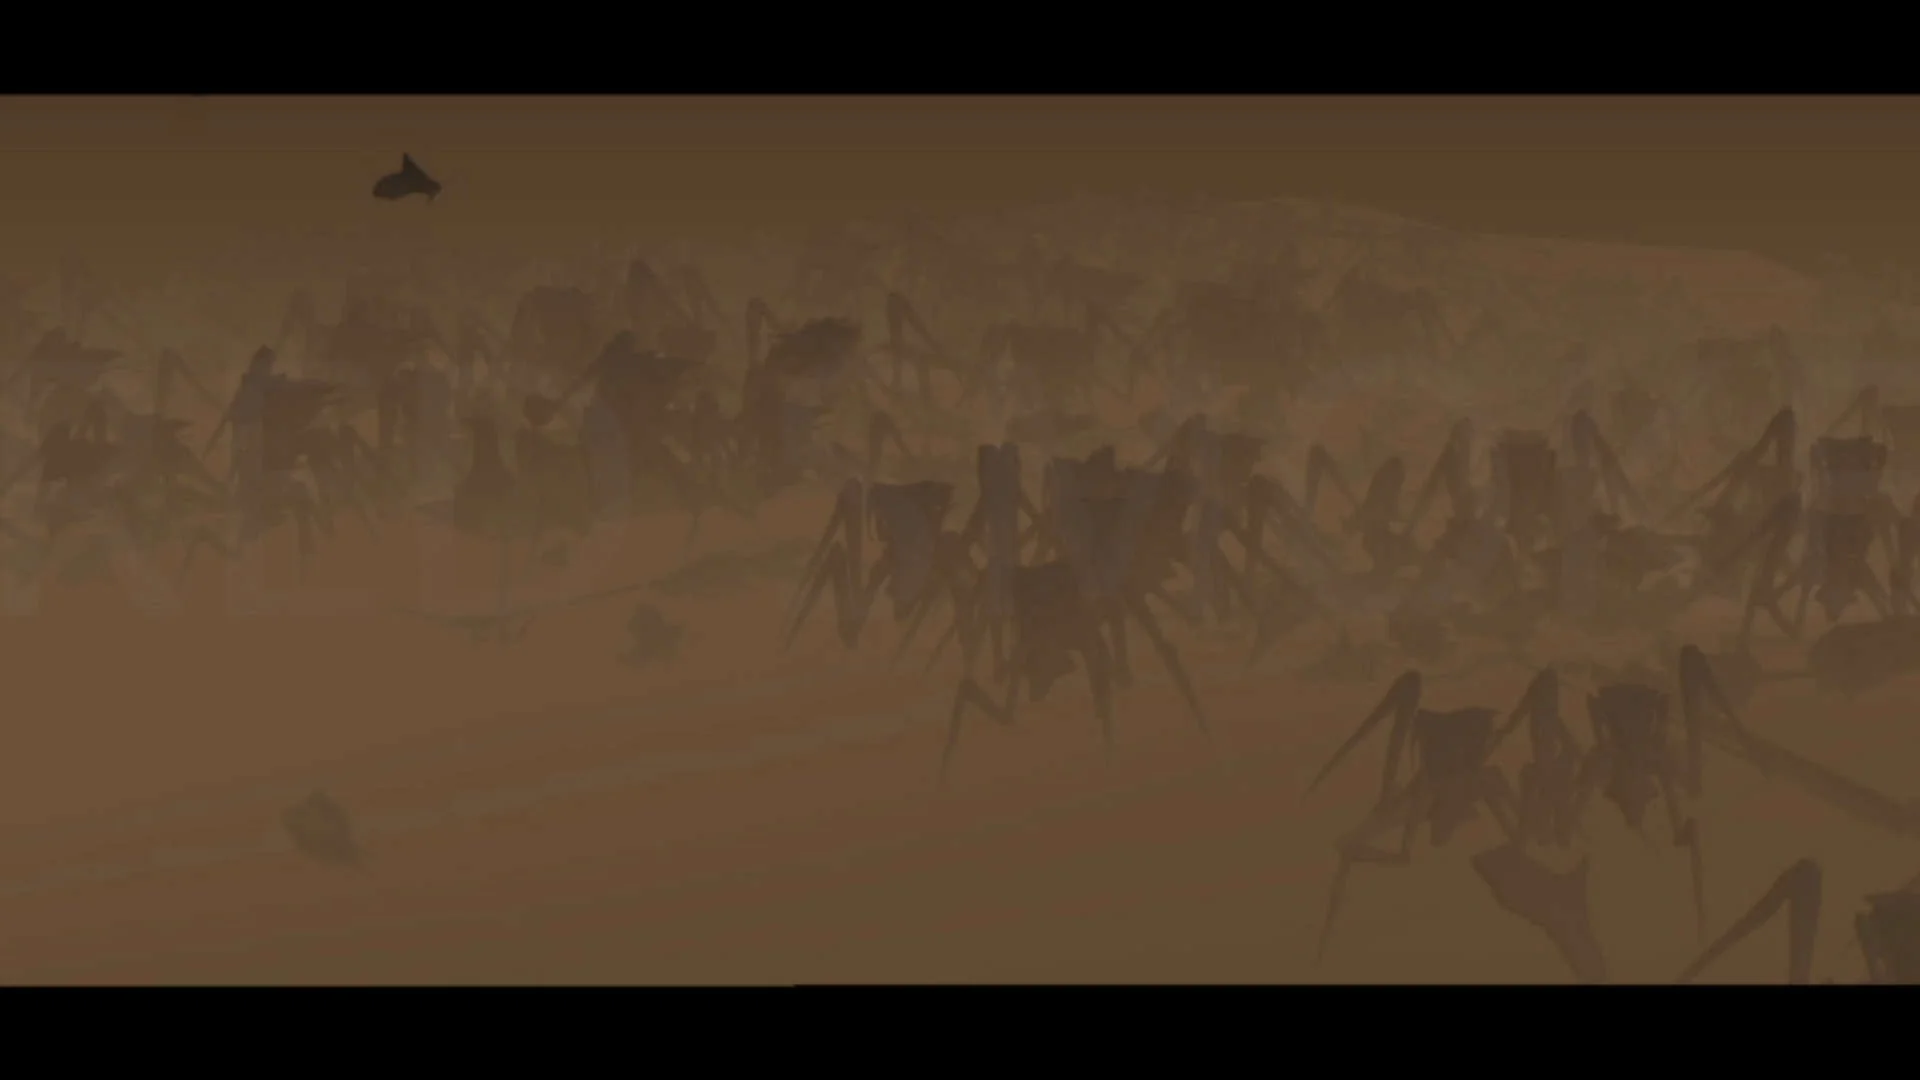
I tried to work with the crowd like it was a real thing, so the notion of a multicam setup worked here, the simulation is the same as the other test but from a different angle and with an alternate lens, it has a life of it’s own. The terrain is large and the simulation is over-long and thus gave me the most options for shot ideas.


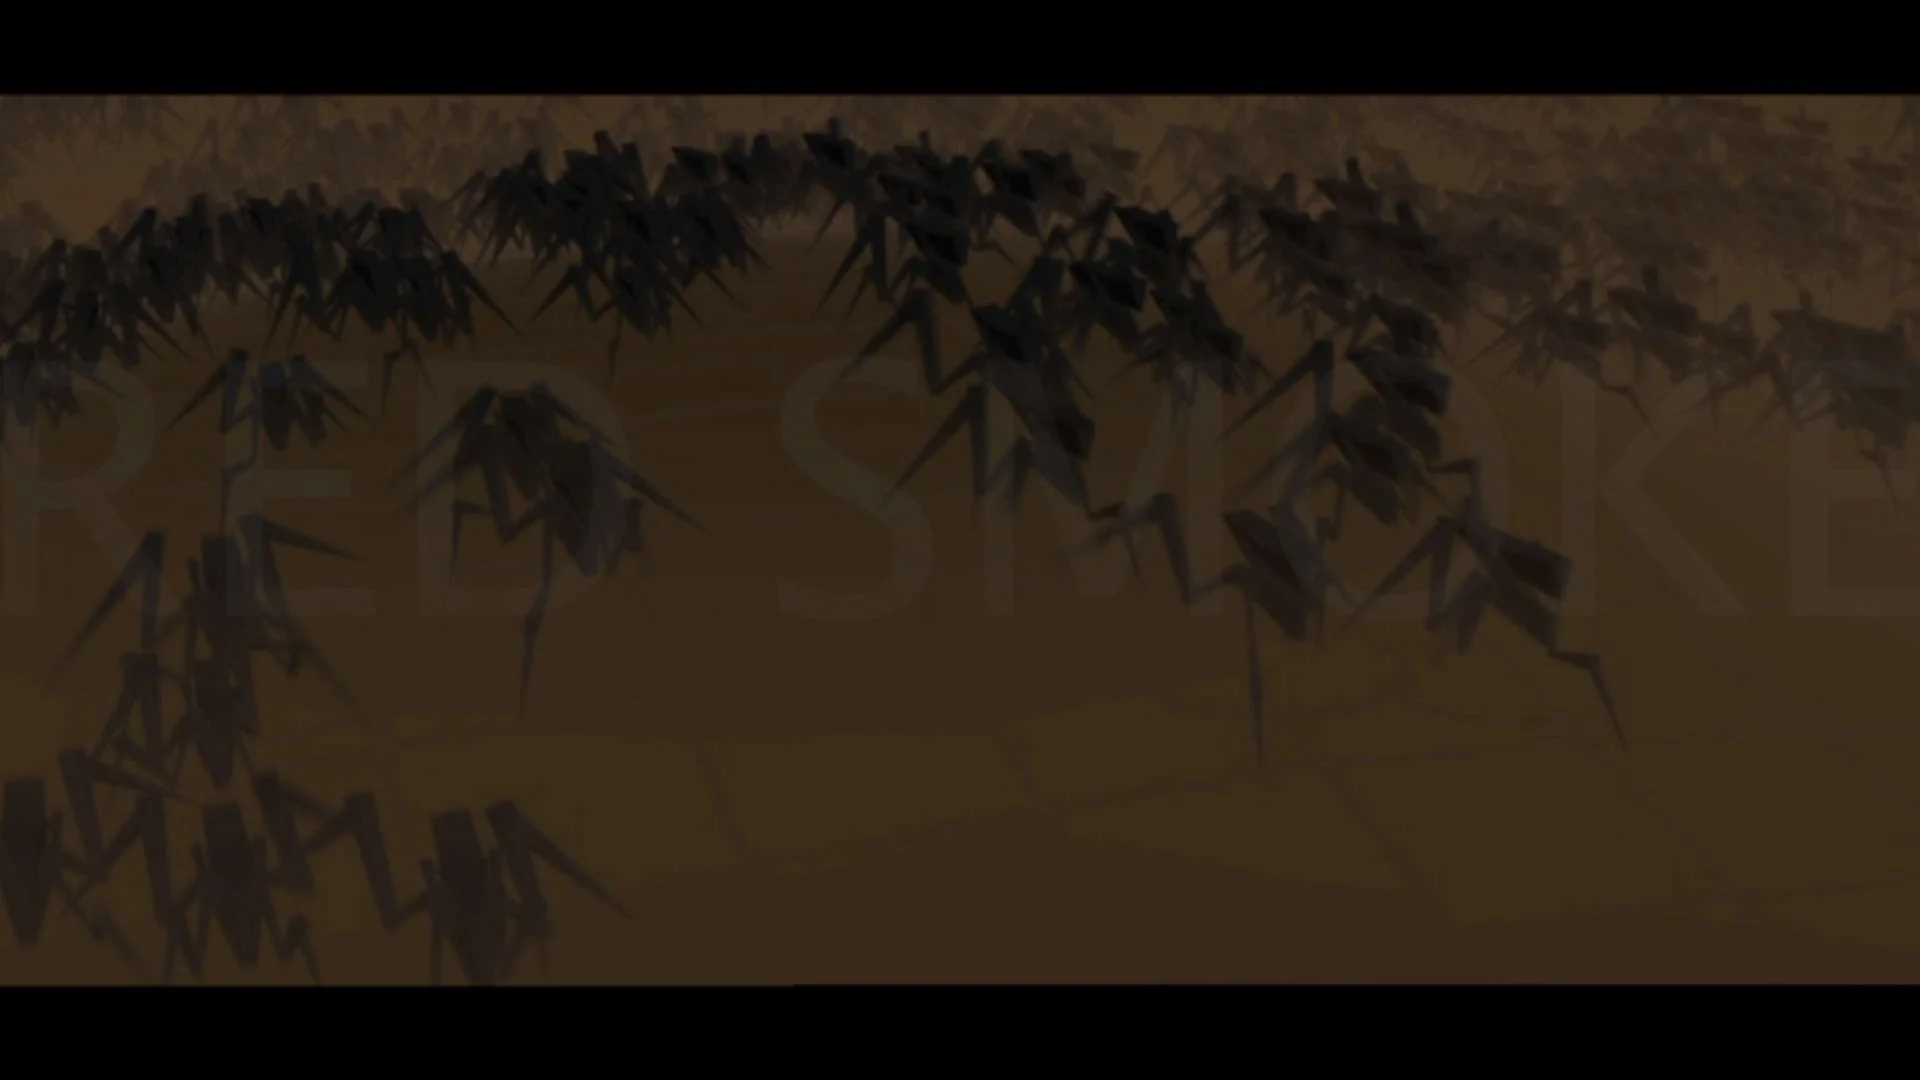
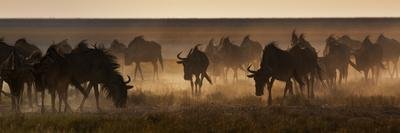
Inspiration for the look of the crowd came from Wildebeest herds and migrations, it was mostly the dark shapes I liked and how the dust created a blanket - it looked almost like one organism moving. My previs was never going to match this but that’s what I was channeling in the shots and also gave me the reason to jump into Houdini.

Looking at these images helped me to focus the terrain the bugs would be traversing, the terrain would be infinitely simpler in previs but again, it was all about pulling out what I liked, it’s all about that feeling when producing previs - I would love to be able to shoot real plates.


The layers of dust help to hide the numbers, so we don’t know how many are coming for Nico, could be 10, 100 or 10,000. This also plays into previs, meaning I might not have to simulate so many agents and therefore the export is smaller for Unreal to handle and render.
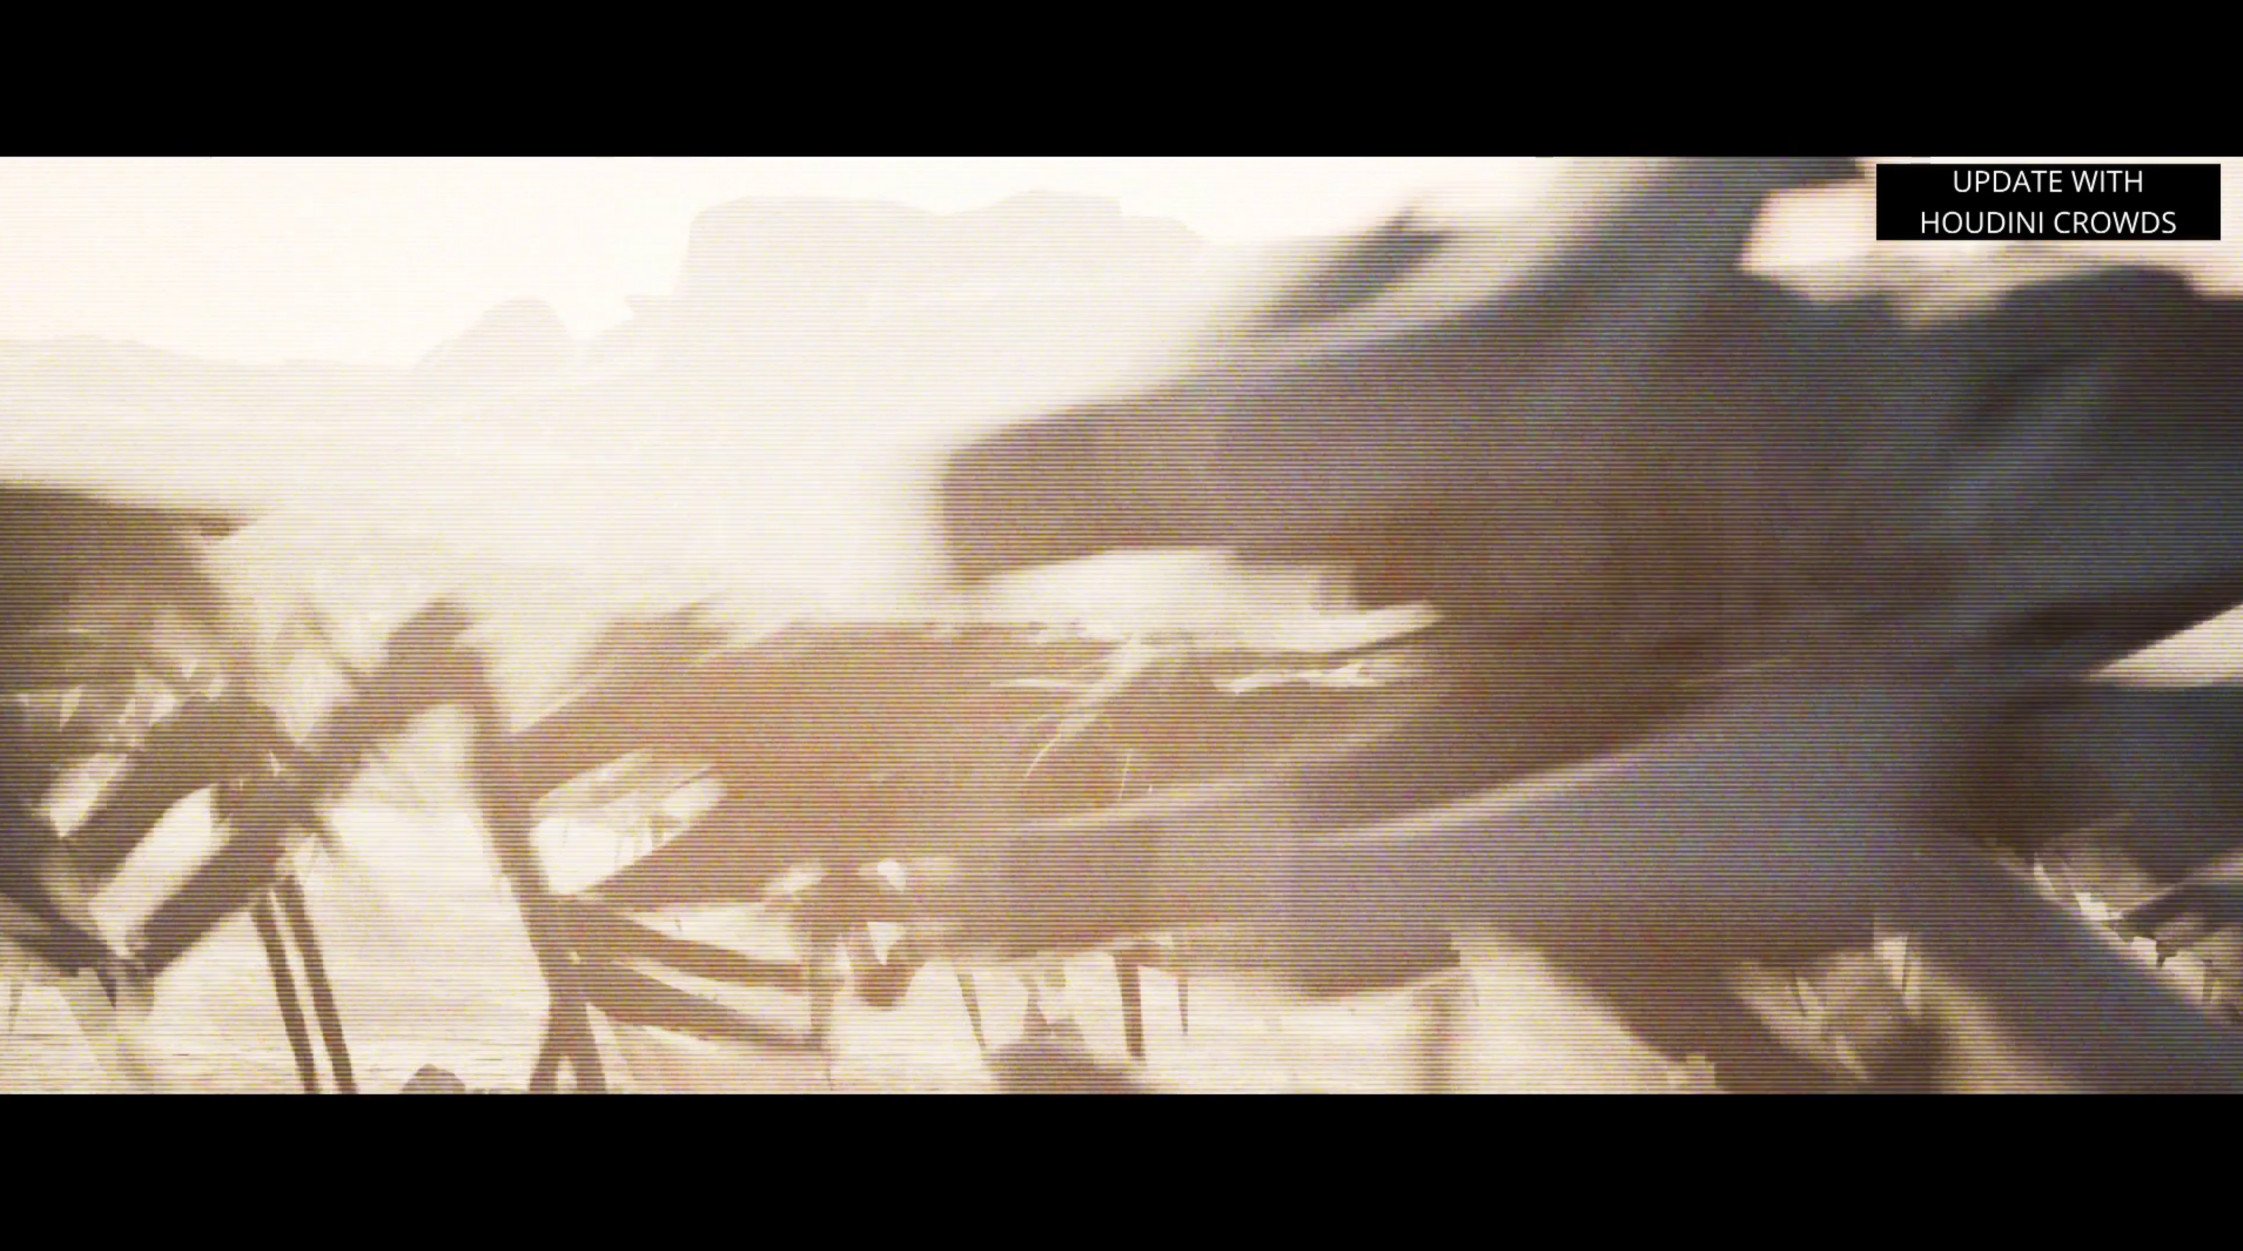
Originally I developed the crowd using Houdini Apprentice, super useful for getting to grips with the task but I wanted to see the crowds in my current Unreal lighting, before I pushed the button on a Houdini Indie license, I jumped back to Maya and set some very simple MASH crowds up. I used the same run old cycle, kicked out a few variants, and went from there.

I followed the rules from the reference I gathered, I hid the numbers with the strong, overexposed sunlight and layered in the same dust particles that I used to populate the rest of my edit. I had some issues with the textures going from Maya to Unreal, so I decided to combine the Bug geo so each bug in the MASH setup was a single piece, the way I’d set up the Bug in the rig and the separated UVs gave me a small headache, it was a simple fix in the main rig. However it wasn’t an issue once I pushed the button on the Houdini Indie license.


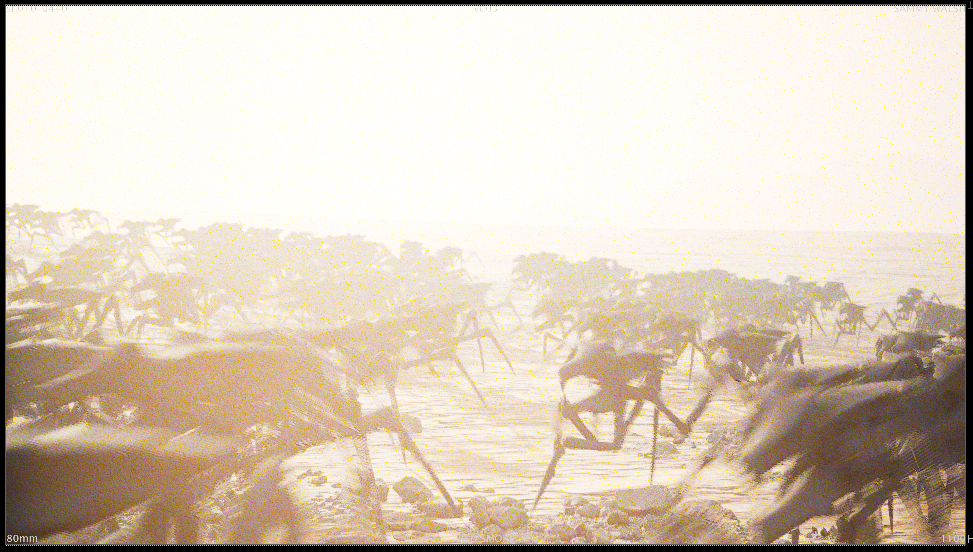
I tried to push the MASH limit, my bug rig has LOD’s built-in and lowest, the block bug is very light. I tried 2000 baked instanced and imported them into Unreal via an alembic export, Definitely felt some slowdown when everything was turned on in the viewport. Not a great sim but very helpful to build out the edit - again, it’s previs, and that’s what we are after, shots that tell the story and further inform decisions.


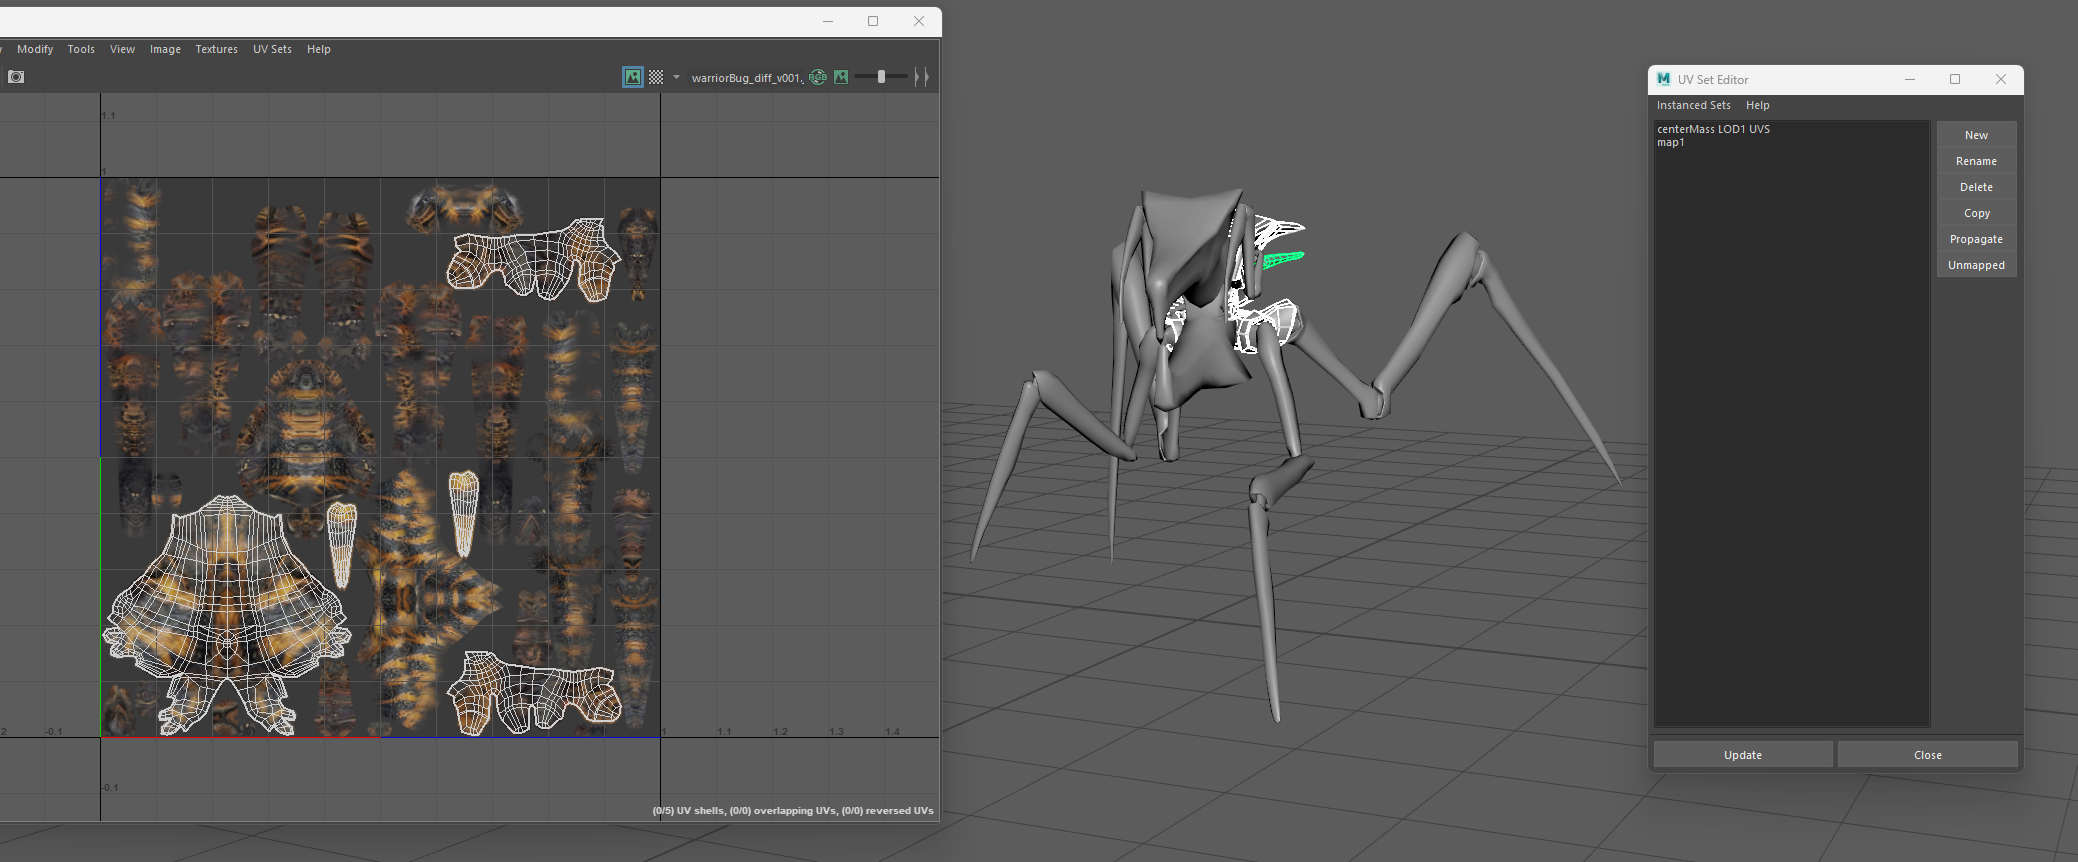
I originally built the geo in the bug rig separately, easier to model, uv, and rig. I didn’t bother cleaning up the UV sets and this became a small issue when I was exporting the run cycles to use in MASH. I wanted to keep the bug to a single piece for MASH, easier to work with, etc. You can see on the screen grabs that each part of the bug, has two UV sets, when combining like this we run into errors.
Maya will always have map1 available in the uv set editor and this is what caused my issue, something I didn’t check before combing. When combing the bug, the animation stays but the uv sets break, so when this bug animation was instanced inside of the MASH network, I wasn’t able to apply the textures.
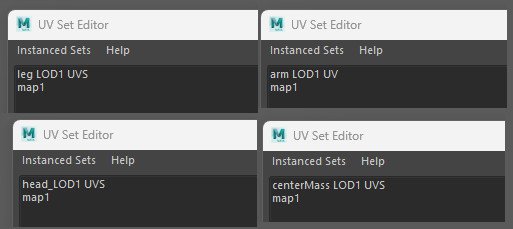
Each part of the bug has both the named uv set and map1, the way I was able to fix this error that caused the uvs to not transfer over to the combined geo was to remove the map1 uvset in the editor and then rename the remaining set to map1, this was needed on each part to work.


Once combined, I exported a few versions of the run, MASH doesn’t really have crowd features, so I created a few cycles and changed the start frames and that would give me the illusion that the bugs were all walking at different speeds.
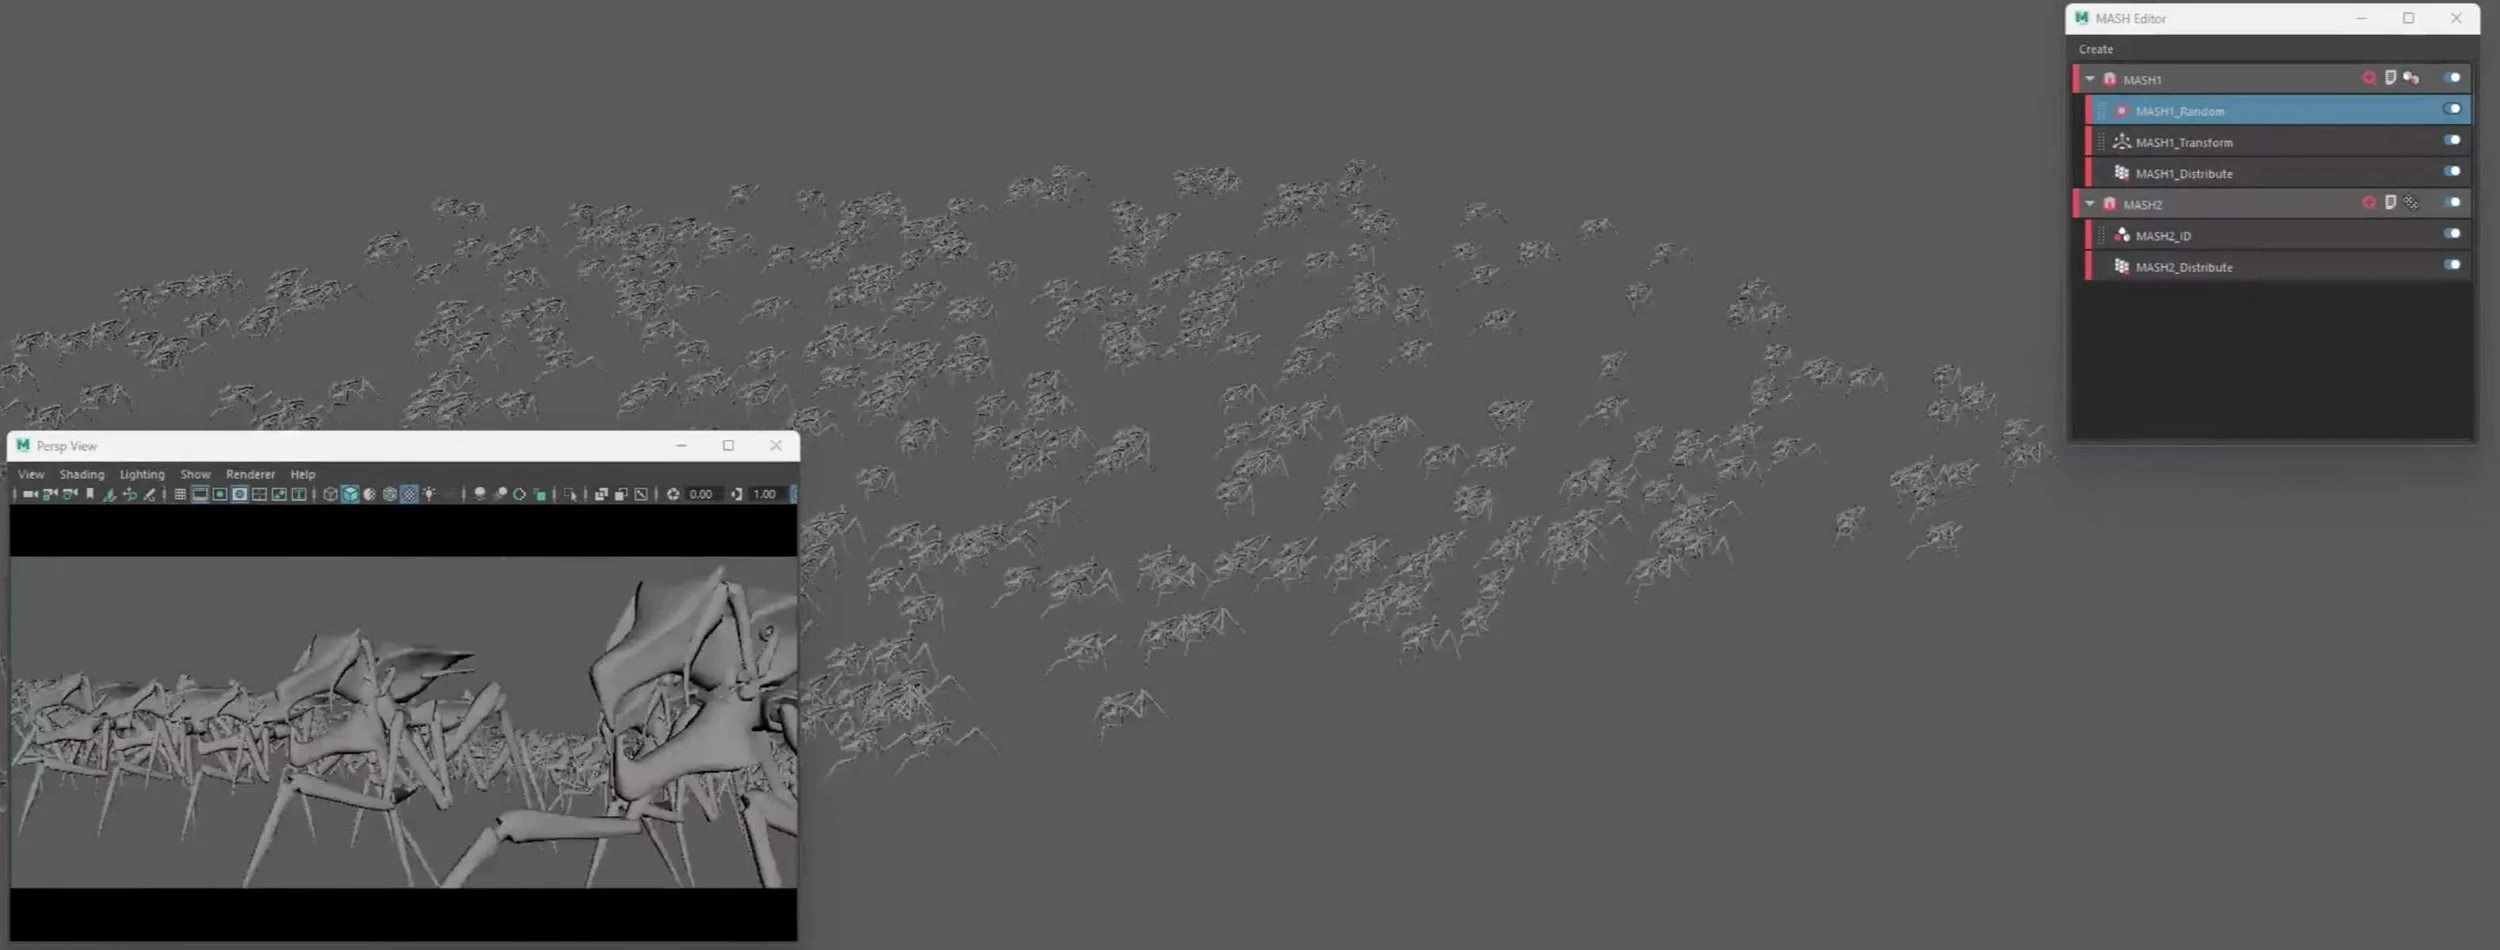
Here is the MASH setup, nothing massive going on, just a random, distribute, ID to create the look of the crowd. I did use the shrink wrap to force the bugs to follow the ground. The issue with MASH is that with no footlocking the illusion is ruined quickly. In my temp shot, I tried to hide the footfalls in the geo and with dust. The later sims from Houdini were infinitely more robust.
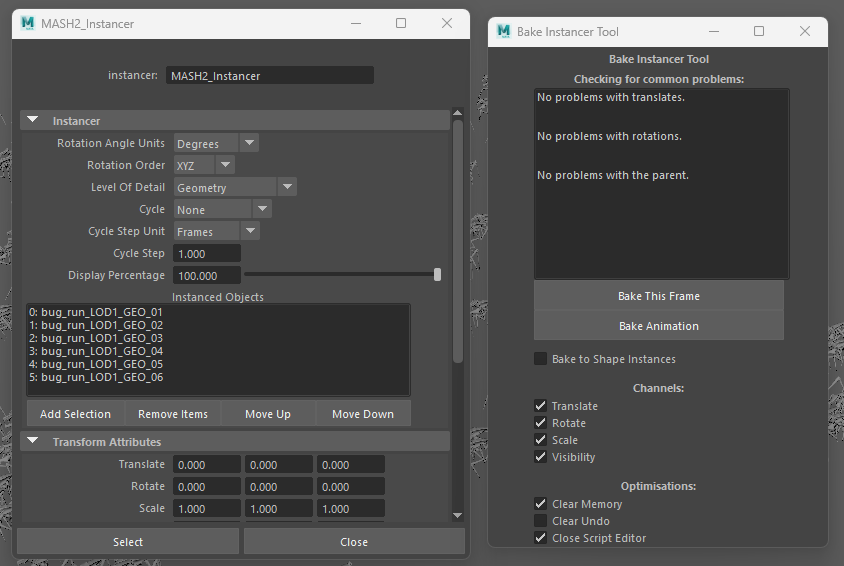
Getting the MASH crowd over to Unreal is relatively simple. The Bake Instancer Tool looks at what is contained in your MASH Instancer and bakes it, can take a some time as it’s baking the geo on every frame, time to make a nice cup of tea. Once finished, export as an alembic, make sure to include UVs and import as a geometry cache in Unreal.

Import is simple but be warned it can take a long time to import into your unreal session, depending on how big your MASH network is inside of Maya. These shots were also slow to render, lots going on.