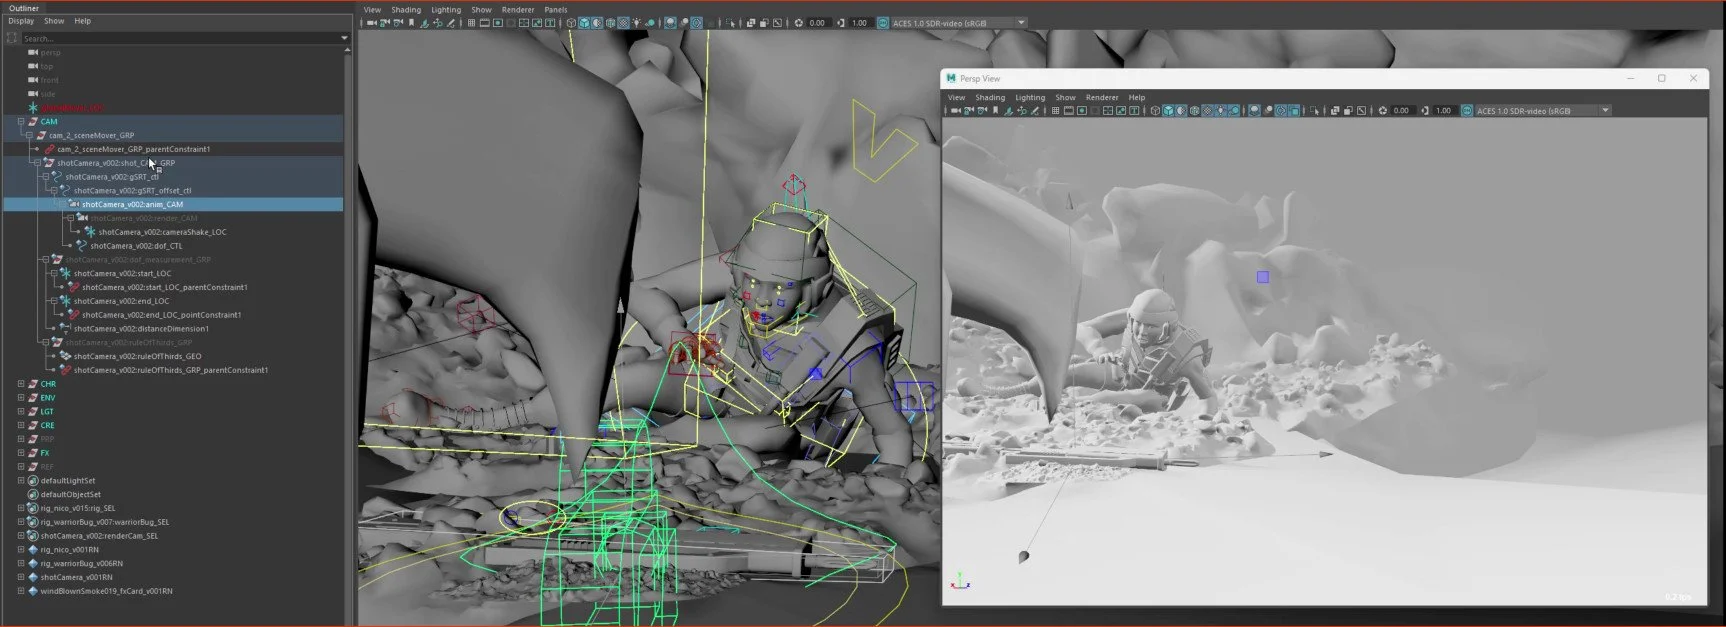
The camera in Maya is perfectly fine to use out of the box and you can start animating straight away. I like to make my own camera rig that has some basic functionality to help me to block out scenes in an efficient manner.

The first build I used to block out the shots was very simple. I added a couple of controls which allowed me to separate the translations and the rotations. This really helps when doing shots when you want to push in but also tilt the camera, you don’t have to do this I just like to work in a way that gives me the most flexibility. In visualisation you have to expect the shot to change so spending time setting it up clean will mean you can make a change quickly.
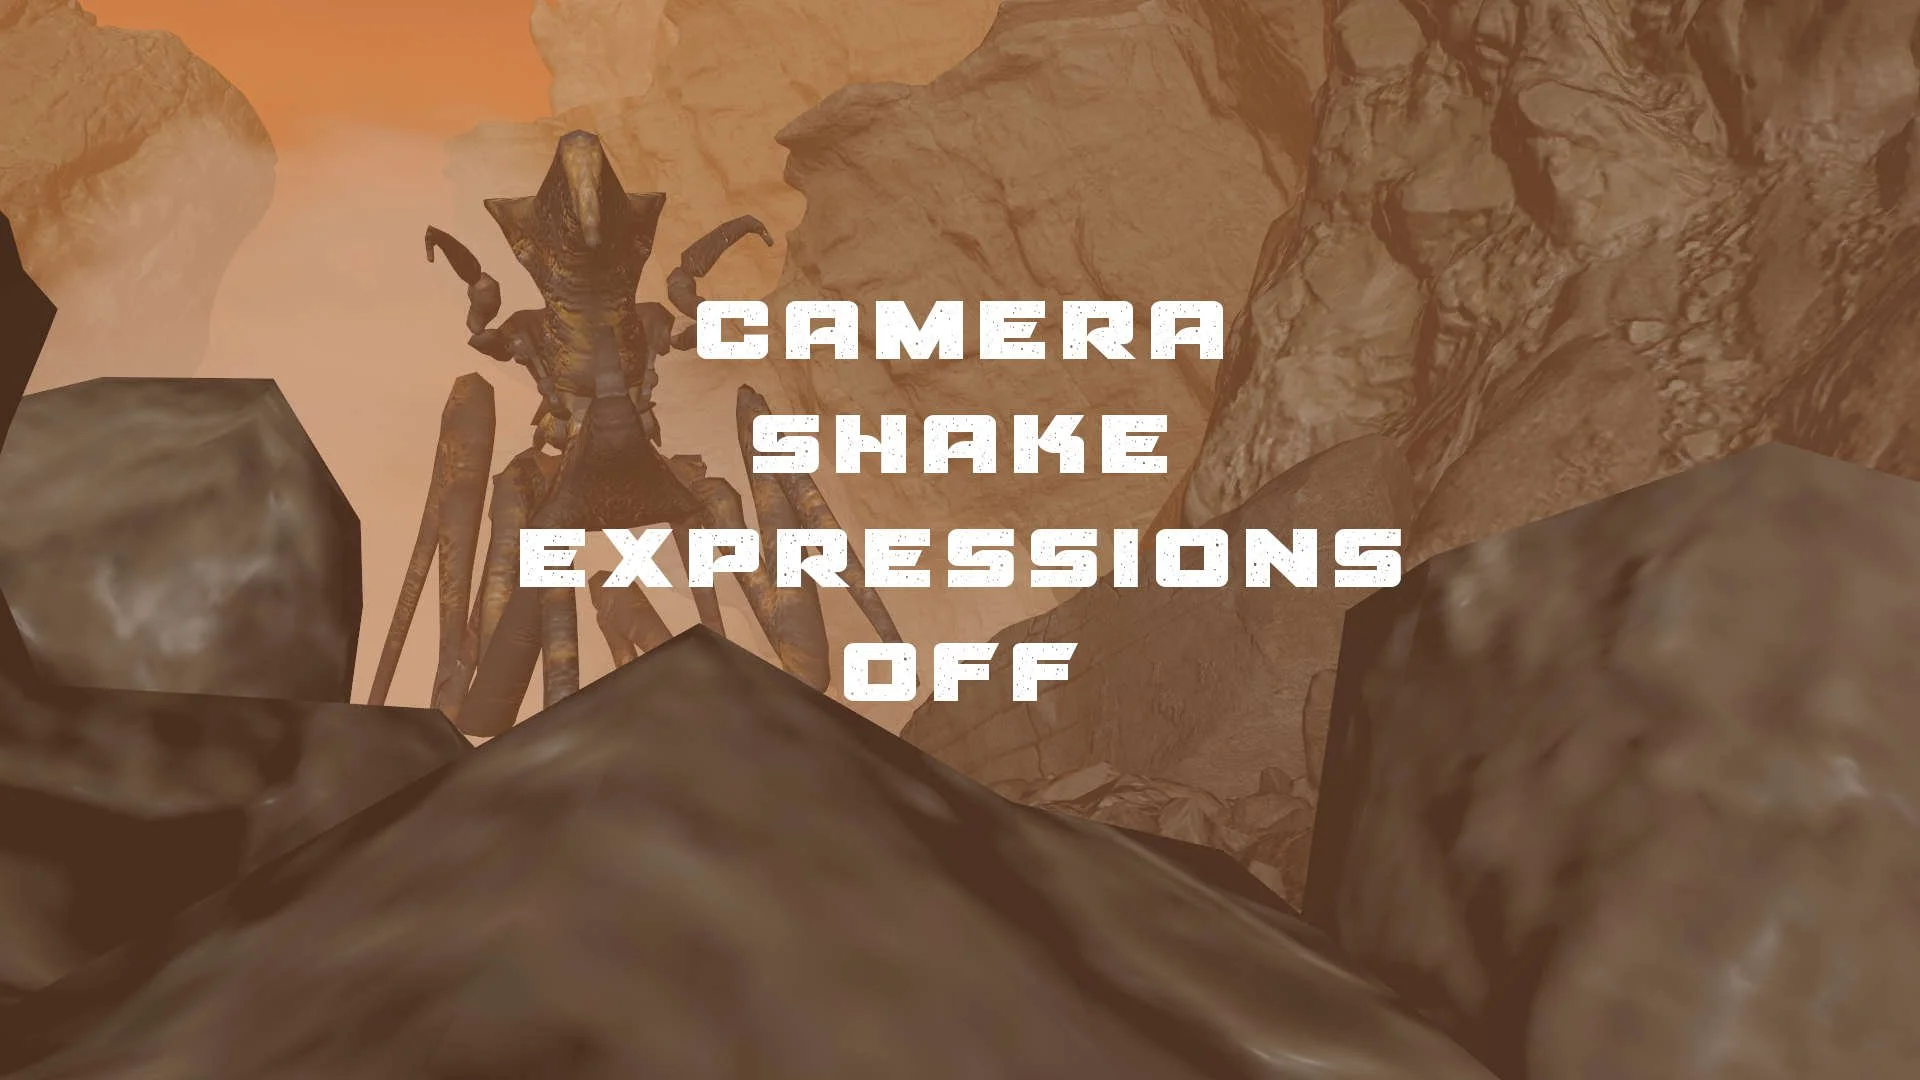
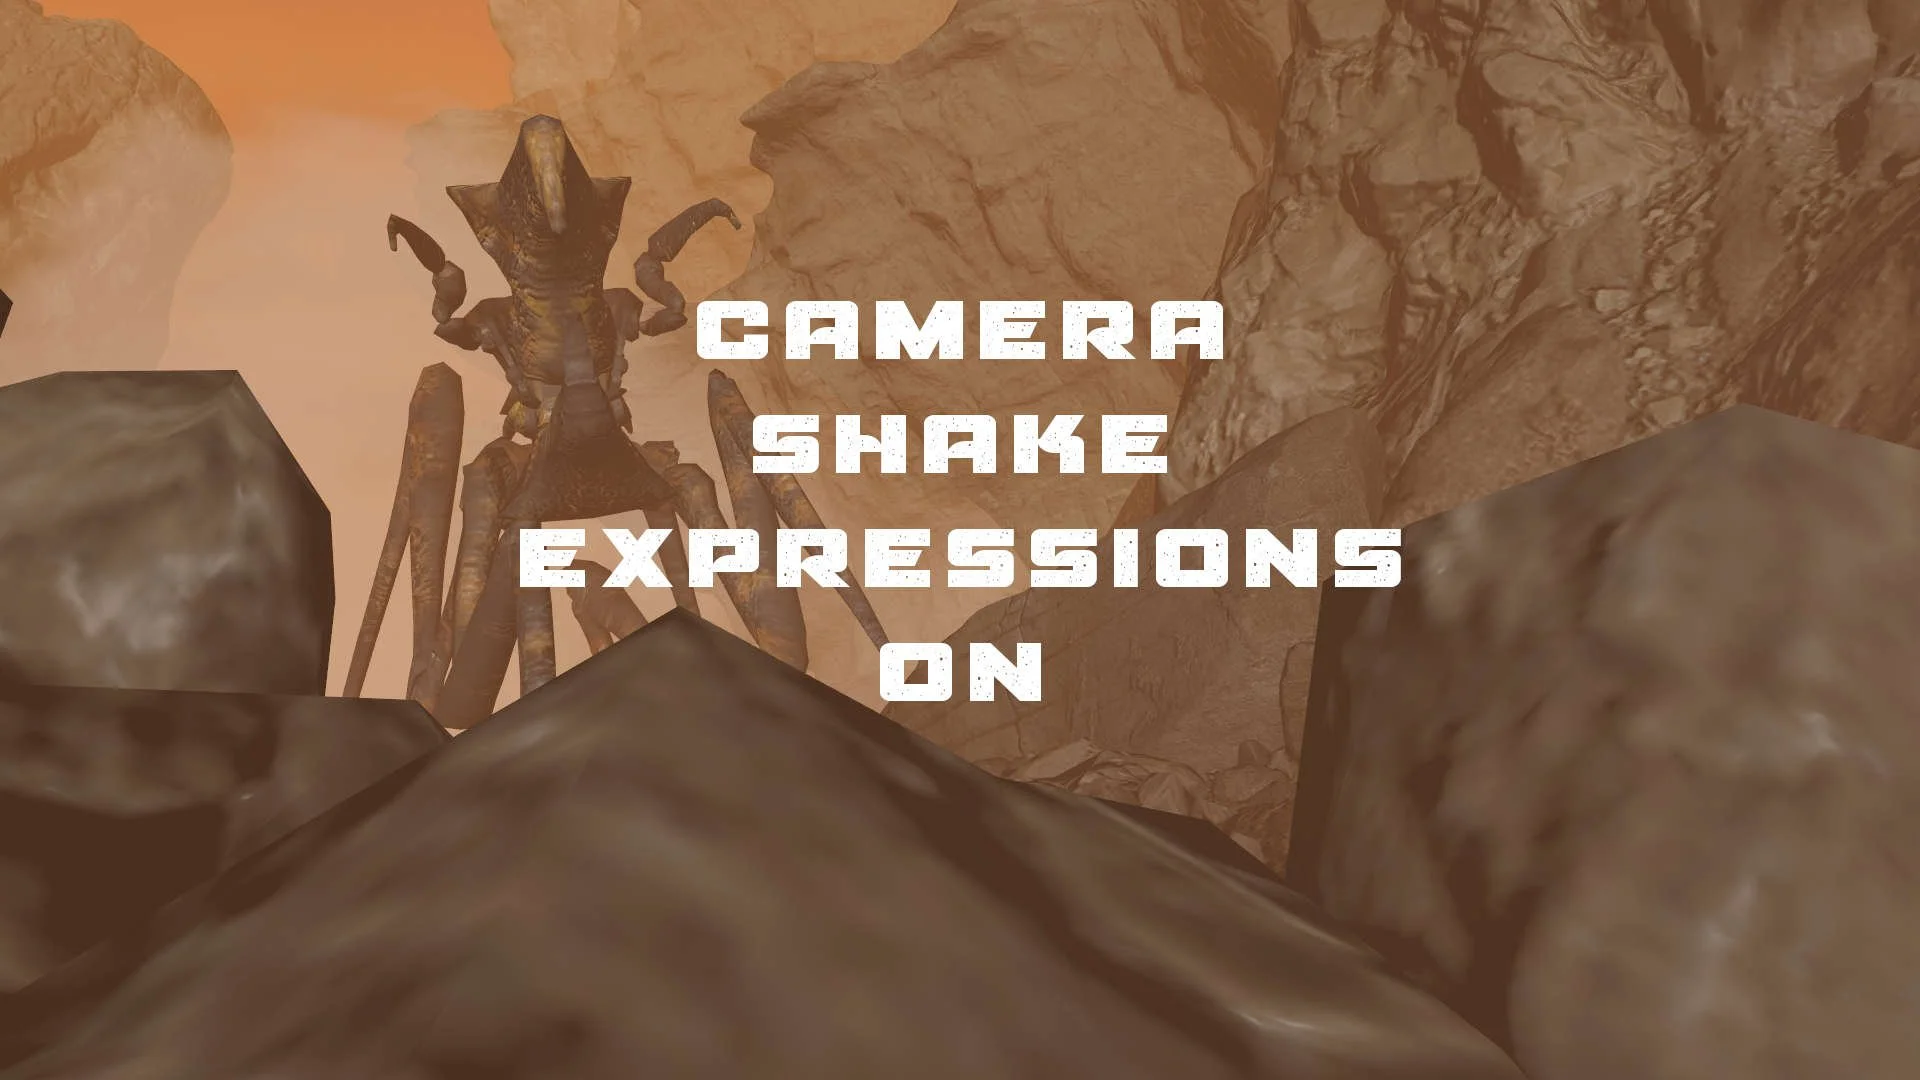
Once you start framing up your shots, you’ll quickly start to notice that they all feel pretty locked. The problem with CG is that is creates very clean looking camera moves. A good way to make your shots feel more naturalistic is to add camera shake. You want to refrain from animating it yourself as you’ll quickly create a boatload of keyframes and anyone picking up your shot will have a tough time. You can use animation layers but the way I prefer to do it is by driving your channels with expressions.

There are many ways to setup shake on your camera, I like to split out each axis, gives me the most control and I can dial in a specific part at a time. I name my channels after real world camera moves as it helps to reinforce the language when working. I also add an activation value so I can quickly turn it on or off and the value is a float so I can also animate it if needed.
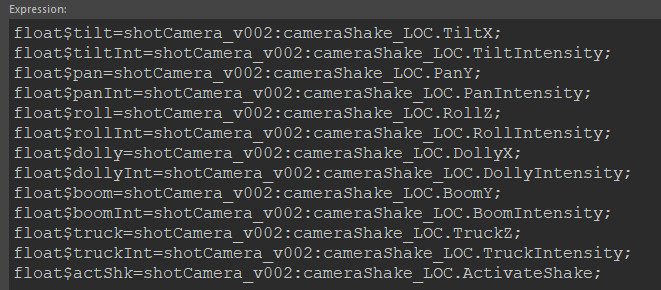

A snippet of the expression code. Echoing all commands here and referencing the script editor comes in very handy. I created variables that I then could use to drive the channels. You don’t want to be searching through the expression editor every time to modify the camera shake parameters.


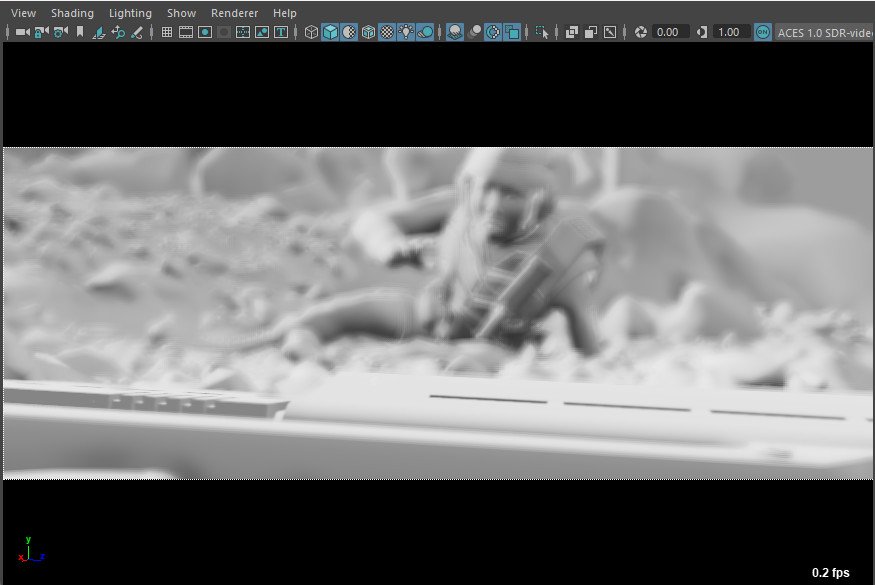
Another very useful thing to add to your visCam is the gate mask. This helps with framing but also it’s a great way to get a feel for your shot when you blast it, the black bars make everything look cinematic. To set it up, you can create a custom channel attribute and use the connection editor to link them up. Another thing to mention is that your resolution and your film back will have an impact on this. The standard Maya camera film back will allow you to setup this up. Research your camera, sensor size, and aspect ratio and the black bars will be straightforward to setup on your Maya camera.
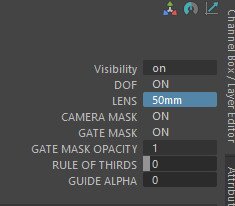

I found it really helped speed up the shot creation process. It can be valuable to pick a set of lenses before you start, this helps keep your shots grounded and also forces you to really think about camera placement. The DOF setup was achieved by using the measurement tool and contraining the end locator to the focal distance of the camera and then driving it with a nurbs curve.

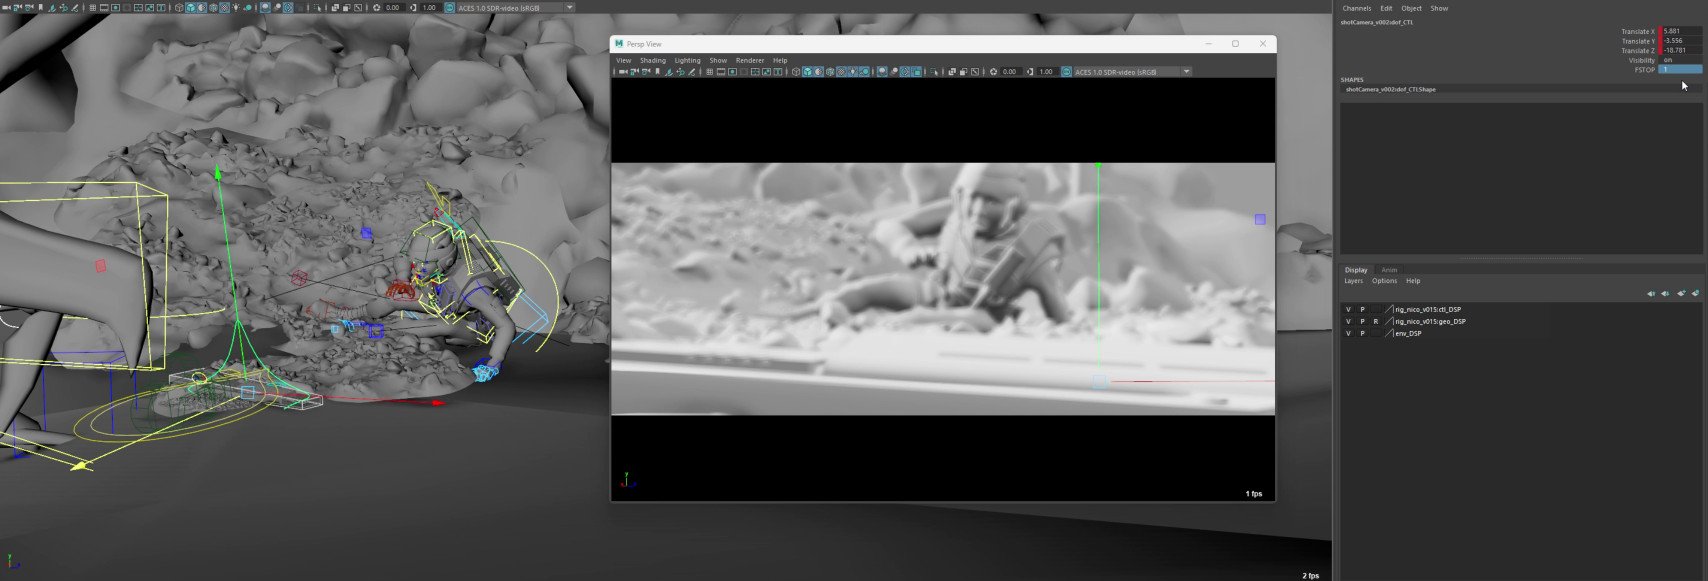
The camera rig hierarchy in the outliner becomes a pain to trawl through once you start the process of building a visCam. I suggest making a set and dropping the render cam into it, this way you can also navigate to that in the outliner and drag your shot cam into another viewport.