
I sourced a few packs from the Unreal marketplace. The premade packs are great for instantly creating more realism and you can modify them pretty easily too. Having the Houdini Indie licensee also allowed me to explore the destruction process via FBX

I liked the look of these explosions and purchased the assets, I can’t remember how much they were but I don’t think I paid more than $12 for them. They came with a number of cool-looking explosions which would be perfect for the grenade. Getting them into your project is easy too, just click Add To Project and pick the project and Unreal will add them, I moved all of them to an FX folder to keep my project tidy.

Adding the Niagara system FX to the sequencer is just like everything else but to get them to work correctly we need to add a NiagaraComponent via the + option. In there we add a FX System which allows us to control when the system is activated, deactivate and triggered. Best way is to set a Deactivate at the start of your shot and then add a trigger when you want you system to start and then add if need another deactivate to turn it off. This can be a little tricky as sometimes the system starts and stops randomly. A fix for this can be to be the deactivate outside of the shot range. To lock these parameters in place, add a keyframe.
The Houdini worflow was pretty fun, one of the reasons Previs is fun is that you can really get away with murder, ie nothing needs to be super complex. Your work is in a way is just a first version of the final shot, just raw ideas and storytelling. Using Houdini helps at least push you into a more final workflow, so with patience and exploration, you can start to create some very simple but very strong FX work for your shots. I used to do this in Maya with nCloth but I’ve wanted to upskill for a while and Houdini is such a fun piece of kit and has great functionality to work with Unreal.


The good thing about this approach in Houdini is that I already had all the exports needed to set up the shots inside Houdini, I could simply use the FBX exports from Maya and import the characters, and the camera using those, so no new exports needed to be generated.
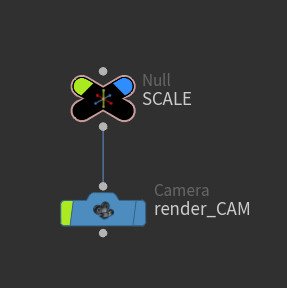
The same scale issue is present here like with the crowds, once the camera, Bug, and Nico were imported as FBX, using Convert Units on the fbxcharacterimport node. The null worked a little differently this time, I used it to move the shot to world zero as I thought it might help with my sim set up. Then inside the camera node, I placed another null to scale the camera to 0.01. Everything was now scaled and positioned and ready to be blown up.

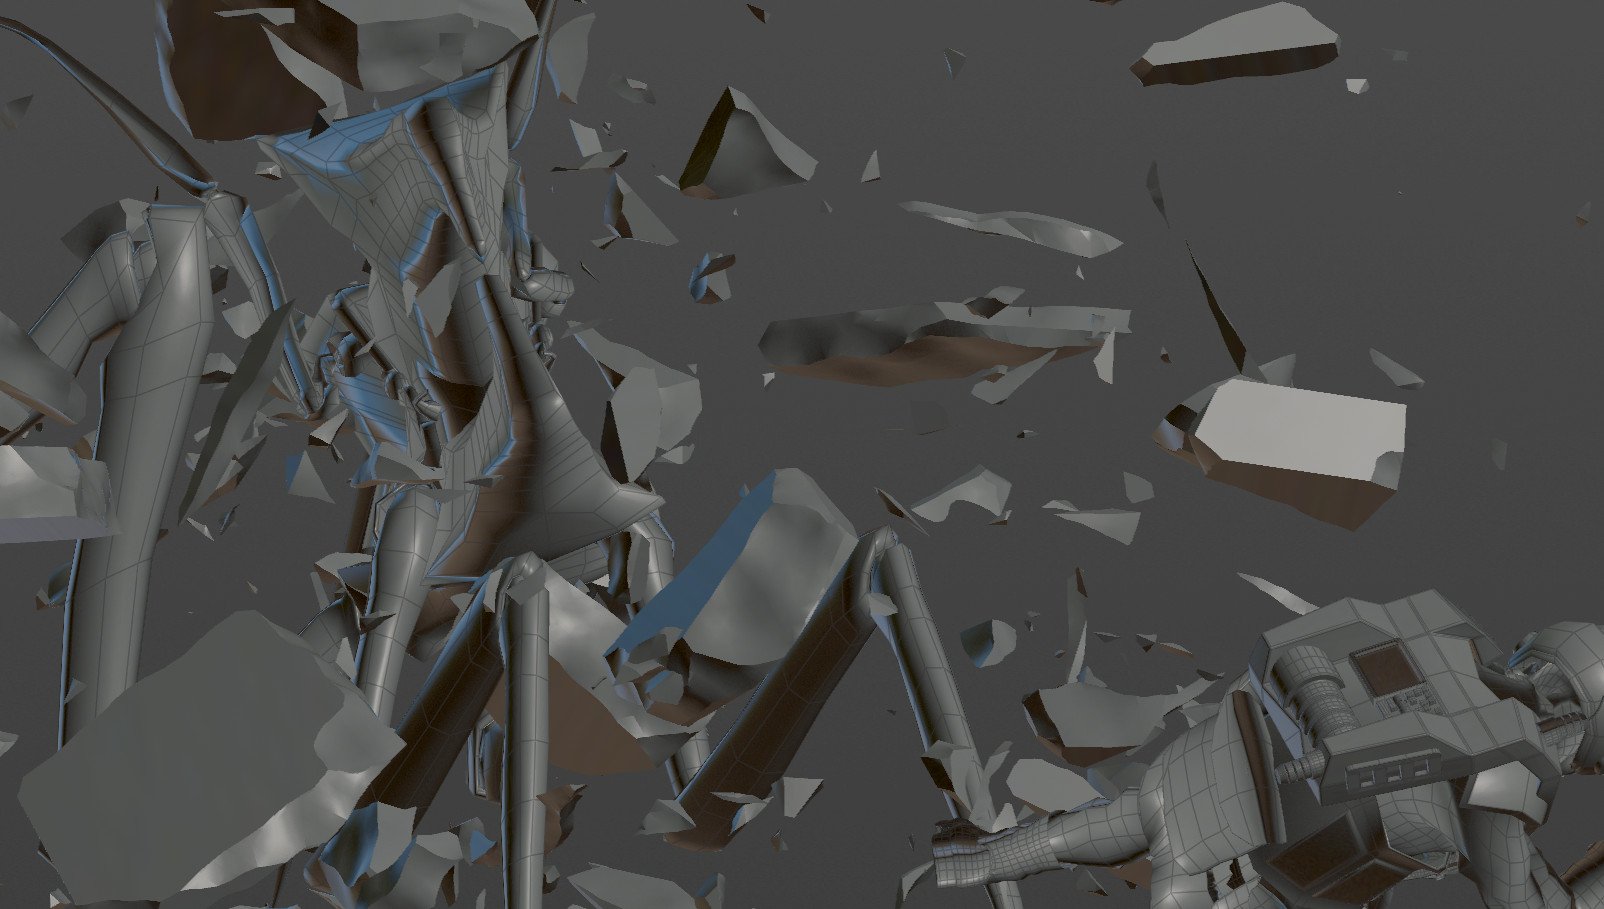
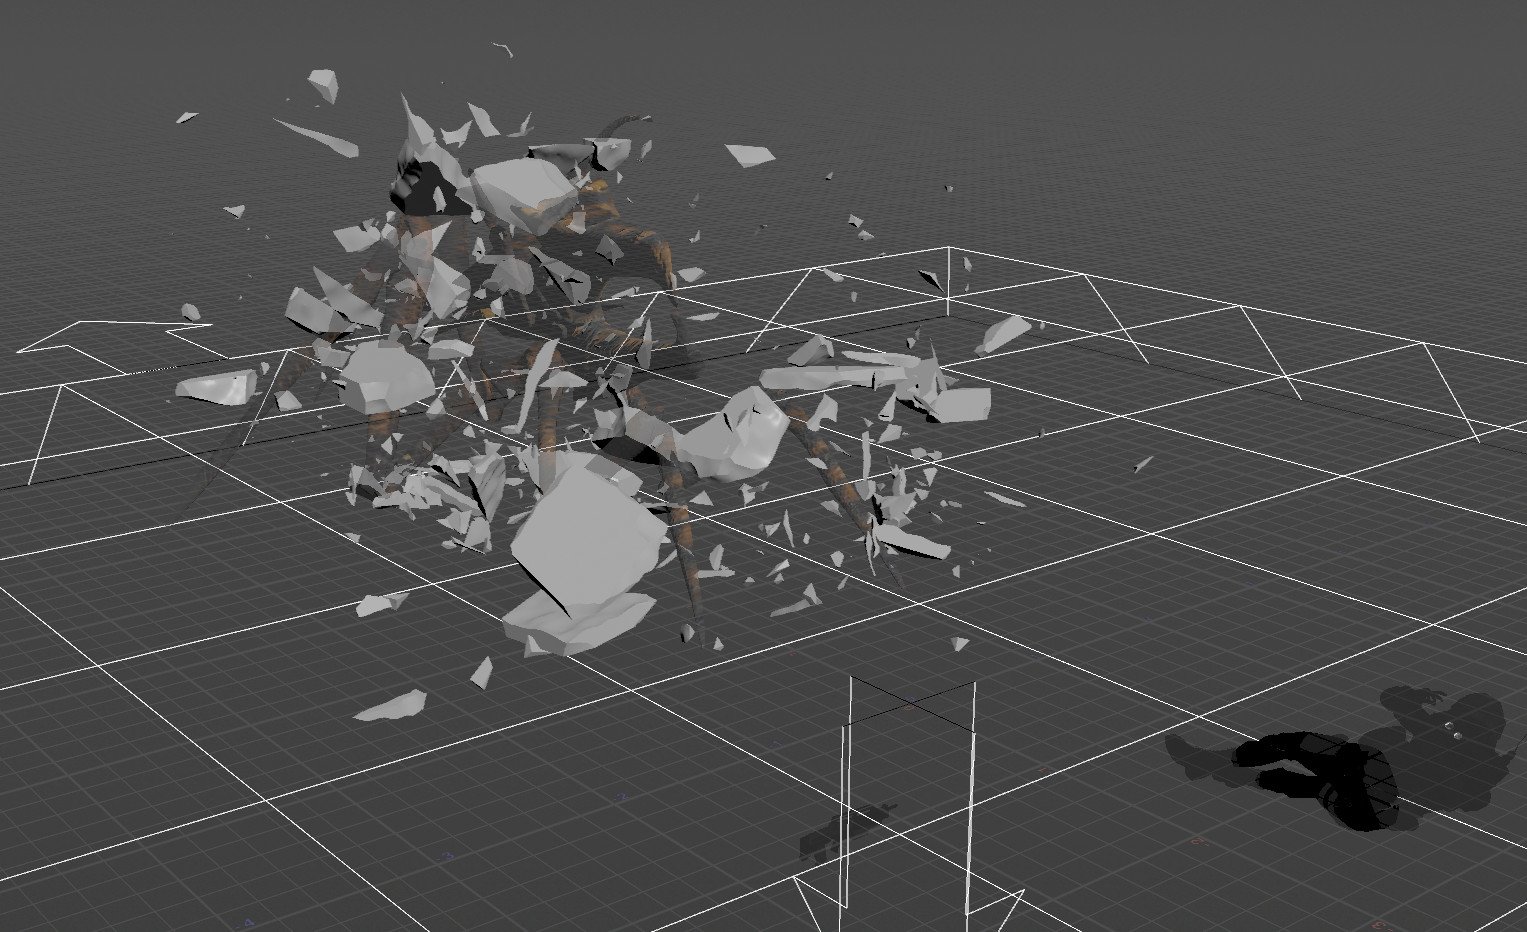
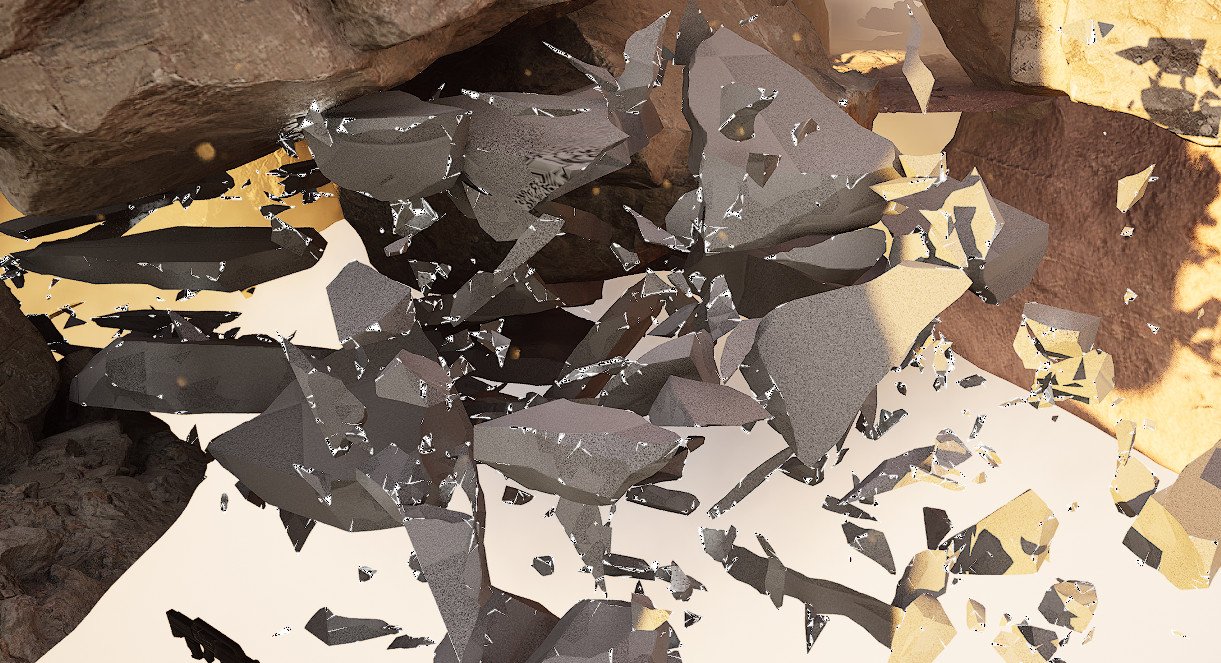
The sim starts from a box, fractured as concrete, auto UV’ed and then exploded using a velocity node, simulated and finally exported as a FBX. The transform scales it back up to Unreal scale.


The node tree, I referenced a load of tutorials, Robert Magee’s and Simon Verstraete’s videos proved very helpful and this setup is a combination of both of those. One of the real highlights about using Houdini is that the learning platform is just filled to the brim with educational resources.


Something I noticed when trying to get the sim into Unreal, if I scaled the sim before export and imported to Unreal and unticked Convert Scene it would be correct. If I didn’t have a scale prior to export and used the Convert Scene on the FBX import options, the sim would still import but the edges would be messed up and create some weird artifacts at render time. I assume it’s down to the internal scale the Unreal is trying to do, long story short, scale the sim in Houdini before exporting.


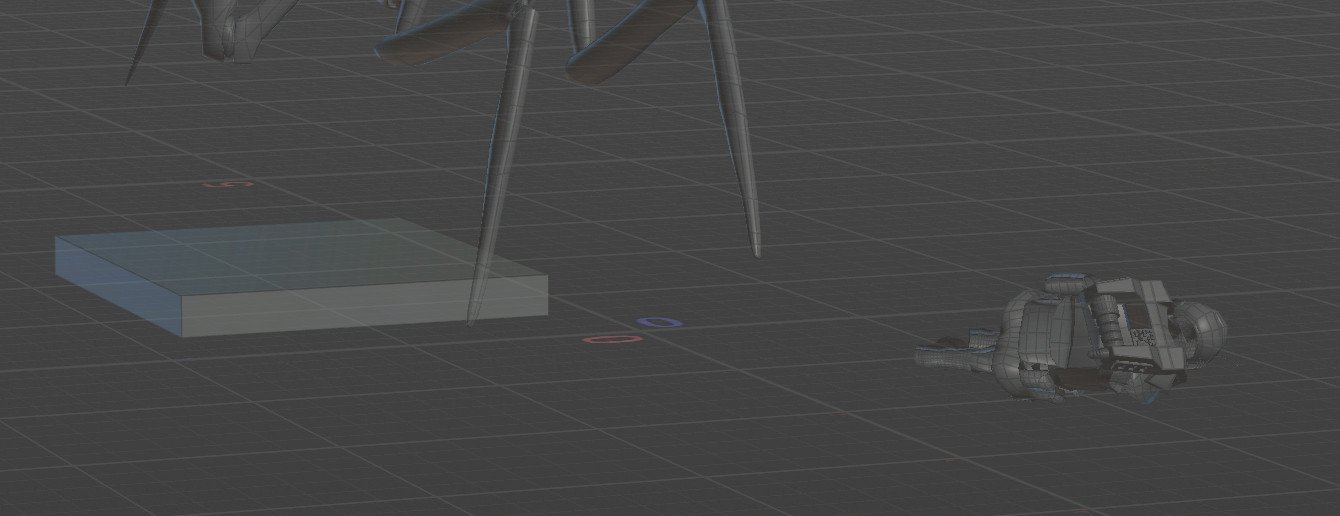
I only simulated the range that I needed and that worked fine but there was a need to see the geo before it exploded, almost like a rest shape. You can drop down a retime and timeshift nodes to help do this. The retime holds your sim range, in the case of 0310 it was 1096 - 1130. The timeshift via a clamp locks the first frame 1096 to all the frames before, 990 - 1095. Simple trick and thanks to my good friend Tim Sepulveda for that and the general Houdini help throughout the making of Red Smoke.

Again, getting the sim into the sequencer is the same workflow, add the skeletal mesh and then the animation clip, you can play with the start frame by moving the clip around. This is a great way to really add complexity to your shot, and learning some Houdini along the way is the best bit.

I did find that these sims were breaking when I’d close and open Unreal, not sure why but the Skeletal Mesh Asset would drop out, thankfully everything stays in place in the sequencer and all we need to do is to relink the asset. Drop down the menu arrow and locate the correct asset.

